Last Week’s Card & Cuppa – Banner Sayings

Last week’s Card & Cuppa project used a new Stamp Set & Punch Bundle from the Online Exclusives range.

This Banner Sayings Bundle is a great addition to your crafting stash!

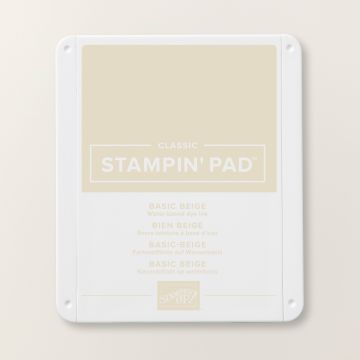
To create this neutral project, I used a colour combination of Basic Beige, Pretty Peacock, Lost Lagoon and Coastal Cabana.

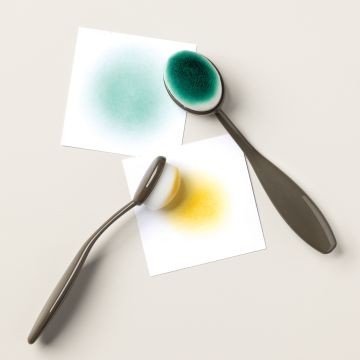
First, the background was given a bit of extra tone on tone colour using a Blending Brush.

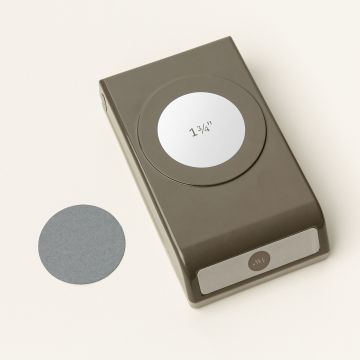
Next, the circles were cut out using a Circle Punch, also from the Online Exclusives range.

These circles were stamped using splats from the Beautiful Butterflies Stamp Set.

Using the Three Banner Punch from the Bundle, the various banner shapes are cut out. Some of these are stamped with the sentiments from the Banner Sayings Stamp Set.

Each of the circles and banners are then attached, except the main sentiment. Any overhanging pieces are cut away.

Finally, the main sentiment has a swoosh of Linen Thread added to the back, before the whole piece is attached using Mini Dimensionals.

This design would be great to create in festive colours and sentiments, for a quick and easy Christmas card.

Join me at one of my classes. Head to my Class Timetable for full details.

Happy crafting

Karen Young HIPPOFROG Designs

To order any of the supplies shown below, head to my Online Store. Items available while stocks last.

NEW Stampin’ Rewards      Join my team      Current Products      Offers & Promotions      Book a Class
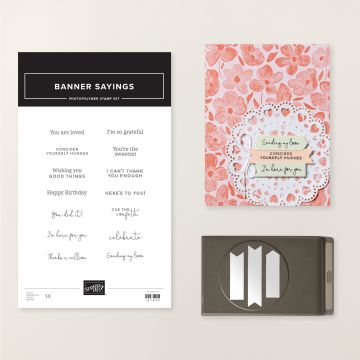
BANNER SAYINGS BUNDLE (ENGLISH)BEAUTIFUL BUTTERFLIES PHOTOPOLYMER STAMP SET (ENGLISH)1-3/4" (4.4 CM) CIRCLE PUNCHBASIC BEIGE A4 CARDSTOCKBASIC BEIGE CLASSIC STAMPIN PADPRETTY PEACOCK A4 CARDSTOCKPRETTY PEACOCK CLASSIC STAMPIN' PADCOASTAL CABANA A4 CARDSTOCKLOST LAGOON A4 CARDSTOCKBLENDING BRUSHESLINEN THREADMULTIPURPOSE LIQUID GLUETEAR & TAPE ADHESIVEMINI STAMPIN' DIMENSIONALS

Last Week’s Card & Cuppa – Beautiful Butterflies & Blending Brushes

Last week’s Card & Cuppa project was all about butterflies and blending.

My colour combination was a subtle Highland Heather and Pool Party mix, with Lemon Lime Twist and Smoky Slate accents.

The background was coloured using a Blending Brush and Lemon Lime Twist.

Next, a separate sheet of Basic White Cardstock was randomly coloured, again using Blending Brushes and Highland Heather and Pool Party Stampin’ Pads.

Using the Beautiful Butterflies Dies from the Beautiful Butterflies Hybrid Embossing Folder and Dies combo, the butterfly wings were cut from the coloured piece. As the piece was randomly coloured, each butterfly is unique.

Butterfly bodies were cut out from a Basic White strip. Using Smoky Slate Stampin’ Blends, these were coloured.

It was then time for assembly. The bodies were stuck to the butterflies using a thin line of glue.

The wings were curled using a Paper Folder and were then stuck to the background, again using a thin line of glue down the centre.

Finally, a sentiment from the coordinating Stamp Set was stamped and raised up onto the central butterfly using Mini Dimensionals.

Join me at one of my classes. Head to my Class Timetable for full details.

Happy crafting

Karen Young HIPPOFROG Designs

To order any of the supplies shown below, head to my Online Store. Items available while stocks last.

NEW Stampin’ Rewards      Join my team      Current Products      Offers & Promotions      Book a Class
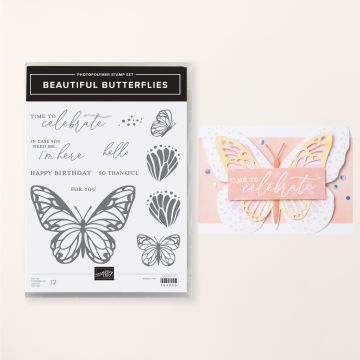
BEAUTIFUL BUTTERFLIES BUNDLE (ENGLISH)HIGHLAND HEATHER A4 CARDSTOCKHIGHLAND HEATHER CLASSIC STAMPIN' PADLEMON LIME TWIST CLASSIC STAMPIN' PADPOOL PARTY CLASSIC STAMPIN' PADBASIC WHITE A4 CARDSTOCKBASIC WHITE A4 THICK CARDSTOCKSTAMPIN' BLENDS SMOKY SLATE COMBO PACKBLENDING BRUSHESSMALL BLENDING BRUSHESMULTIPURPOSE LIQUID GLUEMINI STAMPIN' DIMENSIONALS

October Card Making Class – Project 2

My second project from this month’s Card Making Class was this fun grafitti wall.

I last taught a grafitti wall project way back in 2019. This is my updated version.

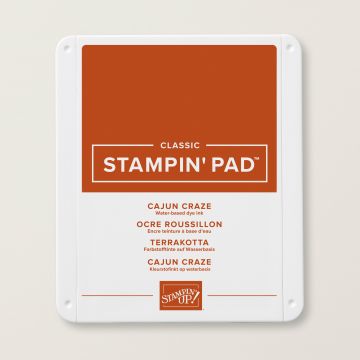
Azure Afternoon and Blueberry Bushel, with Basic White were my main colours, with Cajun Craze for the wall colouring.

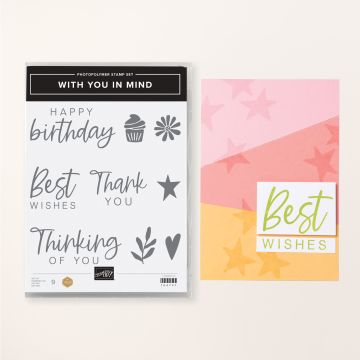
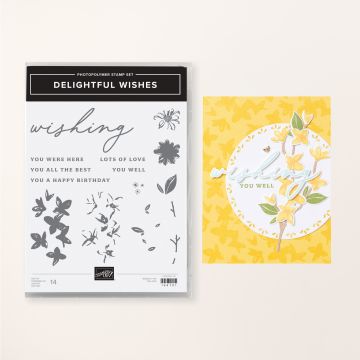
To begin, all of the stamping needs to happen. The With You in Mind Stamp Set provides the sentiment stars. For the two different paint splatters, I used the flower centres from the Delightful Wishes Stamp Set and the ‘splats’ from the Beautiful Butterflies Stamp Set.

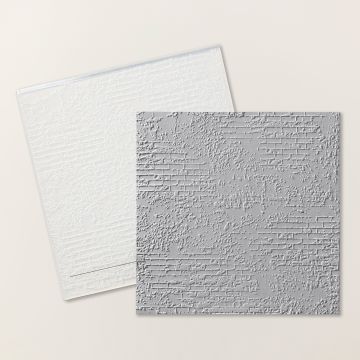
Once all the stamping was completed, the piece was then embossed using the Exposed Brick 3D Embossing Folder. This gave the effect of the wall having been written on.

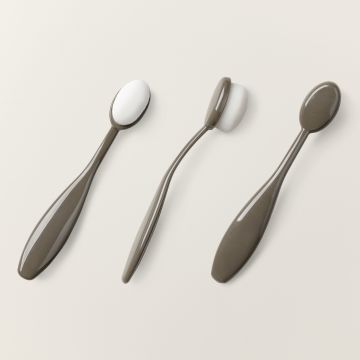
The wall was then coloured around the edges using a Blending Brush and a Cajun Craze Stampin’ Pad, leaving the centre plain to allow it to stand out more.

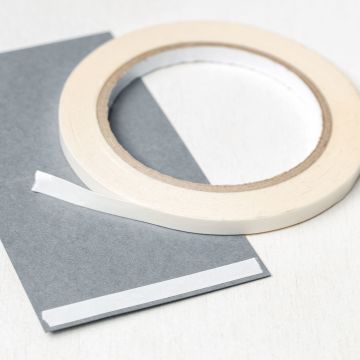
Finally, all that was needed was for the project to be assembled. When I’m using Embossing Folders, I like to use Tear & Tape to make sure everything sticks together well.

I think you’ll agree it’s a perfect project for men, teenagers, or those who are difficult to create for. It was also the quickest project to make from the class, so a great design to make if you need to rustle up a card in a hurry.

Join me at one of my classes. Head to my Class Timetable for full details.

Happy crafting

Karen Young HIPPOFROG Designs

To order any of the supplies shown below, head to my Online Store. Items available while stocks last.

NEW Stampin’ Rewards      Join my team      Current Products      Offers & Promotions      Book a Class
WITH YOU IN MIND PHOTOPOLYMER STAMP SET (ENGLISH)BEAUTIFUL BUTTERFLIES PHOTOPOLYMER STAMP SET (ENGLISH)DELIGHTFUL WISHES PHOTOPOLYMER STAMP SET (ENGLISH)EXPOSED BRICK 3D EMBOSSING FOLDERAZURE AFTERNOON A4 CARDSTOCKAZURE AFTERNOON CLASSIC STAMPIN' PADBLUEBERRY BUSHEL A4 CARDSTOCKBLUEBERRY BUSHEL CLASSIC STAMPIN' PADCAJUN CRAZE CLASSIC STAMPIN' PADBASIC WHITE A4 CARDSTOCKBLENDING BRUSHESMULTIPURPOSE LIQUID GLUETEAR & TAPE ADHESIVE

Last Week’s Card & Cuppa – Beautiful Butterflies Stamp Set

Last week’s Card & Cuppa project was this colourful butterfly card.

I had been asked to design a project using the silhouette technique, so this is my version.

Each coloured circle is made using a piece of cardstock punched out using a punch from the Online Exclusives range.

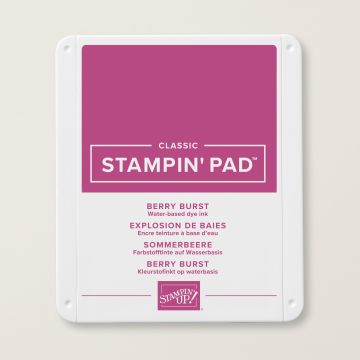
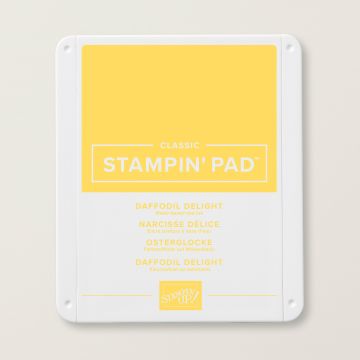
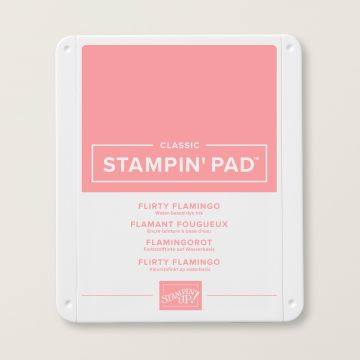
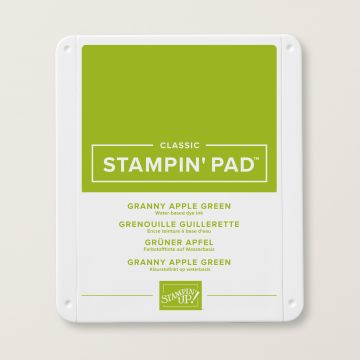
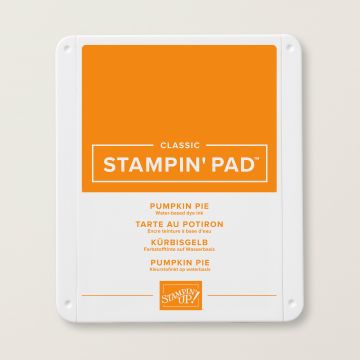
These masks are then coloured using Blending Brushes and two colours for each circle. Daffodil Delight and Pumpkin Pie, Flirty Flamingo and Berry Burst and Granny Apple Green and Azure Afternoon.

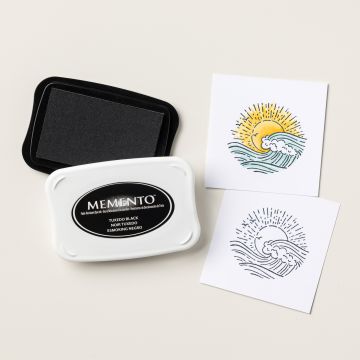
Then each circle is stamped using the Beautiful Butterflies Stamp Set and Momento Ink Pad in Tuxedo Black.

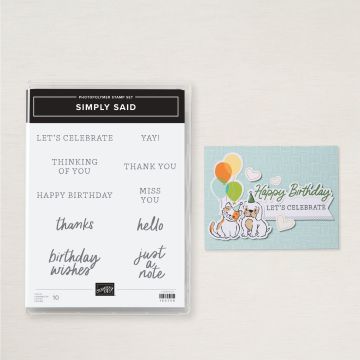
A sentiment from the Simply Said Stamp Set is stamped and layered onto Basic Black.

Finally, some Rhinestones add some bling.

Join me at one of my classes. Head to my Class Timetable for full details.

Happy crafting

Karen Young HIPPOFROG Designs

To order any of the supplies shown below, head to my Online Store. Items available while stocks last.

NEW Stampin’ Rewards      Join my team      Current Products      Offers & Promotions      Book a Class
BEAUTIFUL BUTTERFLIES PHOTOPOLYMER STAMP SET (ENGLISH)SIMPLY SAID MIX& MATCH PHOTOPOLYMER STAMP SET (ENGLISH)1-3/4" (4.4 CM) CIRCLE PUNCHBASIC BLACK A4 CARDSTOCKTUXEDO BLACK MEMENTO INK PADAZURE AFTERNOON CLASSIC STAMPIN' PADBERRY BURST CLASSIC STAMPIN' PADDAFFODIL DELIGHT CLASSIC STAMPIN' PADFLIRTY FLAMINGO CLASSIC STAMPIN' PADGRANNY APPLE GREEN CLASSIC STAMPIN' PADPUMPKIN PIE CLASSIC STAMPIN' PADBASIC WHITE A4 CARDSTOCKBASIC WHITE A4 THICK CARDSTOCKBLENDING BRUSHESRHINESTONE BASIC JEWELSMULTIPURPOSE LIQUID GLUEMINI STAMPIN' DIMENSIONALS

Last Week’s Card & Cuppa – Beautiful Butterflies Bundle and Stampin’ Blends

Last week’s Card & Cuppa project used the Beautiful Butterflies Bundle and Stampin’ Blends to create this pretty Birthday Card.

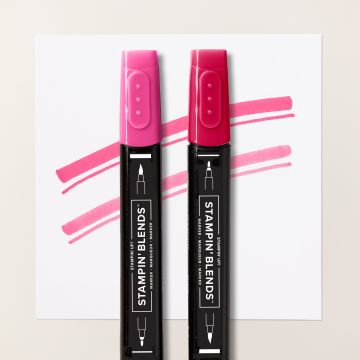
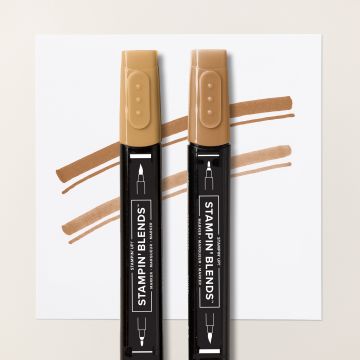
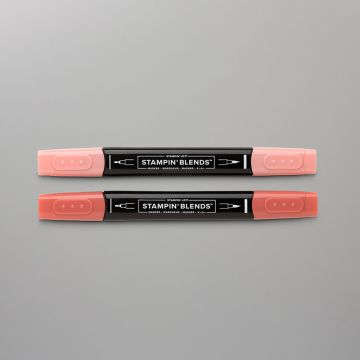
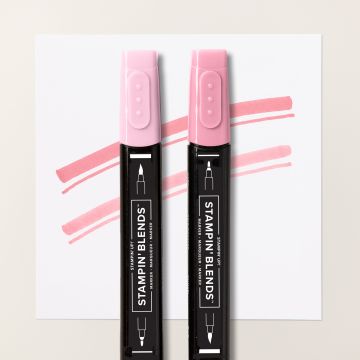
My colour combination was Melon Mambo, Flirty Flamingo and Calypso Coral, with Pecan Pie and Basic White.

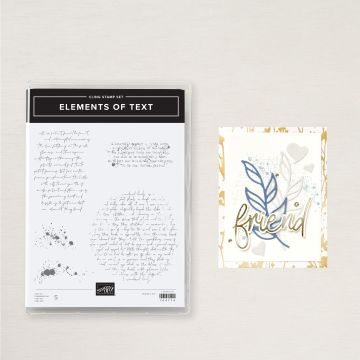
The background was created using ‘splats’ from both the Beautiful Butterflies Stamp Set and the Elements of Texture Stamp Set.

Next, the various butterfly shapes were cut out using the Dies from the Bundle in Basic White cardstock.

They were then coloured using Stampin’ Blends. The body in Pecan Pie and the wings in Melon Mambo, Flirty Flamingo and Calypso Coral. For the ‘half’ butterfly, this was coloured on both sides before being folded in two.

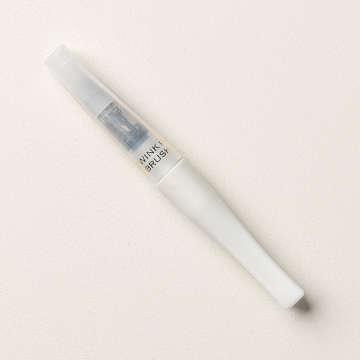
Each butterfly was then given a light coating of Wink of Stella.

For the two main butterflies, the back piece was curled before the middle layer was folded to create a spine and attached. Next, the body piece was stuck to the centre to complete the butterfly.

Only using glue down the centre gives the project a more 3D feel.

These two butterflies were stuck to the project using Mini Dimensionals.

The folded butterfly was attached to the sentiment and stuck to the project.

Finally, Rhinestones were added for an extra touch of bling.

Join me at one of my classes. Head to my Class Timetable for full details.

Happy crafting

Karen Young HIPPOFROG Designs

To order any of the supplies shown below, head to my Online Store. Items available while stocks last.

NEW Stampin’ Rewards      Join my team      Current Products      Offers & Promotions      Book a Class
BEAUTIFUL BUTTERFLIES BUNDLE (ENGLISH)ELEMENTS OF TEXT CLING STAMP SETMELON MAMBO CARDSTOCK A4MELON MAMBO CLASSIC STAMPIN' PADCALYPSO CORAL CLASSIC STAMPIN' PADFLIRTY FLAMINGO CLASSIC STAMPIN' PADBASIC WHITE A4 CARDSTOCKBASIC WHITE A4 THICK CARDSTOCKMELON MAMBO STAMPIN' BLENDS COMBO PACKPECAN PIE STAMPIN' BLENDS COMBO PACKSTAMPIN' BLENDS CALYPSO CORAL COMBO PACKSTAMPIN' BLENDS FLIRTY FLAMINGO COMBO PACKWINK OF STELLA CLEAR GLITTER BRUSHRHINESTONE BASIC JEWELSMINI STAMPIN' DIMENSIONALSMULTIPURPOSE LIQUID GLUE

Last Week’s Card & Cuppa – A Leafy Celebration

For last week’s Card & Cuppa class, I chose to design a more neutral project.

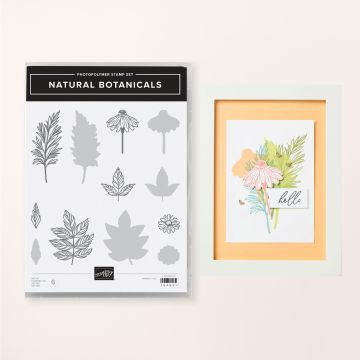
This project used the Natural Botanicals Stamp Set for the leaves and the Beautiful Butterflies Stamp Set for the sentiment.

As I wanted this to be a more neutral project, suitable for anyone, I used a combination of Old Olive and Basic White.

First, the larger leaves were stamped onto the backround with the stems towards the centre. These would be covered later.

Next, three smaller leaves were then stamped onto a separate piece.

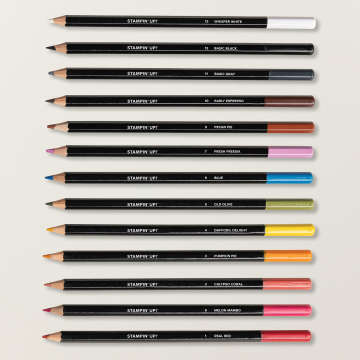
All of the leaves were coloured with Watercolor Pencils, using both packs 1 and 2.

Each of the smaller leaves were then cut out (fussy cutting) and stuck behind the large Old Olive strip across the centre. Only the stem of the leaves were stuck to allow for a more 3D effect. Overhanging edges of the strip were cut away. This piece covered the stems from earlier.

Finally, the sentiment was stamped onto a Basic White Strip and added to the top of the Old Olive piece, again with the overhang cut away.

I think this project would look great in other colour ways, blues, browns, purples etc. Which colours would you choose?

Join me at one of my classes. Head to my Class Timetable for full details.

Happy crafting

Karen Young HIPPOFROG Designs

To order any of the supplies shown below, head to my Online Store. Items available while stocks last.

NEW Stampin’ Rewards      Join my team      Current Products      Offers & Promotions      Book a Class

NATURAL BOTANICALS PHOTOPOLYMER STAMP SETBEAUTIFUL BUTTERFLIES PHOTOPOLYMER STAMP SET (ENGLISH)OLD OLIVE CLASSIC STAMPIN' PADOLD OLIVE A4 CARDSTOCKBASIC WHITE A4 CARDSTOCKBASIC WHITE A4 THICK CARDSTOCKWATERCOLOR PENCILS ASSORTMENT 1WATERCOLOR PENCILS ASSORTMENT 2MULTIPURPOSE LIQUID GLUE

Last Week’s Card & Cuppa – Beautiful Butterflies Bundle

Last week’s Card & Cuppa was full of butterflies.

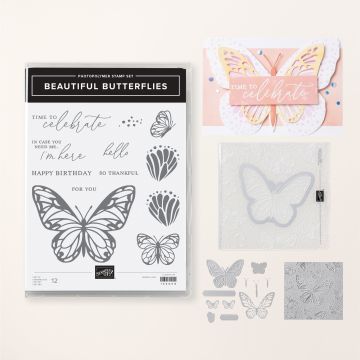
We used the new Beautiful Butterflies Bundle from the Mini Catalogue to create this design.

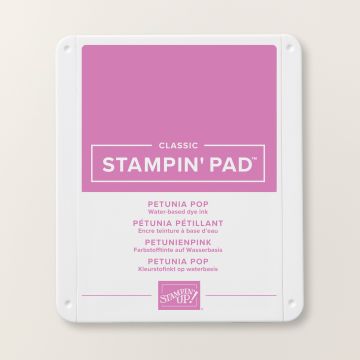
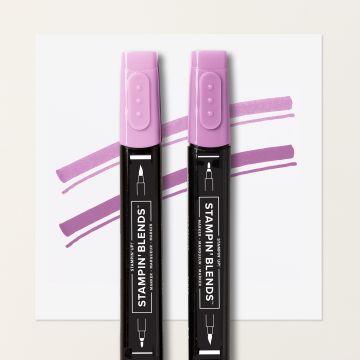
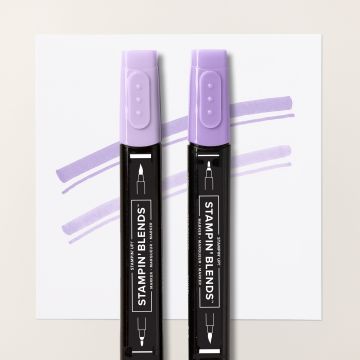
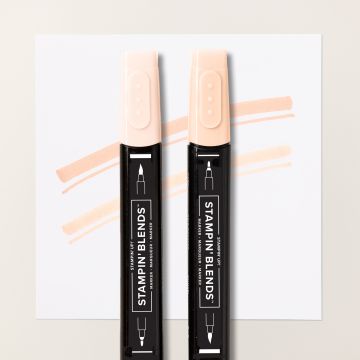
I was also asked for pinks and purples, so my colour combination is Blackberry Bliss, Petunia Pop, Highland Heather and Petal Pink, along with Basic White.

First, we used the Beautiful Butterflies Hybrid Embossing Folder to create the background. The raised elements were then coloured using Blending Brushes.

On a separate piece of cardstock, the three butterflies were stamped and then cut out using the Dies from the Bundle.

We cut a few more extra pieces out around the antennae and bottom of the body to help with the final look of flying.

They were coloured using Stampin’ Blends, with a touch of Wink of Stella added afterwards.

A sentiment, also from the Stamp Set is stamped and given a banner-cut end.

Using a Paper Folder, the wings on each butterfly are curled. One of the butterflies is then stuck to the sentiment on one edge before this piece is attached using Tear & Tape.

The other two butterflies are stuck to the embossed background using Glue Dots near the body. As the wings have been curled and aren’t stuck down, they look like they are flying.

Join me at one of my classes. Head to my Class Timetable for full details.

Happy crafting

Karen Young HIPPOFROG Designs

To order any of the supplies shown below, head to my Online Store. Items available while stocks last.

Online Shopping Club Code      Join my team      Current Products      Offers & Promotions      Book a Class
BEAUTIFUL BUTTERFLIES BUNDLE (ENGLISH)BLACKBERRY BLISS A4 CARDSTOCKBLACKBERRY BLISS CLASSIC STAMPIN' PADHIGHLAND HEATHER CLASSIC STAMPIN' PADPETAL PINK CLASSIC STAMPIN' PADPETUNIA POP CLASSIC STAMPIN PADBASIC WHITE A4 CARDSTOCKBASIC WHITE A4 THICK CARDSTOCKPETUNIA POP STAMPIN' BLENDS COMBO PACKSTAMPIN' BLENDS HIGHLAND HEATHER COMBO PACKSTAMPIN' BLENDS PETAL PINK COMBO PACKBLENDING BRUSHESSMALL BLENDING BRUSHESWINK OF STELLA CLEAR GLITTER BRUSHMULTIPURPOSE LIQUID GLUETEAR & TAPE ADHESIVE