Last Week’s Card & Cuppa – Last Chance: Layering Leaves

At last week’s Card & Cuppa project I used the Layering Leaves Stamp Set and coordinating Punch from the Last Chance Products list.

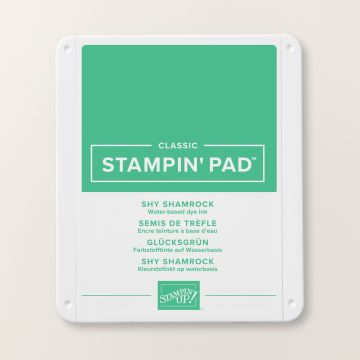
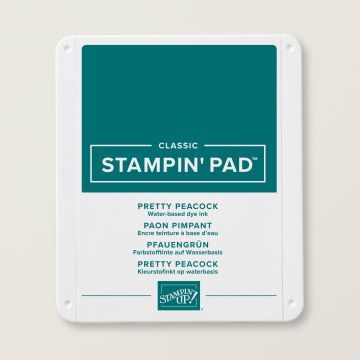
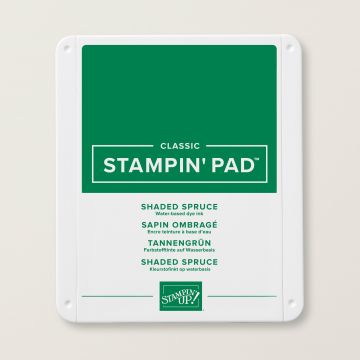
Three different shades of green, Shy Shamrock, Shaded Spruce and Pretty Peacock, along with Basic Beige made up my colour combination.

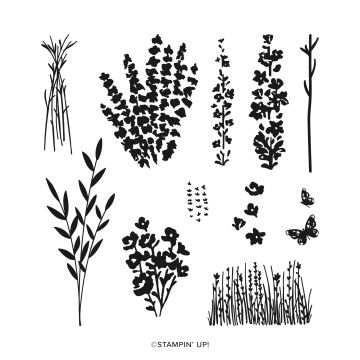
The stamping for the project was tone-on-tone, apart from the sentiment. All of the images are from the Layering Leaves Stamp Set.

Each of the three sections were stamped and attached.

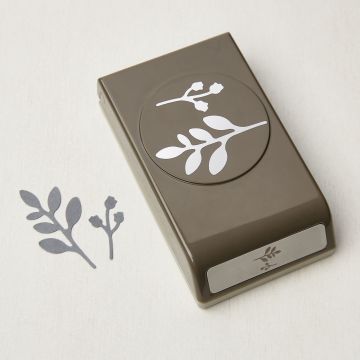
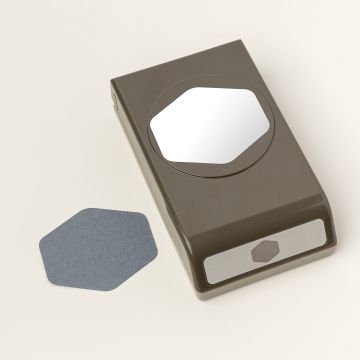
Next, three leaves were stamped and punched out using the coordinating Bough Punch. These were attached to the back of the sentiment that was cut out using the Heartfelt Hexagon Punch.

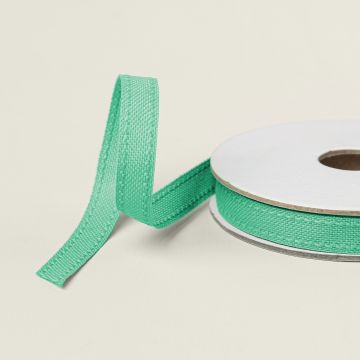
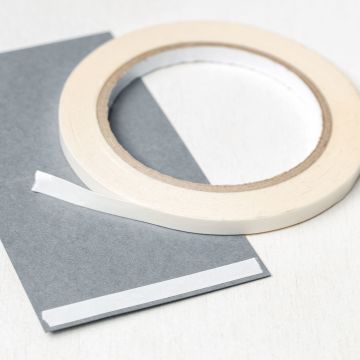
A ribbon swoosh using coordinating In Color Bordered Ribbon was stuck added to the centre using Tear & Tape.

Finally, the sentiment was attached using Dimensionals.

This is a great design that can be recreated to suit any occasion.

If you want to get your hands on this Stamp Set and Punch, or any of the other items on the Last Chance Products list, then head to my Online Store and grab them while you can.

I’m going to miss this Stamp Set and matching Punch. However, there will be something new and exciting coming soon for me to use instead!

Join me at one of my classes. Head to my Class Timetable for full details.

Happy crafting

Karen Young HIPPOFROG Designs

To order any of the supplies shown below, head to my Online Store. Items available while stocks last.

NEW Stampin’ Rewards      Join my team      Current Products      Offers & Promotions      Book a Class
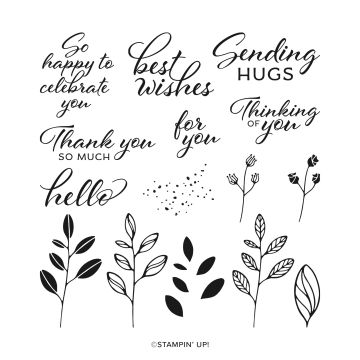
LAYERING LEAVES PHOTOPOLYMER STAMP SET (ENGLISH)BOUGH PUNCHHEARTFELT HEXAGON PUNCHSHY SHAMROCK A4 CARDSTOCKSHY SHAMROCK CLASSIC STAMPIN PADPRETTY PEACOCK A4 CARDSTOCKPRETTY PEACOCK CLASSIC STAMPIN' PADSHADED SPRUCE A4 CARDSTOCKSHADED SPRUCE CLASSIC STAMPIN' PADBASIC BEIGE A4 CARDSTOCKSHY SHAMROCK 3/" (1 CM) BORDERED RIBBONMULTIPURPOSE LIQUID GLUESTAMPIN' DIMENSIONALSTEAR & TAPE ADHESIVE

Last Week’s Card & Cuppa – Trio of Butterflies

At last week’s Card & Cuppa class, this trio of butterflies were the stars of the show.

Using a combination of Pretty in Pink and Petunia Pop In Colors, along with Basic White, this project has a spring feel.

Firstly, the background was stamped using the ‘splats’ from the Layering Leaves Stamp Set.

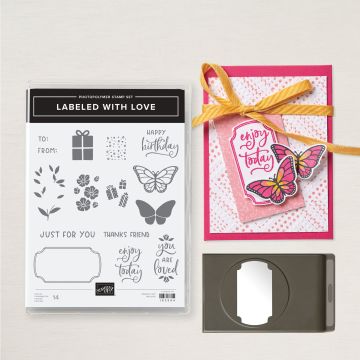
Next, the outlined shapes and butterflies were stamped and then punched out. These used the Labeled with Love Stamp Set and matching Labeled with Love Punch.

Make sure you check out the Last Chance Products section in the online store to see the items that are leaving us to make way for the new Annual Catalogue.

Another butterfly was stamped and cut out by hand, plus another three shaped were also punched out.

The handcut butterfly was given a coat of Wink of Stella.

Each of the Petunia Pop punched shaped were cut in half and then stuck to the back of the Basic White shapes to create a layer.

A length of coordinating ribbon was added across the centre and the top and bottom shape were added.

Using Dimensionals, the centre shape was raised up on Dimensionals before the handcut butterfly was added using a Glue Dot.

Finally, some extra bling was added by some Rhinestones.

Join me at one of my classes. Head to my Class Timetable for full details.

Happy crafting

Karen Young HIPPOFROG Designs

To order any of the supplies shown below, head to my Online Store. Items available while stocks last.

Online Shopping Club Code      Join my team      Current Products      Offers & Promotions      Book a Class
LABELED WITH LOVE PUNCH BUNDLE (ENGLISH)LAYERING LEAVES PHOTOPOLYMER STAMP SET (ENGLISH)PRETTY IN PINK A4 CARDSTOCKPRETTY IN PINK CLASSIC STAMPIN PADPETUNIA POP A4 CARDSTOCKPETUNIA POP CLASSIC STAMPIN PADBASIC WHITE A4 CARDSTOCKPRETTY IN PINK 3/8" (1 CM) BORDERED RIBBONWINK OF STELLA CLEAR GLITTER BRUSHRHINESTONE BASIC JEWELSMULTIPURPOSE LIQUID GLUEGLUE DOTSMINI STAMPIN' DIMENSIONALSTEAR & TAPE ADHESIVE

March 2025 Card Making Class – Project 4

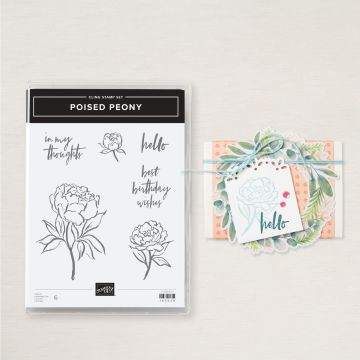
This peony project is the final design for March’s Card Making Class.

It uses the Poised Peony Stamp Set with a Pretty In Pink, Granny Apple Green and Gray Granite colour combination.

This project starts by masking off the top section from the bottom section, we used a piece of cardstock for this.

Next, the small peony is stamped multiple times on the bottom section.

These are then coloured using Stampin’ Blends. The flowers are also given a light coating of Wink of Stella.

A strip of cardstock then covers where the top and bottom sections meet, before a length of coordinating Ribbon is attached.

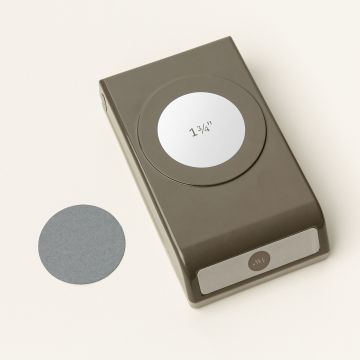
The sentiment and layer are cut out using Circle Punches from the Online Exclusives range.

Finally, three Iridescent Pearls sit in the top corner.

Which of the four Card Making Class projects is your favourite?

Join me at one of my classes. Head to my Class Timetable for full details.

Happy crafting

Karen Young HIPPOFROG Designs

To order any of the supplies shown below, head to my Online Store. Items available while stocks last.

Online Shopping Club Code      Join my team      Current Products      Offers & Promotions      Book a Class
POISED PEONY CLING STAMP SET (ENGLISH)1-3/4" (4.4 CM) CIRCLE PUNCH2" (5.1 CM) CIRCLE PUNCHPRETTY IN PINK A4 CARDSTOCKGRANNY APPLE GREEN A4 CARDSTOCKGRAY GRANITE CLASSIC STAMPIN' PADBASIC WHITE A4 CARDSTOCKBASIC WHITE A4 THICK CARDSTOCKPRETTY IN PINK STAMPIN' BLENDS COMBO PACKSTAMPIN' BLENDS GRANNY APPLE GREEN COMBO PACKPRETTY IN PINK 3/8" (1 CM) BORDERED RIBBONIRIDESCENT PEARL BASIC JEWELSMULTIPURPOSE LIQUID GLUETEAR & TAPE ADHESIVESTAMPIN' DIMENSIONALS

Last Week’s Card & Cuppa – To the Point Label Punch

At last week’s Card &  Cuppa class, we used the new To the Point Label Punch to create this design.

The Punch is from the Mini Catalogue and when I received it, I just knew I had to make a mosaic-type project.

For this Birthday Card, I chose Pool Party, Azure Afternoon and Balmy Blue for my ’tiles’. Misty Moonlight and Basic Beige provide the accents.

Each colour was cut 3 times using the Punch. These were then stamped tone-on-tone using images from the Planted Paradise Stamp Set.

The ’tile’ for the sentiment was stamped using words from the Everday Greetings Stamp Set in Misty Moonlight. This Stamp Set is a Last Chance Product, so get your hands on it before it is discontinued and leaves us for good.

All of the ’tiles’, apart from the sentiment were then stuck to the Basic Beige layer, using excess cut off pieces to fill the gaps along the way.

A length of coordinating Basic Beige Bordered Ribbon then makes a swoosh before the sentiment is raised up using Dimensionals.

This is a great project that can be created in many different colour ways and used for lots of different occasions.

Join me at one of my classes. Head to my Class Timetable for full details.

Happy crafting

Karen Young HIPPOFROG Designs

To order any of the supplies shown below, head to my Online Store. Items available while stocks last.

Online Shopping Club Code      Join my team      Current Products      Offers & Promotions      Book a Class
TO THE POINT LABEL PUNCHPLANTED PARADISE PHOTOPOLYMER STAMP SETEVERYDAY GREETINGS PHOTOPOLYMER STAMP SET (ENGLISH)POOL PARTY A4 CARDSTOCKPOOL PARTY CLASSIC STAMPIN' PADAZURE AFTERNOON A4 CARDSTOCKAZURE AFTERNOON CLASSIC STAMPIN' PADBALMY BLUE A4 CARDSTOCKBALMY BLUE CLASSIC STAMPIN' PADMISTY MOONLIGHT CLASSIC STAMPIN' PADBASIC BEIGE A4 CARDSTOCKBASIC BEIGE 3/8" (1 CM) BORDERED RIBBONMULTIPURPOSE LIQUID GLUESTAMPIN' DIMENSIONALSTEAR & TAPE ADHESIVE

Last Week’s Card & Cuppa – Natural Botanicals

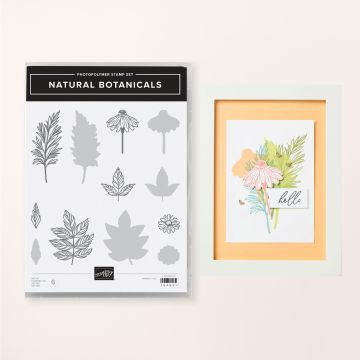
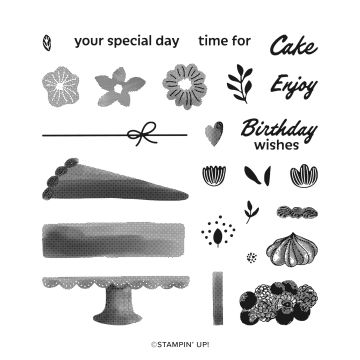
At last week’s Card & Cuppa Class, we used another new Stamp Set from the Mini Catalogue.

This Stamp Set is Natural Botanicals and is part of the Reversibles range.

Reversibles are specially designed to allow you to stamp using both sides of the stamp set. You get both a detailed image and a block image from the same stamp.

For this project, I used Lost Lagoon, Pretty Peacock, Basic Beige and Crushed Curry for the stamping. I also used Daffodil Delight for the colouring, all on a background of Basic White.

First, the sentiment, from the Cake Fancy Stamp Set is stamped. Followed by the leaves across one side of the project.

Next, the flowers were stamped on a circle cut out using a Circle Punch from the Online Exclusives range.

These were coloured using the Daffodil Delight Stampin’ Blends Combo Pack. The flowers were also given a little touch of Wink of Stella in their centres.

A length of coordinating Bordered Ribbon was stuck across the centre.

After layering the flower circle onto a larger circle, also cut out using a Circle Punch from the Online Exclusives range, this was attached using Dimensionals.

Finally, coordinating Sequins from the Sequins Trio Pack were added.

Join me at one of my classes. Head to my Class Timetable for full details.

Happy crafting

Karen Young HIPPOFROG Designs

To order any of the supplies shown below, head to my Online Store. Items available while stocks last.

Online Shopping Club Code      Join my team      Current Products      Offers & Promotions      Book a Class
NATURAL BOTANICALS PHOTOPOLYMER STAMP SETCAKE FANCY PHOTOPOLYMER STAMP SET (ENGLISH)2" (5.1 CM) CIRCLE PUNCH2-3/8" (6 CM) CIRCLE PUNCHLOST LAGOON A4 CARDSTOCKLOST LAGOON CLASSIC STAMPIN' PADPRETTY PEACOCK A4 CARDSTOCKPRETTY PEACOCK CLASSIC STAMPIN' PADBASIC BEIGE CLASSIC STAMPIN PADCRUSHED CURRY CLASSIC STAMPIN' PADBASIC WHITE A4 CARDSTOCKSTAMPIN' BLENDS DAFFODIL DELIGHT COMBO PACKBASIC BEIGE 3/8" (1 CM) BORDERED RIBBONADHESIVE-BACKED SEQUINS TRIOWINK OF STELLA CLEAR GLITTER BRUSHMULTIPURPOSE LIQUID GLUETEAR & TAPE ADHESIVESTAMPIN' DIMENSIONALS

Last Week’s Card & Cuppa – Keeping Tabs Bundle

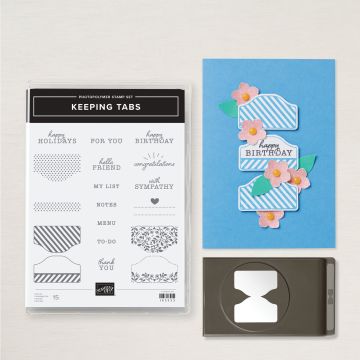
Last week’s Card & Cuppa project uses the new Keeping Tabs Bundle from the Annual Catalogue.

It’s inspired by a project in the Annual Catalogue and uses new In Colors too.

My colour combination is Pretty in Pink, Petunia Pop and Summer Splash.

To begin, a colour flare is added to the background using a Blending Brush.

Next, the tab images from the Keeping Tabs Stamp Set are stamped and cut out using the coordinating Punch. A sentiment, also from the stamp set is added to the blank space.

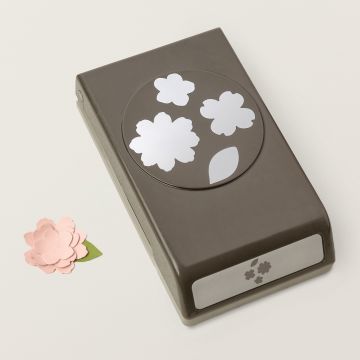
Flower and leaves are cut out using the Petal Park Builder Punch. Some of the flowers are given a slightly darker feel using a Blending Brush and Pretty in Pink ink.

Rhinestones are then added to the centre of each flower.

A length of In Color Bordered Ribbon is added to the centre.

The centre shape has a flower and leaf added before being stuck above the ribbon. This is repeated for the top and bottom tabs that are stuck directly to the project.

Join me at one of my classes. Head to my Class Timetable for full details.

Happy crafting

Karen Young HIPPOFROG Designs

To order any of the supplies shown below, head to my Online Store. Items available while stocks last.

Online Shopping Club Code      Join my team      Current Products      Offers & Promotions      Book a Class

KEEPING TABS PUNCH BUNDLE (ENGLISH)PETAL PARK BUILDER PUNCH2024–2026 IN COLO™ A4 CARDSTOCKPETUNIA POP CLASSIC STAMPIN PADPRETTY IN PINK CLASSIC STAMPIN PADSUMMER SPLASH CLASSIC STAMPIN PADBASIC WHITE A4 CARDSTOCKBLENDING BRUSHESPRETTY IN PINK 3/8" (1 CM) BORDERED RIBBONRHINESTONE BASIC JEWELSMULTIPURPOSE LIQUID GLUEGLUE DOTSTEAR & TAPE ADHESIVESTAMPIN' DIMENSIONALS

Last Week’s Card & Cuppa – Introducing Summer Splash

At last week’s Card & Cuppa Class, the project introduced the final new In Color for 2024-2026, Summer Splash.

This fun bright colour worked really well with the new Labeled With Love Bundle. If you haven’t seen this bundle in the new Catalogue then make sure you check it out. You can choose to pair the Stamp Set with a Punch or Dies, depending on  your preference. As I prefer a punch, I chose the Stamp Set and Punch Bundle.

Along with Summer Splash, Pretty Peacock, Pool Party and Basic White completed my colour combination.

First, the background presents were stamped. These were then given a flare of colour using Pool Party and a Blending Brush.

On a separate piece of cardstock, the sentiment and focal present were stamped. The sentiment was cut out using the coordinating Punch and the present was fussy cut.

Two lengths of Summer Splash Bordered Ribbon were then added to the background to mirror the parcel wrapping.

With the parcel stuck to the sentiment, this was then attached to the project using Dimensionals.

Finally, coordinating Resin Dots were then added to the project.

This is a quick and simple project and an easy design to create in a range of colours.

If you are a fan of Summer Splash, here is comparison of it to other current Stampin’ Up! colours. Which is your favourite new In Color?

Join me at one of my classes. Head to my Class Timetable for full details.

Happy crafting

Karen Young HIPPOFROG Designs

To order any of the supplies shown below, head to my Online Store. Items available while stocks last.

Online Shopping Club Code      Join my team      Current Products      Offers & Promotions      Book a Class
LABELED WITH LOVE PUNCH BUNDLE (ENGLISH)SUMMER SPLASH A4 CARDSTOCKSUMMER SPLASH CLASSIC STAMPIN PADPOOL PARTY CLASSIC STAMPIN' PADPRETTY PEACOCK CLASSIC STAMPIN' PADBASIC WHITE A4 CARDSTOCKBASIC WHITE A4 THICK CARDSTOCKSUMMER SPLASH 3/8" (1 CM) BORDERED RIBBONSMALL BLENDING BRUSHES2024-2026 IN COLOR™ RESIN DOTSTEAR & TAPE ADHESIVEMULTIPURPOSE LIQUID GLUESTAMPIN' DIMENSIONALS

Last Week’s Card & Cuppa – Introducing Shy Shamrock

Last week’s Card & Cuppa project introduced another new 2024-2026 In Color.

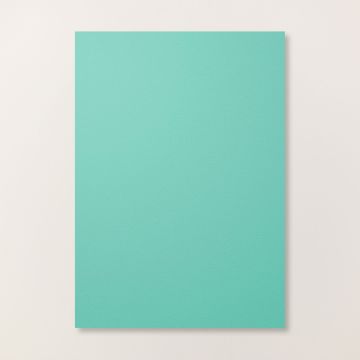
The new Shy Shamrock was paired with Lemon Lime Twist and Basic White to create this green Birthday card.

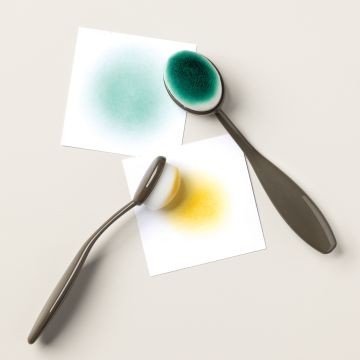
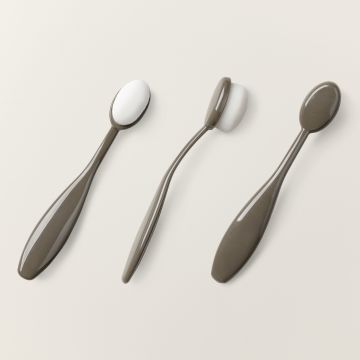
Leaves from the Painted Lavender Stamp Set were stamped around the edge. Then colour was added across the stamped leaves using a Blending Brush.

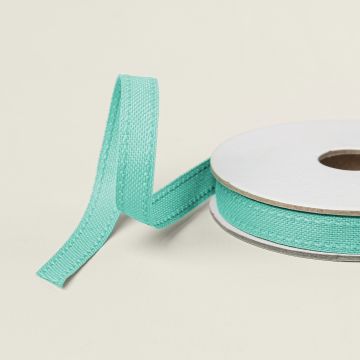
A length of coordinating In Color Bordered Ribbon was then added across the piece.

Using the Layering Leaves Stamp Set and Bough Punch, the central leaves are created. They are coloured using Stampin’ Blends.

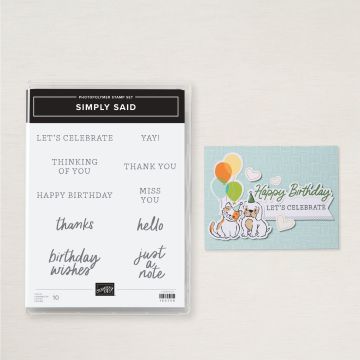
The Simply Said Stamp Set provides the sentiment which the leaves are attached to.

Each leaf is then attached to the sentiment and then stuck to the ribbon with Tear & Tape.

Mini Dimensionals are stuck to the tips of the leaves to raise them up.

Finally, Iridescent Pearls are coloured wiht Stampin’ Blends before being stuck to the project.

The image below shows how the new Shy Shamrock compares to other current Stampin’ Up! colours.

Join me at one of my classes. Head to my Class Timetable for full details.

Happy crafting

Karen Young HIPPOFROG Designs

To order any of the supplies shown below, head to my Online Store. Items available while stocks last.

Online Shopping Club Code      Join my team      Current Products      Offers & Promotions      Book a Class
PAINTED LAVENDER PHOTOPOLYMER STAMP SETLAYERING LEAVES PHOTOPOLYMER STAMP SET (ENGLISH)BOUGH PUNCHSIMPLY SAID MIX & MATCH PHOTOPOLYMER STAMP SET (ENGLISH)SHY SHAMROCK A4 CARDSTOCKSHY SHAMROCK CLASSIC STAMPIN PADLEMON LIME TWIST A4 CARDSTOCKLEMON LIME TWIST CLASSIC STAMPIN' PADBASIC WHITE A4 CARDSTOCKSHY SHAMROCK STAMPIN' BLENDS COMBO PACKLEMON LIME TWIST STAMPIN' BLENDS COMBO PACKSHY SHAMROCK 3/" (1 CM) BORDERED RIBBONSMALL BLENDING BRUSHESIRIDESCENT PEARL BASIC JEWELSMULTIPURPOSE LIQUID GLUETEAR & TAPE ADHESIVEMINI STAMPIN' DIMENSIONALS

Last Week’s Card & Cuppa – (Re)Introducing Pretty in Pink

Last week’s Card & Cuppa class continued working through the new In Colors. This time it was the turn of Pretty in Pink, a previous retired Stampin’ Up! colour that has returned as an In Color for 2024-2026.

For this grunge/vintage-style project, I combined the new colour with Moody Mauve, Crumb Cake and Very Vanilla.

The background is stamped with images from the new Flowers of Beauty Stamp Set. This stamping is all second generation.

Next, the background is given a vintage look using Blending Brushes, Crumb Cake and Pretty in Pink ink.

For my project, I ripped the background piece and also curled a corner for a grungey look.

Using the Petal Park Builder Punch, the flower shapes were punched and then coloured on both sides using Blending Brushes. They were then scrunched to soften the fibres and the cardstock was split into two layers. Both layers were then offset and stuck back together before one layer of the centre was added.

The flowers were stuck to a punched circle that had the edge coloured. A piece of coordinating In Color Ribbon was stuck to the back of the circle before the whole piece was added to the project.

Each flower had a sequin from the Adhesive-Backed Sequins Trio Pack popped in the centre.

Finally, Pretty in Pink Shimmer Gems were dotted around the project.

As this design is quite busy, I chose to leave it sentiment free – perfect for any occasion.

If you are a fan of Pretty in Pink, here is comparison of it to other current Stampin’ Up! colours.

Join me at one of my classes. Head to my Class Timetable for full details.

Happy crafting

Karen Young HIPPOFROG Designs

To order any of the supplies shown below, head to my Online Store. Items available while stocks last.

Online Shopping Club Code      Join my team      Current Products      Offers & Promotions      Book a Class
FLOWERS OF BEAUTY PHOTOPOLYMER STAMP SETPETAL PARK BUILDER PUNCH1-3/4" (4.4 CM) CIRCLE PUNCHPRETTY IN PINK A4 CARDSTOCKPRETTY IN PINK CLASSIC STAMPIN PADMOODY MAUVE A4 CARDSTOCKMOODY MAUVE CLASSIC STAMPIN' PADCRUMB CAKE CLASSIC STAMPIN' PADVERY VANILLA A4 CARDSTOCKBLENDING BRUSHESSMALL BLENDING BRUSHESPRETTY IN PINK 3/8" (1 CM) BORDERED RIBBON2024–2026 IN COLOR™ SHIMMER GEMSADHESIVE-BACKED SEQUINS TRIOMULTIPURPOSE LIQUID GLUETEAR & TAPE ADHESIVE

Last Week’s Card & Cuppa – Introducing Peach Pie

Last week’s Card & Cuppa project used both a new Bundle from the Annual Catalogue and a new In Color too.

For this sentiment free design I was introducing Peach Pie, one of the new In Color Collection for 2024-2026. See the bottom of this post for more details on Peach Pie.

This new orange is teamed with Pecan Pie and Calypso Coral and Very Vanilla for a softer look.

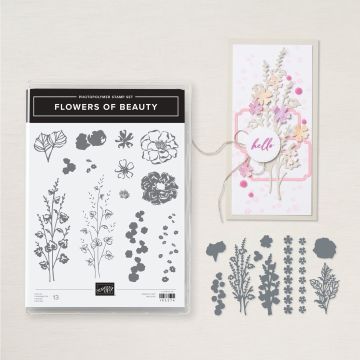
The project also uses the new Flowers of Beauty Bundle (Stamp Set & Dies).

A background is stamped in 2nd and 3rd generation stamping (see my Top Tips, Tricks & Techniques Video here for more details on generational stamping).

Next, the central leaves and flower are stamped and cut out using the coordinating dies. As the flower is two-step stampin’ we used Peach Pie for both parts, stamping off the infill piece to make it lighter. The large leaf is then cut out too.

Using a Blender Pen, the two smaller leaves are given a little bit of colour.

One of the Online Exclusives Circle Punches creates the central piece that all of the cut outs are then attached to.

Coordinating In Color Bordered Ribbon is then added across the centre of the project before the circle with it’s attachments are stuck on with Dimensionals.

Finally, some In Color Shimmer Gems, again in coordinating Peach Pie, add a little touch of sparkle.

As this design is sentiment free, it makes it great for any occasion. You can either leave it as it is, or add a sentiment nearer the time.

If you are a fan of Peach Pie, here is comparison of it to other current Stampin’ Up! colours.

Join me at one of my classes. Head to my Class Timetable for full details.

Happy crafting

Karen Young HIPPOFROG Designs

To order any of the supplies shown below, head to my Online Store. Items available while stocks last.

Online Shopping Club Code      Join my team      Current Products      Offers & Promotions      Book a Class
FLOWERS OF BEAUTY BUNDLE2" (5.1 CM) CIRCLE PUNCHPEACH PIE A4 CARDSTOCKPEACH PIE CLASSIC STAMPIN PADPECAN PIE A4 CARDSTOCKPECAN PIE CLASSIC STAMPIN' PADCALYPSO CORAL A4 CARDSTOCKVERY VANILLA A4 CARDSTOCKPEACH PIE 3/8" (1 CM) BORDERED RIBBONBLENDER PENS2024–2026 IN COLOR™ SHIMMER GEMSWINK OF STELLA CLEAR GLITTER BRUSHMULTIPURPOSE LIQUID GLUESTAMPIN' DIMENSIONALS