Sunflower using the Christmas Bulb Builder

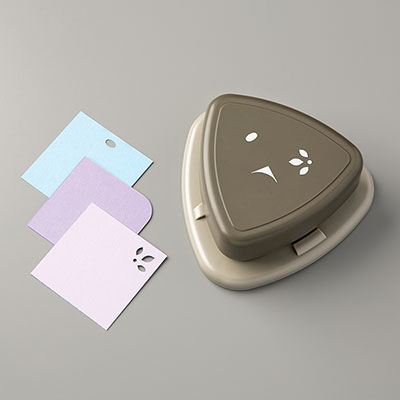
A lovely couple have just moved into their first home together and one of them loves sunflowers, so, I made this sunflower using the Christmas Bulb Builder Punch.

I’ve already made a poinsettia using this punch but this is something very different.

Sunflower using the Christmas Bulb Builder Punch. Designed by Karen at HIPPOFROG Designs

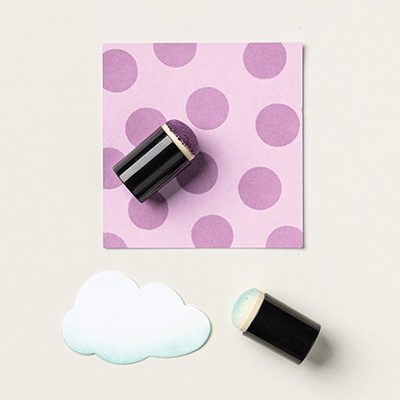
It’s layers of the the bulb shape punched from Daffodil Delight and shaded on the edges using a Sponge Dauber.

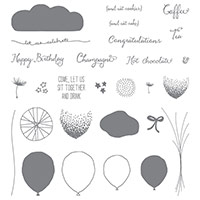
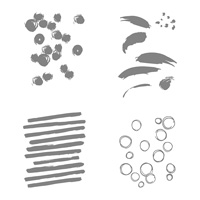
The centre is an image from Balloon Celebration tone-on-tone. Stamping stripes from the Playful Backgrounds Stamp Set onto a piece of Cajun Craze card then became a pot.

Sunflower using the Christmas Bulb Builder Punch. Designed by Karen at HIPPOFROG Designs

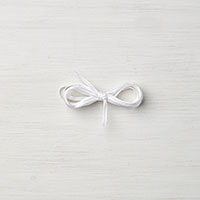
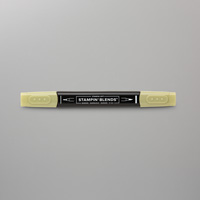
Using a Light Old Olive Stampin’ Blend, I coloured a strip of Sheer Whisper White Ribbon to make the stem and a set of bow leaves.

It’s all set on Very Vanilla Cardstock as this gives a much softer feel than Whisper White.

Sunflower using the Christmas Bulb Builder Punch. Designed by Karen at HIPPOFROG Designs

The corners are given a softer shape with the Detailed Trio Punch and a spot of Wink of Stella in the centre of the flower adds some final bling.

As the card is a non-standard size, I also made a co-ordinating envelope from some retired DSP.

Sunflower using the Christmas Bulb Builder Punch. Designed by Karen at HIPPOFROG Designs

As you can see, this punch isn’t just for Christmas. It’s much more versatile, and you can make other things using the Christmas Bulb Builder Punch. It’s also the punch you will receive if you attend my Christmas Card Boot Camp Class (not the PM session). Book your place by 13th October.

Happy crafting

Karen Young HIPPOFROG Designs

To order any of the supplies used, click on the images below to go to my online store. Remember to use the Hostess Code if you are placing an order.

You can also join my team here.
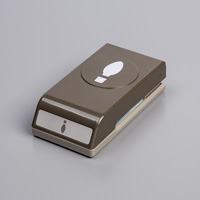
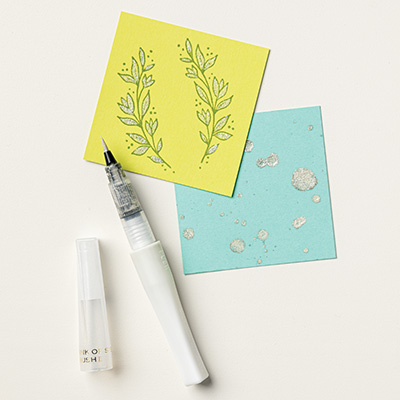
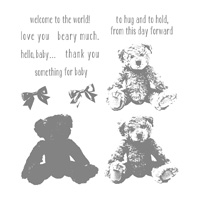
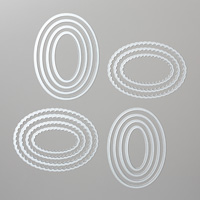
Christmas Bulb Builder PunchBalloon Celebration Photopolymer Stamp SetPlayful Backgrounds Photopolymer Stamp SetVery Vanilla A4 Thick CardstockCajun Craze Classic Stampin' PadCajun Craze A4 CardstockEarly Espresso Classic Stampin' PadEarly Espresso A4 CardstockDaffodil Delight Classic Stampin' PadDaffodil Delight A4 CardstockVery Vanilla A4 CardstockWhisper White 1/8" Sheer RibbonOld Olive Light Stampin' Blends Marker1" (2.5 cm) Circle PunchDetailed Trio PunchClear Wink Of Stella Glitter BrushSnail AdhesiveStampin' DimensionalsMini Glue Dots

Punch Art Poinsettia

How are you liking this fabulous Punch Art Poinsettia?

It’s made using the Christmas Bulb Builder Punch. I love using punches in different ways and knew that there was a floral possibility with this one.

Punch Art Poinsettia. Designed by Karen at HIPPOFROG Designs

The bulb is punched multiple times to create the petals. Using a sponge dauber they have their edges coloured before being carefully layered.

Using the Detailed Trio Punch, the corners are given matching petal shapes.

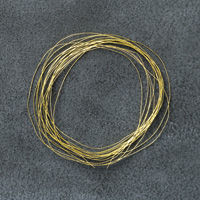
A long length of Metallic Thread is wrapped around the centre to co-ordinate with the Gold Foil Sheet background layer.

Punch Art Poinsettia. Designed by Karen at HIPPOFROG Designs

A small Daffodil Delight circle and a Gold Faceted Gem complete this stylish project.

Punch Art Poinsettia. Designed by Karen at HIPPOFROG Designs

Watch this space for another floral creation using this punch.

If you’d like to make one of these, then make sure you book onto my Christmas Card Boot Camp as this is one of the special cards we’ll be making in the afternoon.

Happy crafting

Karen Young HIPPOFROG Designs

To order any of the supplies used, click on the images below to go to my online store. Remember to use the Hostess Code if you are placing an order.

You can also join my team here.
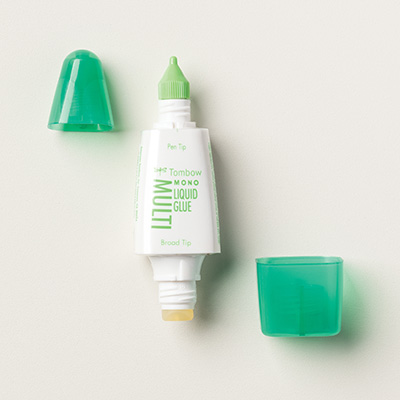
Christmas Bulb Builder PunchReal Red A4 CardstockReal Red Classic Stampin' PadWhisper White A4 CardstockDaffodil Delight A4 CardstockGold Foil SheetsGold Faceted GemsGold Metallic ThreadSponge DaubersDetailed Trio Punch1/2" (1.3 cm) Circle PunchSnail AdhesiveMultipurpose Liquid GlueTear & Tape Adhesive

Christmas Card Boot Camp 2018

It’s happening! Christmas Card Boot Camp 2018 is now OPEN for bookings.

The project below is an example of one of the cards you’ll be making during the day.

Making Christmas Bright project for Christmas Card Boot Camp. Designed by Karen at HIPPOFROG Designs

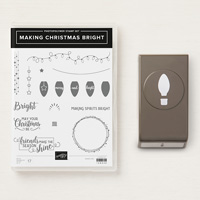
The Making Christmas Bright Stamp Set and co-ordinating Punch used to create the above project are from the new Autumn/Winter Catalogue.

Making Christmas Bright project for Christmas Card Boot Camp. Designed by Karen at HIPPOFROG Designs

Three strings of fairy lights are added to the project with the three main bulbs then stamped and punched. Each small fairy light is finally coloured using Watercolor Pencils.

Making Christmas Bright project for Christmas Card Boot Camp. Designed by Karen at HIPPOFROG Designs

The day will run in a similar way to last year:
– The 3 hour morning session will see attendees making 24 Christmas Cards (6 each of 4 different designs – including the one above).

– The 3 hour afternoon session will see attendees making 4 special Christmas Cards, including one suitable for children. These cards are a bit more intricate and take a bit more time to make.

This year we have a new venue for Christmas Card Boot Camp, one of our regular Card & Cuppa cafes. They will be providing a fabulous Christmas Afternoon Tea between the classes and can cater for various food allergies too.

You can book for the morning session followed by the afternoon tea, the afternoon tea followed by the afternoon session, or the whole day with the afternoon tea between the classes.

Places are limited, so make sure you book your place. We have a couple of additional dates on hold if there is sufficient demand.

Head to this link for full details of the day and book your place.

Happy crafting

Karen Young HIPPOFROG Designs

To order any of the supplies used, click on the images below to go to my online store. Remember to use the Hostess Code if you are placing an order.

You can also join my team here.
Making Christmas Bright Photopolymer BundleWhisper White A4 CardstockOld Olive A4 CardstockReal Red A4 CardstockGray Granite Classic Stampin' PadDaffodil Delight Classic Stampin' PadWatercolor PencilsSnail AdhesiveMini Glue Dots

Crafty Christmas Weekend Workouts – Week 6 Day 2

For today’s Crafty Christmas Weekend Workout I’m showing you the 8th and final project from Christmas Card Boot Camp.  All of the cards made used the Stitched With Cheer Stamp Set and the Holly Berry Builder Punch from the Autumn/Winter Catalogue.

Stitched With Cheer Stampin' Up!

This design is really easy to produce multiple times as it includes a randomly stamped background.
The trees are really great for two-step stamping as the shaded images fit beautifully into the outline shapes, the same with the snowflake and star.

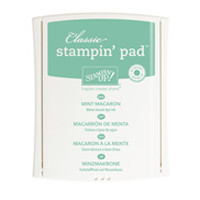
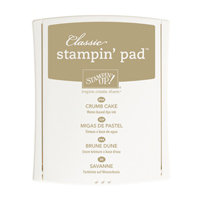
The colours used are Mint Macaron, Crumb Cake and Very Vanilla with Gold Metallic Thread wrapped around the centre circle.

Both the Stamp Set and Punch are currently on special offer in our Flash Sale that ends tomorrow. Make sure you don’t miss out on getting your hands on these products.

Happy crafting

Karen Young - HIPPOFROG Designs

To order any of the supplies used, click on the images below to go to my online store. Remember to use the Hostess Code if you are placing an order.

You can also join my team here.

Crafty Christmas Weekend Workouts – Week 6 Day 1

This weekend’s Crafty Christmas Weekend Workouts are the final two projects from Christmas Card Boot Camp.  We used the Stitched With Cheer Stamp Set and Hollly Berry Builder Punch from the Autumn/Winter Catalogue.

Stitched with Cheer Stampin' Up! UK

I called this the ‘Christmas Jumper’ card due to the lovely knitted pattern down the front.  Do you like the buttons I created?

The colours are Mint Macaron and Crumb Cake with Very Vanilla. The Gold Baker’s Twine is from a trio pack of Twines.

The Stitched With Cheer Stamp Set currently has 10% off and the Holly Berry Builder Punch has 40% off in our Flash Sale that ends on Monday 28th November. Don’t miss out!

Happy crafting

Karen Young - HIPPOFROG Designs

To order any of the supplies used, click on the images below to go to my online store. Remember to use the Hostess Code if you are placing an order.

You can also join my team here.
Crafty Christmas Weekend Workouts – Week 4 Day 2

The second of this weekend’s Crafty Christmas Weekend Workouts is another card from Christmas Card Boot Camp.  This one is all about Christmas trees.

Stitched With Cheer Stampin' Up!

It’s always fun to using stamps for something different to their intended use, so here is a tree of trees!

To create this the easiest place to start is the bottom middle. Stamp the trees either side and then the rows above. Then stamp the upside down trees making sure that the trunks completely overlap.

With the stamps being photopolymer it’s easy to see where you are stamping, so makes the creation of the project a lot quicker.

The bow is from the Baby Bear Stamp Set, the only extra stamp we used throughout the day, and is punched out using the Holly Berry Builder Punch.

A swirl of Gold Metallic Thread behind the punched bow just finishes the project nicely.

More Crafty Christmas Weekend Workouts next week…

Happy crafting

Karen Young - HIPPOFROG Designs

To order any of the supplies used, click on the images below to go to my online store. Remember to use the Hostess Code if you are placing an order.

You can also join my team here.
Crafty Christmas Weekend Workouts – Week 4 Day 1

Welcome to Week 4 of Crafty Christmas Weekend Workouts.

This week we’re heading back to Christmas Card Boot Camp with this project.

Stitched With Cheer Stampin' Up!

This project uses the Stitched With Cheer Stamp Set and coordinating Holly Berry Builder Punch.

Each card uses 6 holly leaves, that’s 48 for all 8 cards! Due to this, a handy tip is to stamp the leaves like this / / / / / / / / and start punching from the right-hand side of your cardstock.

The stamped Layering Ovals Framelits create the centrepiece. Finally, the project is finished with a length of Gold Metallic Thread wrapped around the centre.
Pop back tomorrow for Week 4 Day 2.

Happy crafting

Karen Young - HIPPOFROG Designs

To order any of the supplies used, click on the images below to go to my online store. Remember to use the Hostess Code if you are placing an order.
You can also join my team here.