Last Week’s Card & Cuppa – Of Art & Texture Online Exclusive

Last week’s Card & Cuppa project used a Stamp Set from the Online Exclusives range.

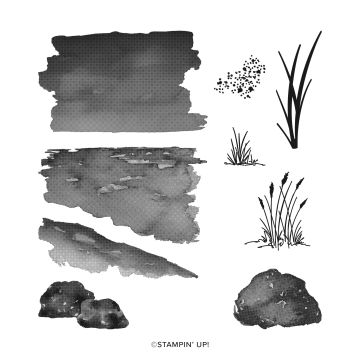
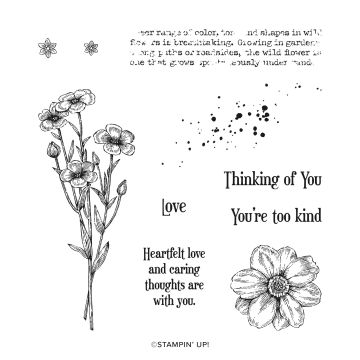
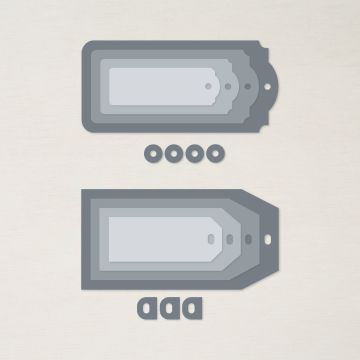
I’d been asked for a card suitable for a man, so chose the Of Art & Texture Stamp Set and the All That Dies to create this design.

I also chose a colour combination of the In Colors of Boho Blue and Pebbled Path, along with Misty Moonlight and Very Vanilla.

First, second generation stamping created the background.

Next, the various shapes were cut out and stamped.

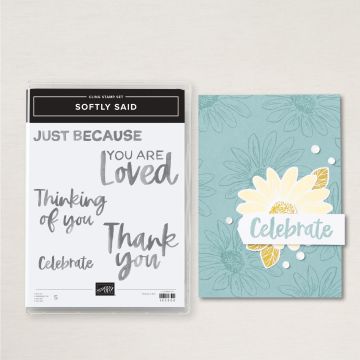
The sentiment is from the Softly Said Stamp Set, another product from the Online Exclusives range.

A length of coordinating Boho Blue ribbon is added to the background piece.

Then, the various shapes are stuck to the project, with the banner edges stuck to the sentiment.

The sentiment piece is raised up on Dimensionals to add some extra depth.

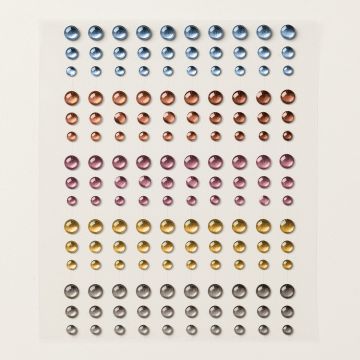
Finally, coordinating In Color Dots in Pebbled Path are dotted across the project.

This design is great to recreate in different colours and for any occasion. It also works up very quickly and easily too. Why not make a few and have some in your card stash, ready to send when needed.

Join me at one of my classes. Head to my Class Timetable for full details.

Happy crafting

Karen Young HIPPOFROG Designs

To order any of the supplies shown below, head to my Online Store. Items available while stocks last.

Online Shopping Club Code      Join my team      Current Products      Offers & Promotions      Book a Class
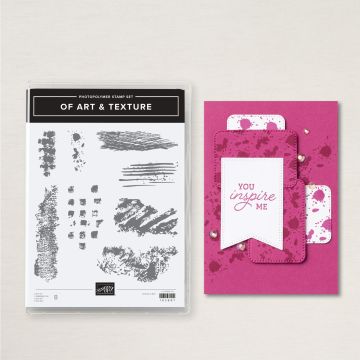
OF ART & TEXTURE PHOTOPOLYMER STAMP SETSOFTLY SAID CLING STAMP SET (ENGLISH)ALL THAT DIESBOHO BLUE A4 CARDSTOCKBOHO BLUE CLASSIC STAMPIN' PADPEBBLED PATH A4 CARDSTOCKPEBBLED PATH CLASSIC STAMPIN' PADMISTY MOONLIGHT CLASSIC STAMPIN' PADVERY VANILLA A4 CARDSTOCKBOHO BLUE 3/8" (1 CM) TEXTURED RIBBON2023–2025 IN COLOR™ DOTSMULTIPURPOSE LIQUID GLUETEAR & TAPE ADHESIVESTAMPIN' DIMENSIONALSMINI STAMPIN' DIMENSIONALS

Last Week’s Card & Cuppa – Abstract in In Color

For last week’s Card & Cuppa I designed an abstract project using the new 2023-2025 In Colors.

A combination of stamps from the Oceanfront Stamp Set, Quiet Meadow Stamp Set and the Inked & Tiled Stamp Set provided the background stamping in the various new colours. The whole project is sits on a Thick Very Vanilla base card.

Next, a length of In Color Textured Ribbon was added, followed by a length of the coordinating Jute Trim. This was split and tied in a knot before being placed on top of the ribbon. Splitting the Jute Trim creates the wavy effect.

Shapes cut from the Stylish Shapes Dies and the Tailor Made Tags Dies were arranged on top of the background, with the large square left until last.

The sentiment is from the Artistically Inked Stamp Set and cut in two before being stuck to the Copper Clay Square. This whole piece is given more depth using Dimensionals.

In Color Dots, also in the same Moody Mauve as the layer, ribbon and twine add the finishing touch.

This is a great design for anyone and particularly handy for those teen or masculine projects. It can be changed to use any colours and shapes too.

Join me at one of my classes. Head to my Class Timetable for full details.

Happy crafting

Karen Young HIPPOFROG Designs

To order any of the supplies shown below, head to my Online Store. Items available while stocks last.

Online Shopping Club Code      Join my team      Current Products      Offers & Promotions      Book a Class
ARTISTICALLY INKED CLING STAMP SETINKED & TILED CLING STAMP SET (ENGLISH)OCEANFRONT PHOTOPOLYMER STAMP SETQUIET MEADOW CLING STAMP SETSTYLISH SHAPES DIESTAILOR MADE TAGS DIES2023–2025 IN COLOR A4 CARDSTOCKCOPPER CLAY CLASSIC STAMPIN' PADMOODY MAUVE CLASSIC STAMPIN' PADPEBBLED PATH CLASSIC STAMPIN' PADWILD WHEAT CLASSIC STAMPIN' PADVERY VANILLA A4 CARDSTOCKVERY VANILLA A4 THICK CARDSTOCKMOODY MAUVE 3/8" (1 CM) TEXTURED RIBBON2023–2025 IN COLOR JUTE TRIM2023–2025 IN COLOR™ DOTSMINI STAMPIN' DIMENSIONALSMULTIPURPOSE LIQUID GLUESTAMPIN' DIMENSIONALSTEAR & TAPE ADHESIVE

Last Week’s Card & (Your) Cuppa – Turtle Punch

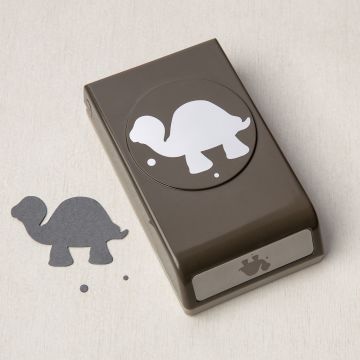
Last week’s Card & (Your) Cuppa Class was all about these cute critters.

Turtle Punch. Project designed by Karen at HIPPOFROG Designs

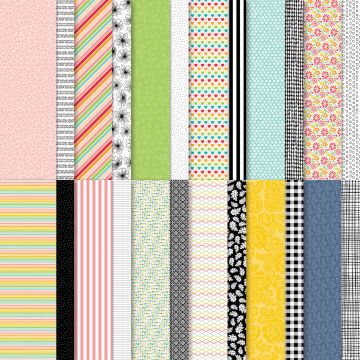
Using the Turtle Punch from the Annual Catalogue, the attendees received them in Pool Party, Misty Moonlight and Pacific Punch. They also had a strip of the Pattern Party Host DSP.

By cutting the shells off and sticking them onto different colour bodies, it provided lots of different options.

I also cut a little triangle party hat for the central turtle too.

Turtle Punch. Project designed by Karen at HIPPOFROG Designs

I added a strip of the Pattern Party Host DSP to the right hand side with a zig-zag of Striped Grosgrain Ribbon on top.

My sentiment is from the Celebrate with Sunflowers Stamp Set and it sits on top using Mini Dimensionals.

Finally, a mouth is drawn using a Stampin’ Write Marker, with Matte Black Dots for the eyes.

Turtle Punch. Project designed by Karen at HIPPOFROG Designs

During the class, we also had a discussion on how this could be turned into a new home card. What would you make?

Join me at one of my online classes. Head to my Class Timetable for full details.

Happy crafting

Karen Young HIPPOFROG Designs

To order any of the supplies shown below, head to my Online Store. Items available while stocks last.

Online Shopping Club Code      Join my team      Current Products      Offers & Promotions      Book a Class
TURTLE PUNCHCELEBRATE WITH FLOWERS CLING STAMP SET (ENGLISH)PATTERN PARTY 12" X 12" (30.5 X 30.5 CM) HOST DESIGNER SERIES PAPERPOOL PARTY A4 CARDSTOCKPACIFIC POINT A4 CARDSTOCKPACIFIC POINT CLASSIC STAMPIN' PADMISTY MOONLIGHT A4 CARDSTOCKBASIC WHITE A4 CARDSTOCKPOOL PARTY 3/8" (1 CM) STRIPED GROSGRAIN RIBBONMATTE BLACK DOTSMULTIPURPOSE LIQUID GLUETEAR & TAPE ADHESIVEMINI STAMPIN' DIMENSIONALS

Top Tips, Tricks & Techniques: Spotlight Technique

For this week’s Top Tips, Tricks & Techniques video, I’m briefly explaining the Spotlight Technique.

Top Tips, Tricks & Techniques: Spotlight Technique. Project designed by Karen at HIPPOFROG DesignsClick below to watch my video.


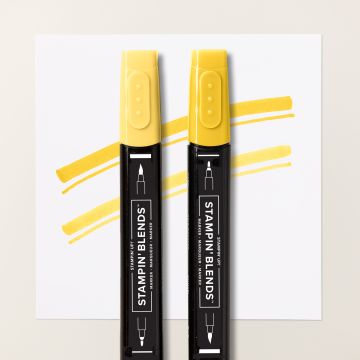
My project uses a colour combination of Daffodil Delight and Basic Black.

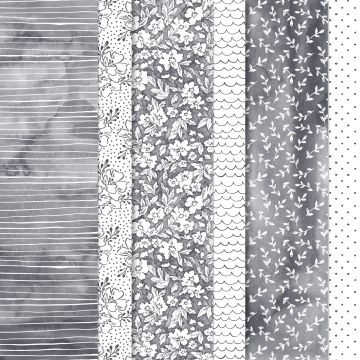
The fabulous FREE SAB Beautifully Penned DSP provides the images for the technique.

Top Tips, Tricks & Techniques: Spotlight Technique. Project designed by Karen at HIPPOFROG Designs

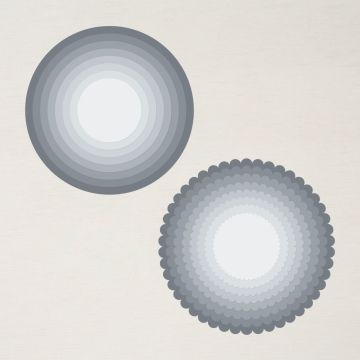
My cut out shapes are circles using the Layering Circles Dies. You can use any shape you like.

Top Tips, Tricks & Techniques: Spotlight Technique. Project designed by Karen at HIPPOFROG Designs

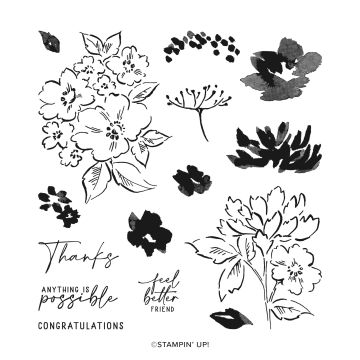
The sentiment from the coordinating Hand-Penned Petals Stamp Set is also layered onto Basic Black

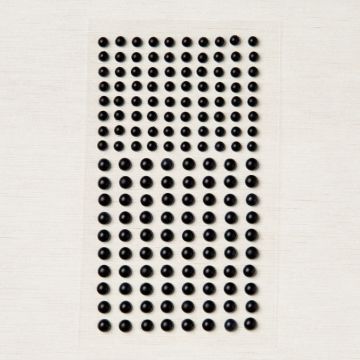
Finally, a few of the Black Matte Dots are added.

Don’t forget that SAB is only running until the end of September. Items are available while stocks last.

I hope you’ve enjoyed this week’s Top Tips, Tricks & Techniques video. Pop back next week for the next one.

Join me at one of my online classes. Head to my Class Timetable for full details.

Happy crafting

Karen Young HIPPOFROG Designs

To order any of the supplies shown below, head to my Online Store. Items available while stocks last.

Online Shopping Club Code      Join my team      Current Products      Offers & Promotions      Book a Class
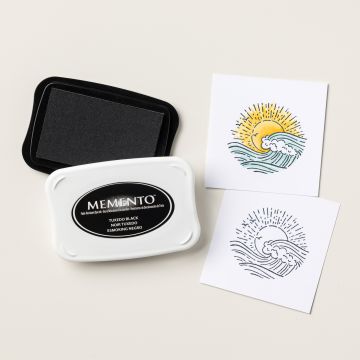
BEAUTIFULLY PENNED 12" X 12" (30.5 X 30.5 CM) DESIGNER SERIES PAPERHAND-PENNED PETALS PHOTOPOLYMER STAMP SETLAYERING CIRCLES DIESDAFFODIL DELIGHT A4 CARDSTOCKBASIC BLACK A4 CARDSTOCKTUXEDO BLACK MEMENTO INK PADSTAMPIN' BLENDS DAFFODIL DELIGHT COMBO PACKMATTE BLACK DOTSMULTIPURPOSE LIQUID GLUE

Last Week’s Card & (Your) Cuppa – Just Black and White

As you know, I love a monochrome project, so I was delighted when a black and white project was requested.

Not wishing disappoint those regular Card & (Your) Cuppa attendees, I was happy to oblige with last week’s project.

Just Black and White. Project designed by Karen at HIPPOFROG Designs

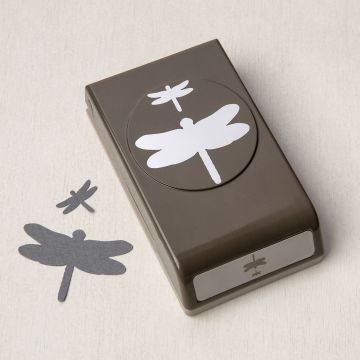
With just a Basic Black and Basic White colour combination, I chose to use the Dragonfly Punch.

Small dragonflies are stuck onto the white layer up to a preferred point. Any overhanging pieces are then cut away. The dividing line is then covered by 3 lengths of Black Baker’s Twine from the Baker’s Twine Essentials Pack.

Just Black and White. Project designed by Karen at HIPPOFROG Designs

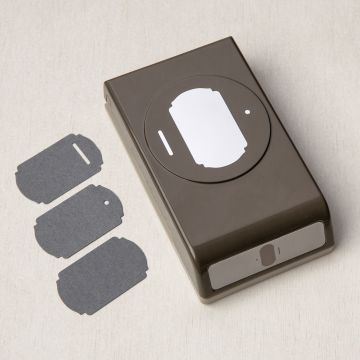
Using both a black and white shape from the Label Me Fancy Punch, these were layered. By cutting the black shape in half, this provided a wider layer for the white piece.

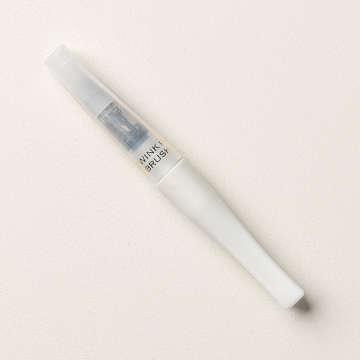
The large dragonfly is then given a coating of Wink of Stella for a touch of bling. The whole piece is raised up using Dimensionals.

Just Black and White. Project designed by Karen at HIPPOFROG Designs

Finally, Matte Black Dots are scattered across the bottom half of the project.

I have chosen to leave mine sentiment free for an any occasion card. I can add a sentiment of my choosing at a later date if I need to.

Join me at a future class. For more details and to book your place, head to my Class Timetable.

Happy crafting

Karen Young HIPPOFROG Designs

To order any of the supplies shown below, head to my Online Store

Online Shopping Club Code      Join my team      Current Products      Offers & Promotions      Book a Class
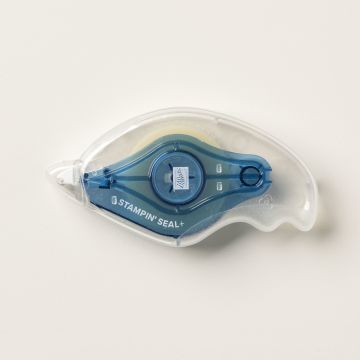
DRAGONFLIES PUNCHBASIC BLACK A4 CARDSTOCKBASIC WHITE A4 CARDSTOCKBASIC WHITE A4 THICK CARDSTOCKBAKER'S TWINE ESSENTIALS PACKLABEL ME FANCY PUNCHWINK OF STELLA CLEAR GLITTER BRUSHMATTE BLACK DOTSSTAMPIN' SEAL+STAMPIN' DIMENSIONALSMULTIPURPOSE LIQUID GLUE

Last Week’s Card & (Your) Cuppa – Easter Bunny Punch Art

Last week’s Card & (Your) Cuppa project was this cute Easter Bunny Punch Art card.

Easter Bunny Punch Art. Project designed by Karen at HIPPOFROG Designs But, this card is also perfect for any rabbit fan too, not just Easter.

The return of a punch with ovals in the January-June Mini Catalogue was brilliantly timed for this project!

My colour combination is Crumb Cake for the main rabbit, with Blushing Bride and White accents. These sit on a background of Seaside Spray and Pear Pizzazz.

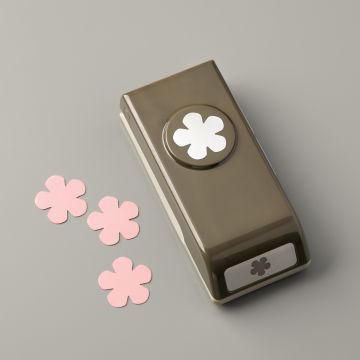
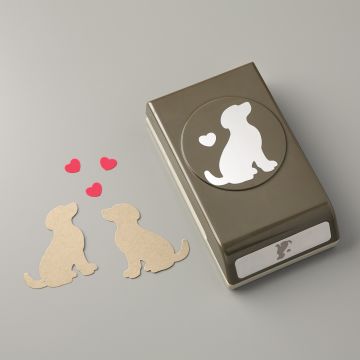
Circle Punches and the Double Oval Punch make the main shapes. Just one shape cut out using the Small Bloom Punch creates the area on the face. Tiny hearts for the nose and pads are from the Dog Builder Punch.

By just popping the ears behind the head, and the feet in front of the body, it comes together very quickly.

Easter Bunny Punch Art. Project designed by Karen at HIPPOFROG Designs

The most complicated bit is the face, with lengths of Twine from the Snail Mail Twine Combo Pack creating the whiskers.

Finally, the nose is attached with a glue dot and the Matte Black Enamel Dots eyes area added.

There are so many different options for this design, beginning with the shape of the grass for the background. You can either cut make it curvy as I’ve done here, or create a more 3D effect similar to this project.

Easter Bunny Punch Art. Project designed by Karen at HIPPOFROG Designs

With the rabbit, this can either be the front, as I’ve shown. Or, the back of the rabbit, using the Small Bloom Punch shape for the tail, instead of on the face. Another option is to just create the face and pop it looking out through the grass.

I’d love to see what you decide to make.

Some of the punches I used on this project are now on the Retiring List. Items on the list are available while stocks last.

I’ve used Whisper White in my project, which has now been replaced with Basic White. See this post for full details while I work through my supply.

Why not book onto one of my Online Classes? Head to my Class Timetable for full details.

Happy crafting

Karen Young HIPPOFROG Designs

To order any of the supplies shown below, head to my Online Store

Online Shopping Club Code      Join my team      Current Products      Special Offers      Book a Class
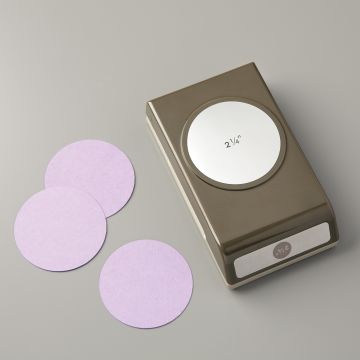
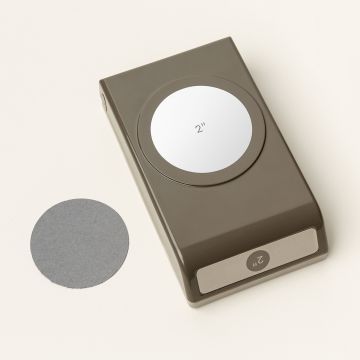
2 1/4" (5.7 CM) CIRCLE PUNCH2" (5.1 CM) CIRCLE PUNCHDOUBLE OVAL PUNCHSMALL BLOOM PUNCHDOG BUILDER PUNCHCRUMB CAKE A4 CARDSTOCKBLUSHING BRIDE A4 CARDSTOCKBALMY BLUE A4 CARDSTOCKPEAR PIZZAZZ A4 CARDSTOCKBASIC WHITE A4 CARDSTOCKBASIC WHITE A4 THICK CARDSTOCKMATTE BLACK DOTSSNAIL MAIL TWINE COMBO PACKMULTIPURPOSE LIQUID GLUESTAMPIN' DIMENSIONALSGLUE DOTS