Last Week’s Card & Cuppa – Christmas Stripes

Our final Card & Cuppa project of the year was this pretty Christmas card I’m sharing a day early with you!

It is one of my favourite stripe designs made with my favourite stamp set, DSP and Ribbon of the season.

Sadly these items are on the Last Chance Products list, so we won’t see them again when our Spring Catalogue releases in early January.

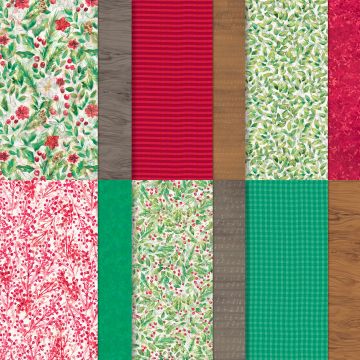
The bottom of the card is made with stripes of the Joy of Christmas DSP laid side by side.

A length of the gorgeous Iridescent Ribbon sits across the top of the pieces. This ribbon has a lovely shimmer to it and appears to change colour in different lights.

Two circles are then punched using the Online Exclusives Circle Punches, one from Basic White and one from Shaded Spruce cardstock.

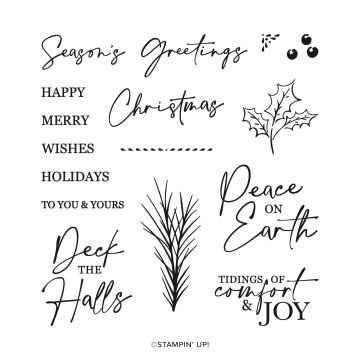
The holly image from the Christmas Classics Stamp Set is then stamped in coordinating Shaded Spruce and coloured using a Stampin’ Blend.

It is given a touch of extra festive sparkle using Wink of Stella before the layered circles are stuck across the ribbon.

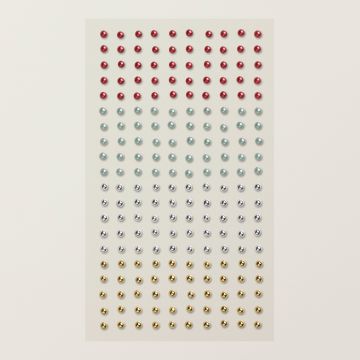
Finally, some Festive Pearls are added to create holly berries.

This design is great if you have offcuts of DSP or just need to de-stash. It also works with cardstock too.

Join me at one of my classes. Head to my Class Timetable for full details.

Happy crafting

Karen Young HIPPOFROG Designs

To order any of the supplies shown below, head to my Online Store. Items available while stocks last.

Online Shopping Club Code      Join my team      Current Products      Offers & Promotions      Book a Class
CHRISTMAS CLASSICS PHOTOPOLYMER STAMP SET (ENGLISH)JOY OF CHRISTMAS 12" X 12" (30.5 X 30.5 CM) DESIGNER SERIES PAPER1-3/4" (4.4 CM) CIRCLE PUNCH2" (5.1 CM) CIRCLE PUNCHSHADED SPRUCE A4 CARDSTOCKSHADED SPRUCE CLASSIC STAMPIN' PADBASIC WHITE A4 CARDSTOCKBASIC WHITE A4 THICK CARDSTOCKSTAMPIN' BLENDS SHADED SPRUCE COMBO PACKWHITE 1/2" (1.3 CM) IRIDESCENT RIBBONFESTIVE PEARLSWINK OF STELLA CLEAR GLITTER BRUSHTEAR & TAPE ADHESIVEMULTIPURPOSE LIQUID GLUE

Last Week’s Card & Cuppa – Christmas Punch Art Robin

Last week’s Card & Cuppa project was this cute Christmas punch art robin on a tag.

It uses traditional Christmas colours of Real Red and Old Olive with Very Vanilla. Along with Pecan Pie and Daffodil Delight for the robin body and beak.

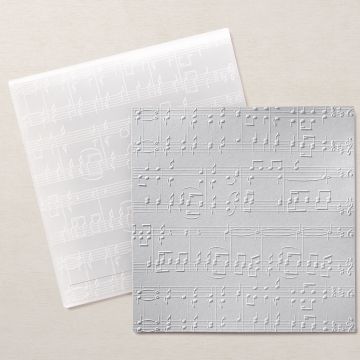
The background is embossed using the Merry Melody 3D Embossing Folder.

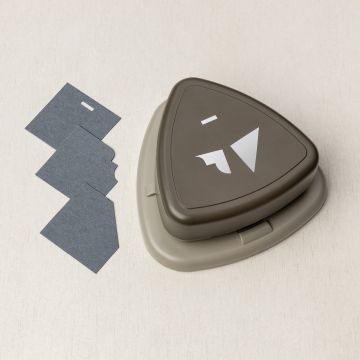
Next, the tag is created by cutting the edges off two rectangles using the Very Best Trio Punch.

Using the Christmas Classics Stamp Set (on the Last Chance Products List), the spruce branches are added to the Very Vanilla layer. The pieces are then layered together and a ribbon slot is created using the punch too.

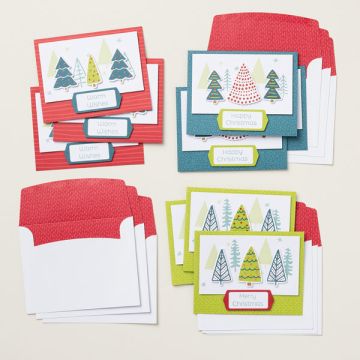
A sentiment, using the stamp set from the Christmas Everywhere Kit sits on a layered oval cut using the Double Oval Punch.

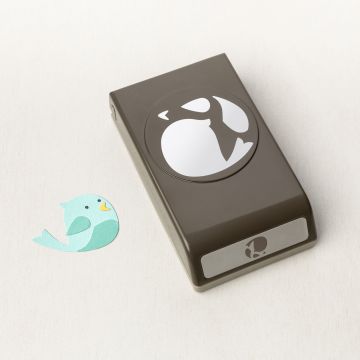
For the robin, the various pieces are cut out using the Songbird Builder Punch and stuck together. The eye is drawn on using a Basic Black Stampin’ Write Marker.

Both the robin and sentiment are stuck to the tag and a length of Real Red Ribbon from the Ribbon Combo Pack is looped through the ribbon slot.

Dimensionals are used to attach the tag.

Finally, some gold Festive Pearls add an extra touch of Christmas bling.

Join me at one of my classes. Head to my Class Timetable for full details.

Happy crafting

Karen Young HIPPOFROG Designs

To order any of the supplies shown below, head to my Online Store. Items available while stocks last.

Online Shopping Club Code      Join my team      Current Products      Offers & Promotions      Book a Class
SONGBIRD BUILDER PUNCHCHRISTMAS EVERYWHERE KIT (ENGLISH)CHRISTMAS CLASSICS PHOTOPOLYMER STAMP SET (ENGLISH)MERRY MELODY 3D EMBOSSING FOLDERDOUBLE OVAL PUNCHVERY BEST TRIO PUNCHREAL RED A4 CARDSTOCKREAL RED CLASSIC STAMPIN' PADOLD OLIVE A4 CARDSTOCKOLD OLIVE CLASSIC STAMPIN' PADPECAN PIE A4 CARDSTOCKDAFFODIL DELIGHT A4 CARDSTOCKVERY VANILLA A4 CARDSTOCKVERY VANILLA A4 THICK CARDSTOCKBASIC BLACK STAMPIN' WRITE MARKERREAL RED & GARDEN GREEN 3/8" (1 CM) RIBBON COMBO PACKFESTIVE PEARLSTEAR & TAPE ADHESIVEMULTIPURPOSE LIQUID GLUESTAMPIN' DIMENSIONALS

Last Week’s Card & Cuppa – Masks & Masking

At a previous Card & Cuppa session I was asked about masks and masking, so last week’s class combined both techniques.

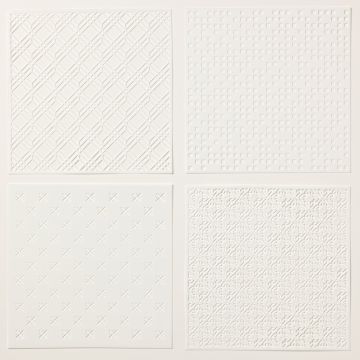
First it was using one of the Foursquare Decorative Masks and a Blending Brush to create the background in Fresh Freesia. The masks are like a stencil and you can apply colour in lots of different ways.

Next, using Masking Paper and the Quiet Meadow Stamp Set, we created a bunch of flowers.

The image was stamped onto Masking Paper twice and they were both cut out.

Then, the image is stamped onto cardstock once and then covered with one of the Masking Paper cut out shapes. Another image is then stamped next to the first, overlapping where needed. Once this has been stamped, the second mask is then used to cover the second image.

Finally, the third flower was stamped. When the masks are removed, you are left with a bunch of flowers. All of the flowers were stamped in Highland Heather to coordinate with the purple theme.

These were then coloured in using Watercolor Pencils, with the centre given a light coat of Wink of Stella. Fussy cutting was needed to cut the floral display out.

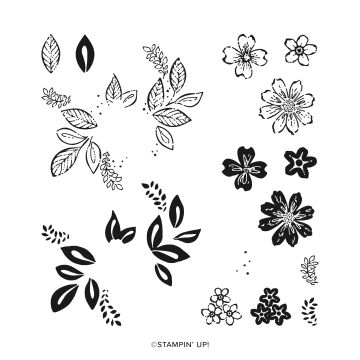
The Petal Park Stamp Set provides the leaves that were stamped in Shaded Spruce and cut out using the coordinating Petal Park Builder Punch. They were also coloured using Watercolor Pencils before being stuck to the flowers.

The whole piece was then raised up using Dimensionals.

Finally, some gold Festive Pearls are dotted around for a touch of bling.

As the design has quite a lot of detail, I’ve deliberately left it sentiment free. This makes it a great card for any occasion.

Join me at one of my classes. Head to my Class Timetable for full details.

Happy crafting

Karen Young HIPPOFROG Designs

To order any of the supplies shown below, head to my Online Store. Items available while stocks last.

Online Shopping Club Code      Join my team      Current Products      Offers & Promotions      Book a Class
QUIET MEADOW CLING STAMP SETPETAL PARK PHOTOPOLYMER STAMP SETPETAL PARK BUILDER PUNCHFOURSQUARE DECORATIVE MASKSSTAMPIN&APOS: UP! MASKING PAPERFRESH FREESIA A4 CARDSTOCKFRESH FREESIA CLASSIC STAMPIN' PADHIGHLAND HEATHER A4 CARDSTOCKHIGHLAND HEATHER CLASSIC STAMPIN' PADSHADED SPRUCE CLASSIC STAMPIN' PADBASIC WHITE A4 CARDSTOCKBLENDING BRUSHESWATERCOLOR PENCILS ASSORTMENT 1WATERCOLOR PENCILS ASSORTMENT 2FESTIVE PEARLSWINK OF STELLA CLEAR GLITTER BRUSHGLUE DOTSMULTIPURPOSE LIQUID GLUESTAMPIN' DIMENSIONALS

Countdown to Christmas 2023 – Week 7

This very quick and simple design is the project for week 7 of my Countdown to Christmas 2023 series.

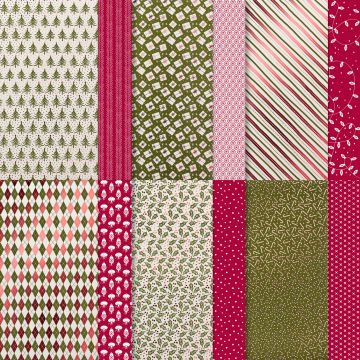
It uses the Shining Christmas Specialty DSP from the Online Exclusives range.

This paper has foil embossed images on one side and a regular design on the back of each sheet. It’s a DSP that does all of the hard work for you. When a DSP is this pretty, all you need to do is chop it into card size pieces.

Here, I’ve teamed it with a Thick Basic White base card and coordinating Mossy Meadow layer.

A sentiment from the the Christmas Classics Stamp Set sits across the top on a Mossy Meadow layer.

Finally, some Festive Pearls create the look of holly berries.

This design is really quick and easy to create and great for posting. You could easily create a batch while sitting in front of the TV.

With one sheet giving you enough for 6 cards, that is 72 cards from just one pack!

Join me at one of my classes. Head to my Class Timetable for full details.

Happy crafting

Karen Young HIPPOFROG Designs

To order any of the supplies shown below, head to my Online Store. Items available while stocks last.

Online Shopping Club Code      Join my team      Current Products      Offers & Promotions      Book a Class
SHINING CHRISTMAS 12" X 12" (30.5 X 30.5 CM) SPECIALTY DESIGNER SERIES PAPERCHRISTMAS CLASSICS PHOTOPOLYMER STAMP SET (ENGLISH)MOSSY MEADOW A4 CARDSTOCKMOSSY MEADOW CLASSIC STAMPIN' PADBASIC WHITE A4 CARDSTOCKBASIC WHITE A4 THICK CARDSTOCKFESTIVE PEARLSSTAMPIN' SEAL

Last Week’s Card & Cuppa – Quiet Meadow Stamp Set & Dies Meets New Colours

At last week’s Card & Cuppa, I chose a similar theme to the previous week in combining a previous Stamp Set with new colours.

This time I chose some of the new blues of Azure Afternoon – new colour, Blueberry Bushel – returning In Color and Balmy Blue, along with Basic White.

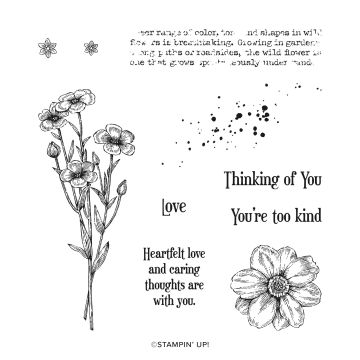
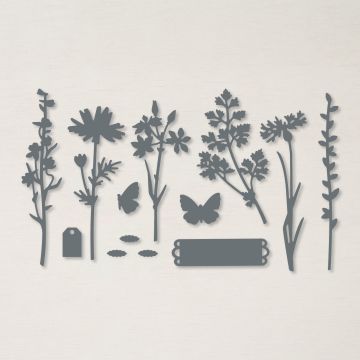
Using the Quiet Meadow Stamp Set and coordinating Meadow Dies, I took inspiration from Page 66 of the new Annual Catalogue for my project.

The words and splats are both stamped in Balmy Blue for a background, with the words using second generation stamping.

After stamping the large floral image in Blueberry Bushel, a Blender Pen is used to move some of the colour around and to soften the white. Wink of Stella is then dotted in the centre of each of the flowers.

Azure Afternoon cardstock is used for the stem that is cut out using the Meadow Dies.

An inkpad in the same colour is used for the sentiment.

A ribbon swoosh in silver from the Gold & Silver Trim Combo Pack from the Online Exclusives range sits behind the sentiment that is raised up on Dimensionals.

Finally, some silver Festive Pearls are used to coordinate with the ribbon.

This project would be great in other colours too. Maybe shades of purple or brown.

Join me at one of my classes. Head to my Class Timetable for full details.

Happy crafting

Karen Young HIPPOFROG Designs

To order any of the supplies shown below, head to my Online Store. Items available while stocks last.

Online Shopping Club Code      Join my team      Current Products      Offers & Promotions      Book a Class
QUIET MEADOW CLING STAMP SETMEADOW DIESAZURE AFTERNOON A4 CARDSTOCKAZURE AFTERNOON CLASSIC STAMPIN' PADBALMY BLUE A4 CARDSTOCKBALMY BLUE CLASSIC STAMPIN' PADBLUEBERRY BUSHEL CLASSIC STAMPIN' PADBASIC WHITE A4 CARDSTOCKBLENDER PENSGOLD & SILVER 1/8" (3.2 MM) TRIM COMBO PACKWINK OF STELLA CLEAR GLITTER BRUSHFESTIVE PEARLSMINI STAMPIN' DIMENSIONALSMULTIPURPOSE LIQUID GLUETEAR & TAPE ADHESIVE

Last Week’s Card & Cuppa – Hand-Penned Petals Stamp Set

My final Card & Cuppa project of the year was this red and green design.

I chose to use Poppy Parade and Granny Apple Green as the design could be used for a last-minute Christmas Card if needed, obviously with a different sentiment!

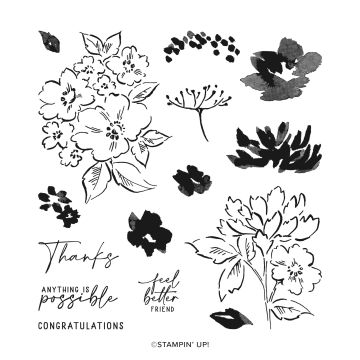
The flowers are from the Hand-Penned Petals Stamp Set and stamped in Tuxedo Black.

They are then coloured using Stampin’ Blends in Poppy Parade, Granny Apple Green and Daffodil Delight.

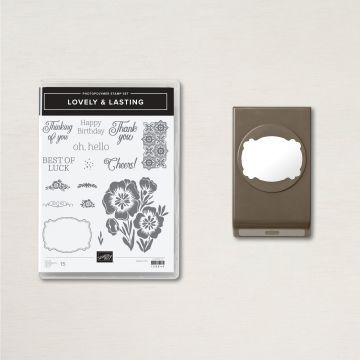
A sentiment from the Lovely & Lasting Stamp Set is cut out using the coordinating Lasting Label Punch.

This sits on Dimensionals over a swoosh of Metallic-Edge Cotton Ribbon.

Finally, some Festive Pearls, in silver to match the ribbon are added.

It’s a very quick and easy design to create and can be made in lots of different colours for many occasions.

Join me at one of my classes. Head to my Class Timetable for full details.

Happy crafting

Karen Young HIPPOFROG Designs

To order any of the supplies shown below, head to my Online Store. Items available while stocks last.

Online Shopping Club Code      Join my team      Current Products      Offers & Promotions      Book a Class
HAND-PENNED PETALS PHOTOPOLYMER STAMP SETLOVELY & LASTING BUNDLE (ENGLISH)GRANNY APPLE GREEN A4 CARDSTOCKPOPPY PARADE A4 CARDSTOCKBASIC WHITE A4 CARDSTOCKTUXEDO BLACK MEMENTO INK PADSTAMPIN' BLENDS DAFFODIL DELIGHT COMBO PACKSTAMPIN' BLENDS GRANNY APPLE GREEN COMBO PACKSTAMPIN' BLENDS POPPY PARADE COMBO PACKSILVER 3/8" (1 CM) METALLIC EDGE COTTON RIBBONFESTIVE PEARLSMULTIPURPOSE LIQUID GLUESTAMPIN' DIMENSIONALSTEAR & TAPE ADHESIVE

Countdown to Christmas 2022 – Week 5

Week 5 of this year’s Countdown to Christmas series is also October’s Christmas Card Club project.

For this project, I used the Leaves of Holly Bundle (Leaves of Holly Stamp Set & Holly Berry Dies), along with Textural Elements. All of these items are from the Boughs of Holly Suite Collection and can be found in the July-December Mini Catalogue.

Unsurprisingly, I chose a traditional Christmas colour combination of Garden Green, Old Olive, Real Red, Poppy Parade, Soft Suede and Basic White.

All of the items were cut out using the Holly Berry Dies and the sentiment stamped with the Leaves of Holly Stamp Set.

Wink of Stella was added to the berries on the Textural Element to add a touch of sparkle.

Each piece is arranged, layered and then stuck to the project. Ensuring the glue is strategically placed where it will be hidden by the sentiment.

To add some extra strength, I stuck the Textural Element down with Glue Dots. They fit nicely behind the berry sections.

The sentiment is then added using Dimesionals, before the die-cut berries are layered together and added to the corner.

Finally a few Festive Pearls are dotted across the project.

This project is a very traditional Christmas card, but you don’t have to use these colours. Why not mix things up a bit?

If you want to join me for my final Christmas Card Club project for 2022, then make sure you have booked your place by 9th November.

Join me at one of my classes. Head to my Class Timetable for full details.

Happy crafting

Karen Young HIPPOFROG Designs

To order any of the supplies shown below, head to my Online Store. Items available while stocks last.

Online Shopping Club Code      Join my team      Current Products      Offers & Promotions      Book a Class
LEAVES OF HOLLY BUNDLE (ENGLISH)OLD OLIVE A4 CARDSTOCKOLD OLIVE CLASSIC STAMPIN' PADGARDEN GREEN A4 CARDSTOCKPOPPY PARADE A4 CARDSTOCKREAL RED A4 CARDSTOCKSOFT SUEDE CARDSTOCK A4BASIC WHITE A4 CARDSTOCKTEXTURAL ELEMENTSFESTIVE PEARLSWINK OF STELLA CLEAR GLITTER BRUSHGLUE DOTSMULTIPURPOSE LIQUID GLUESTAMPIN' DIMENSIONALS

Finishing Up Friday – Fern 3D Embossing Folder

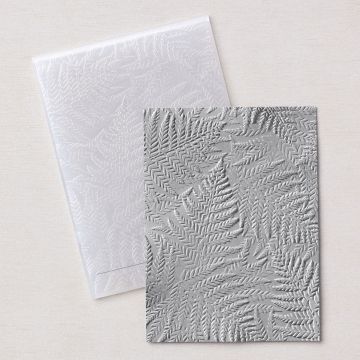
This week’s Finishing Up Friday uses an leftover embossed piece from this previous Card & (Your) Cuppa project.

The Embossing Folder is part of the Sun Prints Suite Collection in the Annual Catalogue. Previously, when using this collection, I’ve used the DSP which has blue and grey shades.

For this project, I’ve chosen Melon Mambo and Rich Razzleberry for a more cheery project.

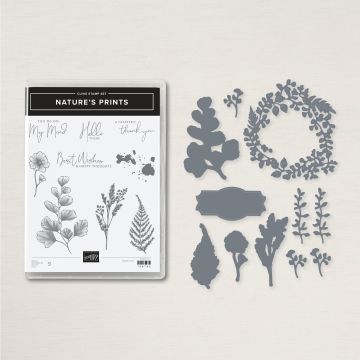
All of the stamping and die cutting come from the Nature’s Prints Bundle (Nature’s Prints Stamp Set and Natural Prints Dies).

I have used a Blender Pen to pull some colour on the Melon Mambo stamped pieced.

Each piece is is then layered onto the embossed background.

A swoosh of Simply Elegant Trim in silver is then added.

The sentiment from the Stamp Set is cut out using the Lasting Label Punch before sitting on top of the ribbon.

Finally, a few Festive Pearls, also in silver are then dotted across the card.

Which pre-made items are you going to use from your desk?

Join me at one of my classes. Head to my Class Timetable for full details.

Happy crafting

Karen Young HIPPOFROG Designs

To order any of the supplies shown below, head to my Online Store. Items available while stocks last.

Online Shopping Club Code      Join my team      Current Products      Offers & Promotions      Book a Class

FERN 3D EMBOSSING FOLDERNATURE'S PRINTS BUNDLE (ENGLISH)MELON MAMBO CARDSTOCK A4MELON MAMBO CLASSIC STAMPIN' PADRICH RAZZLEBERRY CARDSTOCK A4RICH RAZZLEBERRY CLASSIC STAMPIN' PADBASIC WHITE A4 CARDSTOCKBLENDER PENSSIMPLY ELEGANT TRIMFESTIVE PEARLSMULTIPURPOSE LIQUID GLUESTAMPIN' DIMENSIONALSTEAR & TAPE ADHESIVE

Last Week’s Card & (Your) Cuppa – Best Label Punch Rainbow

For last week’s Card & (Your) Cuppa class, I designed a rainbow from just one shape.

Using the Brights collection, I chose Melon Mambo, Poppy Parade, Mango Melody, Daffodil Delight, Granny Apple Green, Pacific Point and Gorgeous Grape. If you use one colour collection, you can use the mixed cardstock packs.

A Thick Basic White basecard and a Basic Gray layer allow the colours to pop.

Each piece, cut using the Best Label Punch, was stuck to the project in a diagonal line for each colour. Multipurpose Liquid Glue was my adhesive of choice. It gives me a little bit of wriggle room to slide things around.

In every row, one of the pieces was left unstuck. More on that later.

I found drawing a line for the centre row gave me a good starting point to ensure the rows were spread evenly across the project. Also, starting by sticking the centre row first and working towards the top and bottom was easier for me.

Another tip is to not glue each piece. Pop a line of glue onto the Basic White layer for the row you are working on, sitck the pieces down and then move onto the next row.

When all of the pieces were stuck, the overhang was cut away to allow it to be mounted onto the layer.

In each row, where one piece had not been stuck down, there was a gap. These were filled by attaching each missing piece in place using Mini Dimensionals. This gives the rainbow some extra depth.

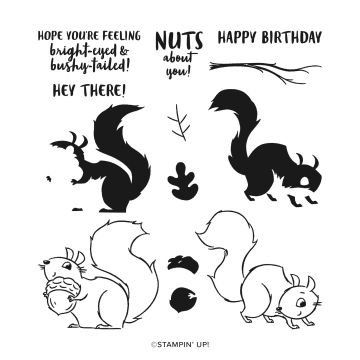
Using a birthday sentiment from the Nuts About Squirrels Stamp Set, this is stuck straight onto the card.

Finally, some Festive Pearls, in silver are dotted across the project for a touch of bling.

This card is easy to replicate and great for all ages. I might have to make one in shades of one colour, such as blue or green.

Join me at one of my online classes. Head to my Class Timetable for full details.

Happy crafting

Karen Young HIPPOFROG Designs

To order any of the supplies shown below, head to my Online Store. Items available while stocks last.

Online Shopping Club Code      Join my team      Current Products      Offers & Promotions      Book a Class
BEST LABEL PUNCHNUTS ABOUT SQUIRRELS PHOTOPOLYMER STAMP SETBRIGHTS A4 CARDSTOCKMELON MAMBO CARDSTOCK A4POPPY PARADE A4 CARDSTOCKMANGO MELODY A4 CARDSTOCKDAFFODIL DELIGHT A4 CARDSTOCKGRANNY APPLE GREEN A4 CARDSTOCKPACIFIC POINT A4 CARDSTOCKGORGEOUS GRAPE A4 CARDSTOCKBASIC GRAY CLASSIC STAMPIN' PADBASIC WHITE A4 CARDSTOCKBASIC WHITE A4 THICK CARDSTOCKFESTIVE PEARLSMINI STAMPIN' DIMENSIONALSMULTIPURPOSE LIQUID GLUE

Last Week’s Card & (Your) Cuppa – Delicate Daisies and FREE SAB Cards & Envelopes

For last week’s Card & (Your) Cuppa project, I created this project that used the FREE SAB Cards & Envelopes for the basecard.

The project takes inspiration from the design on Page 56 of the Annual Catalogue.

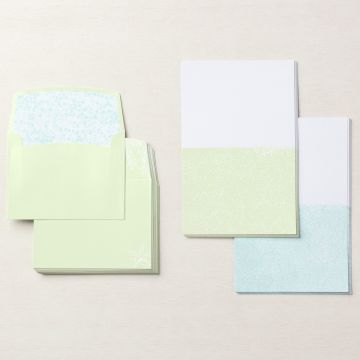
Rather than creating a basecard as I normally do, I chose to use the FREE SAB Cards & Envelopes instead. These basecards are pre-printed with a delicate leaf pattern and also come with matching envelopes.

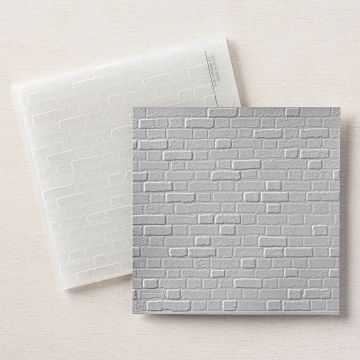
Using the Brick & Mortar Embossing Folder for my background, this was cut down to size. It was then given some colour using a Sponge Dauber and Crumb Cake ink.

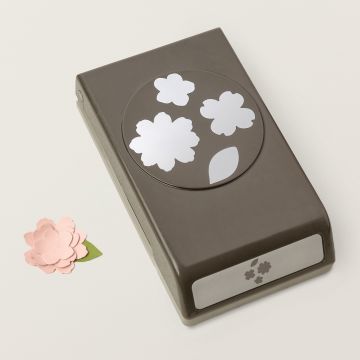
Blushing Bride Daisies cut using the Medium Daisy Punch were then created by again using a Sponge Dauber to add colour to the centres, and then gluing two together.

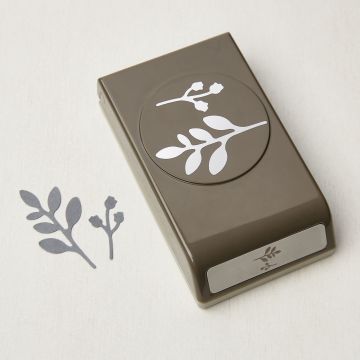
Lengths of the gorgeous Natural Finish Ribbon were stuck the wall piece before the daisies and leaves, cut using the Bough Punch in Mint Macaron and Crumb Cake were added.

A sentiment from the Art Gallery Stamp Set has Linen Thread looped behind and is then stuck to the project.

Finally, some of the new Festive Pearls from the July-December Mini Catalogue are added. These 3mm Pearls come in a pack of 200 with 50 each of Cherry Cobbler, Soft Succulent, Silver and Gold. Gold are the ones I chose to use on this project.

Don’t forget that you only have until the end of August to earn FREE SAB products (while stocks last).

Join me at one of my online classes. Head to my Class Timetable for full details.

Happy crafting

Karen Young HIPPOFROG Designs

To order any of the supplies shown below, head to my Online Store. Items available while stocks last.

Online Shopping Club Code      Join my team      Current Products      Offers & Promotions      Book a Class
POOL PARTY & SOFT SEA FOAM CARDS & ENVELOPESBRICK & MORTAR 3D EMBOSSING FOLDERBOUGH PUNCHMEDIUM DAISY PUNCHART GALLERY PHOTOPOLYMER STAMP SETBLUSHING BRIDE A4 CARDSTOCKCRUMB CAKE A4 CARDSTOCKCRUMB CAKE CLASSIC STAMPIN' PADMINT MACARON A4 CARDSTOCKBASIC WHITE A4 CARDSTOCKNATURAL FINISH 7/8" (2.2 CM) RIBBONLINEN THREADSPONGE DAUBERSFESTIVE PEARLSMULTIPURPOSE LIQUID GLUESTAMPIN' DIMENSIONALSTEAR & TAPE ADHESIVE