Countdown to Christmas 2022 – Week 12

Countdown to Christmas 2022 comes to a close with week 12. This project is also my third and final design from my annual Special Christmas Cards Class.

It has become tradition over the years for me to design a poinsettia project, and this is the one for 2022.

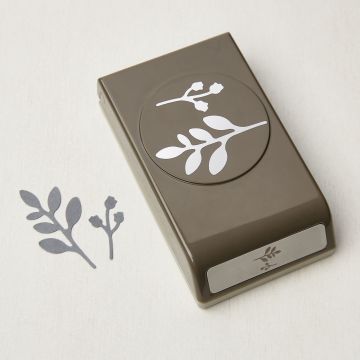
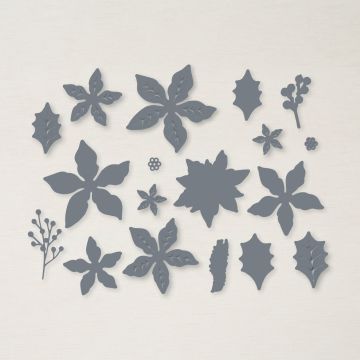
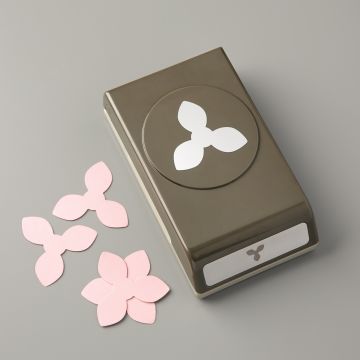
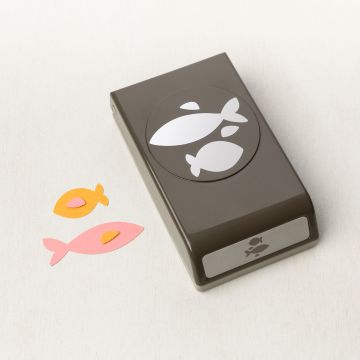
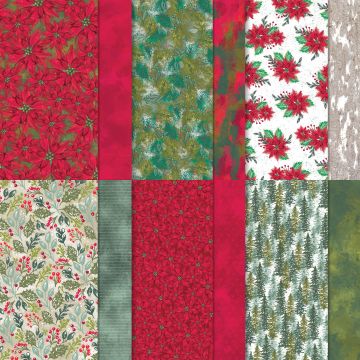
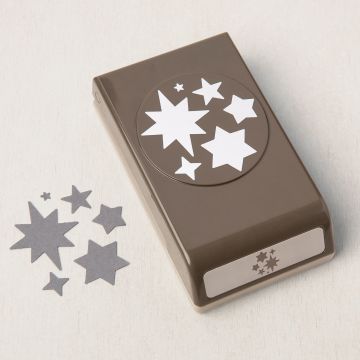
I really like this design as it uses the Fish Builder Punch and Boughs of Holly DSP to create the poinsettia. The centre uses the Starlit Punch.

Each fish shape is given an inked edge using a Blending Brush, before being scored and folded down the middle. This gives them some extra depth and texture.

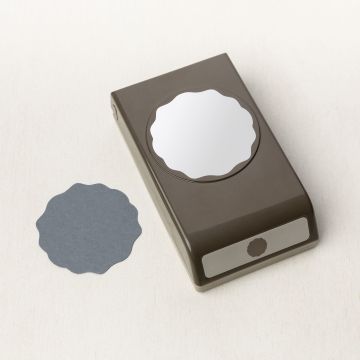
To make the poinsettia, each fish shape is added to a layer, 5 on each. I created my layers using pieces cut from the Best Label Punch, but you could use another shape instead.

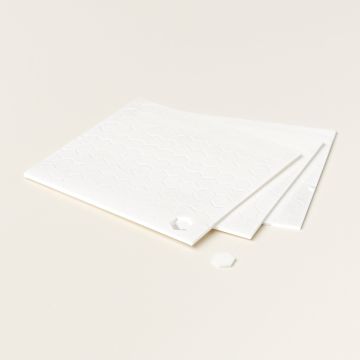
Then, each layer is stuck together using Dimensionals. If you prefer a flatter finish, then glue is fine.

Leaves are then score and folded in the same way, but stuck to the back individually.

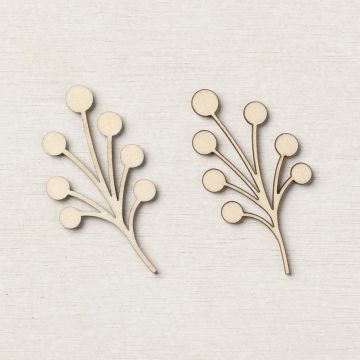
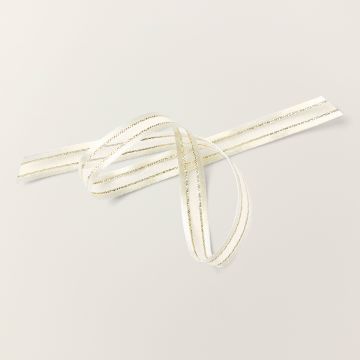
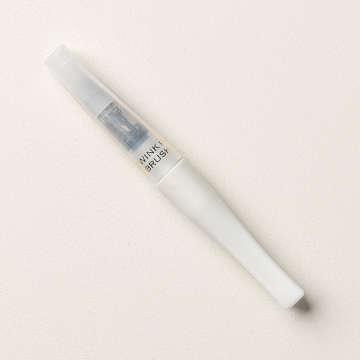
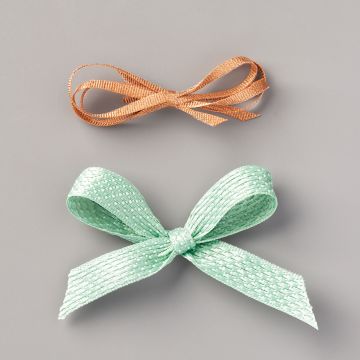
A swoosh is made from the Gold and Very Vanilla Satin Edged Ribbon, with a Textured Element shape coated in Wink of Stella added too.

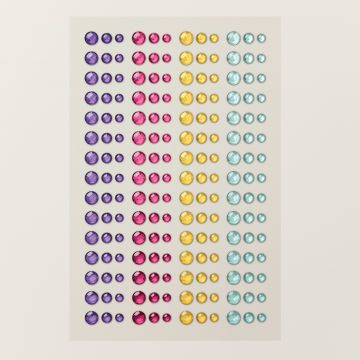
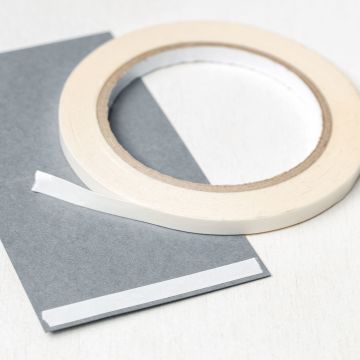
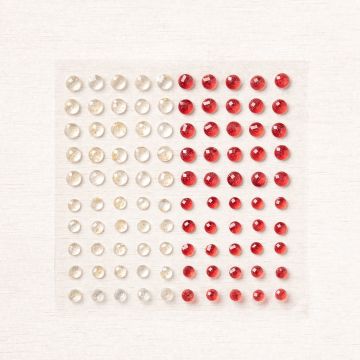
After the poinsettia is stuck down using Tear & Tape, the centre is finished with coordinating Glossy Dots.

As with the other two projects from this class, the attendees also made an envelope from the Boughs of Holly DSP.

Here are all three of the projects together. Do you have a favourite?

Join me at one of my classes. Head to my Class Timetable for full details.

Happy crafting

Karen Young HIPPOFROG Designs

To order any of the supplies shown below, head to my Online Store. Items available while stocks last.

Online Shopping Club Code      Join my team      Current Products      Offers & Promotions      Book a Class
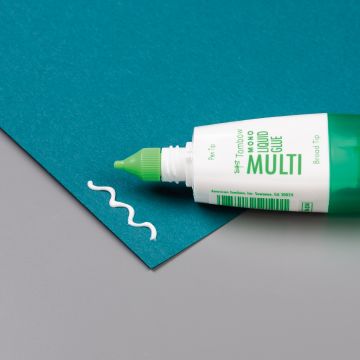
FISH BUILDER PUNCHBOUGHS OF HOLLY 12" X 12" (30.5 X 30.5 CM) DESIGNER SERIES PAPERBEST LABEL PUNCHSTARLIT PUNCHREAL RED A4 CARDSTOCKREAL RED CLASSIC STAMPIN' PADGARDEN GREEN CLASSIC STAMPIN' PADDAFFODIL DELIGHT A4 CARDSTOCKVERY VANILLA A4 CARDSTOCKGOLD FOIL SHEETSBLENDING BRUSHESTEXTURAL ELEMENTSGOLD & VANILLA 3/8" (1 CM) SATIN EDGED RIBBONWINK OF STELLA CLEAR GLITTER BRUSHGLOSSY DOTS ASSORTMENTMULTIPURPOSE LIQUID GLUESTAMPIN' DIMENSIONALSTEAR & TAPE ADHESIVE

Special Christmas Cards 2022 – Project 1

The first of the three projects from my Special Christmas Cards class is this pretty wreath.

These cards are those you make for the special people in your life. They have extra layers, take longer to create, and are those that you tend to give in person.

Along with the cards, which are a non-standard square, the attendees all made envelopes from DSP too.

This wreath uses the two punches, the Bough Punch and Decorative Circle.

Various shades of green in Shaded Spruce, Garden Green and Old Olive provide the greenery, along with Gold.

Using a Blending Brush and a Garden Green Stampin’ Pad, the leaves were given a little extra ink on the edges.

Each leaf shape was then stuck onto one of three layers, made from the Decorative Circle Punch shpaes. These were then stuck together using Dimensionals to create extra depth.

My sentiment from the Spruced Up Stamp Set is then stamped in Real Red onto another Decorative Circle shape and stuck to the front of the wreath.

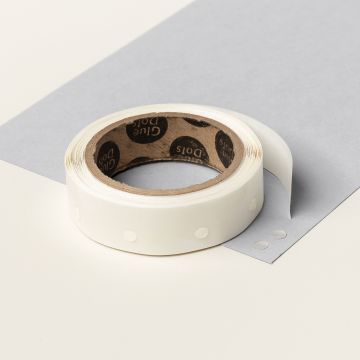
A gold bow, made from the Gold Shimmer Ribbon is then stuck to the wreath using Glue Dots.

Finally, some Red Rhinestone Berry are added, along with some Iridescent Rhinestones accents.

Don’t forget that the July-December Mini Catalogue is only around for a short while longer. Make sure you grab any items from the Last Chance list while you can.

Join me at one of my classes. Head to my Class Timetable for full details.

Happy crafting

Karen Young HIPPOFROG Designs

To order any of the supplies shown below, head to my Online Store. Items available while stocks last.

Online Shopping Club Code      Join my team      Current Products      Offers & Promotions      Book a Class
BOUGH PUNCHDECORATIVE CIRCLE PUNCHSPRUCED UP PHOTOPOLYMER STAMP SET (ENGLISH)BOUGHS OF HOLLY 12" X 12" (30.5 X 30.5 CM) DESIGNER SERIES PAPERGARDEN GREEN A4 CARDSTOCKGARDEN GREEN CLASSIC STAMPIN' PADOLD OLIVE A4 CARDSTOCKSHADED SPRUCE A4 CARDSTOCKREAL RED CLASSIC STAMPIN' PADGOLD FOIL SHEETSBASIC WHITE A4 CARDSTOCKBASIC WHITE A4 THICK CARDSTOCKBLENDING BRUSHESGOLD 3/8&QUOT: (1 CM) SHIMMER RIBBONIRIDESCENT RHINESTONES BASIC JEWELSRED RHINESTONE BASIC JEWELSGLUE DOTSMULTIPURPOSE LIQUID GLUESTAMPIN' DIMENSIONALSTEAR & TAPE ADHESIVE

50th Birthday in Orange & Gold

A friend celebrated their 50th Birthday last week.

For their card, I chose a combination of Pale Papaya and Mango Melody, with Basic White and Gold accents.

I chose to make a larger square card. Mine is 14cm x 14cm.

Using the FREE SAB Silver & Gold 6×6 DSP for the background, I made a colour flare from the centre using a Blending Brush and ink. This gives a touch of colour to the background without losing the white.

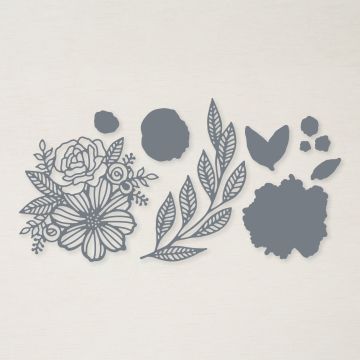
On top of this sit cut out flowers and leaves in Basic White Cardstock and Gold Foil Sheets. The shapes are cut from the Artistic Dies and Flowers of Home Dies.

These were layered, along with a swoosh of coordinating In Color Ribbon.

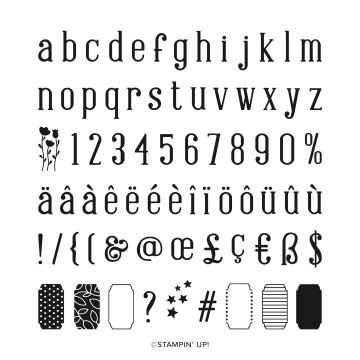
The Alphabest Stamp set provides the ’50’, on a cut out from the All That Dies. This is then given an orange edge using the Blending Brush.

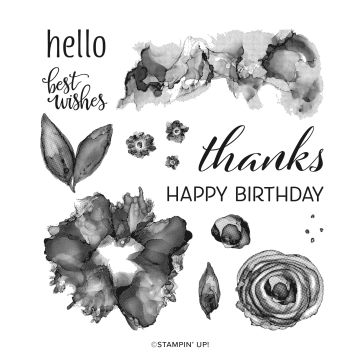
Tiny Flowers are stamped using the Artistically Inked Stamp Set and cut out using the matching Artistic Dies.

These are given a touch of sparkle using Wink of Stella and Iridescent Rhinestone centres.

I also made an envelope for the card, but didn’t take a picture of that!

Don’t forget that there are only a few more weeks left of Sale-A-Bration, so not much time left to grab those FREE products on qualifying orders. Only available while stocks last.

Join me at one of my online classes. Head to my Class Timetable for full details.

Happy crafting

Karen Young HIPPOFROG Designs

To order any of the supplies shown below, head to my Online Store. Items available while stocks last.

Online Shopping Club Code      Join my team      Current Products      Offers & Promotions      Book a Class
ALPHABEST PHOTOPOLYMER STAMP SETARTISTICALLY INKED CLING STAMP SETARTISTIC DIESALL THAT DIESFLOWERS OF HOME DIESSILVER & GOLD 6" X 6" (15.2 X 15.2 CM) DESIGNER SERIES PAPERPALE PAPAYA A4 CARDSTOCKPALE PAPAYA 3/8" (1 CM) OPEN WEAVE RIBBONPALE PAPAYA CLASSIC STAMPIN' PADMANGO MELODY A4 CARDSTOCKMANGO MELODY CLASSIC STAMPIN' PADBASIC WHITE A4 CARDSTOCKGOLD FOIL SHEETSBLENDING BRUSHESPALE PAPAYA 3/8" (1 CM) OPEN WEAVE RIBBONIRIDESCENT RHINESTONES BASIC JEWELSWINK OF STELLA CLEAR GLITTER BRUSHGLUE DOTSSTAMPIN' DIMENSIONALSSTAMPIN' SEAL

Expressions in Ink for a 50th

Today I’m sharing a card for another 50th Birthday being celebrated this September.

Expressions in Ink for a 50th. Project designed by Karen at HIPPOFROG Designs

I thought it was the perfect time to take inspiration from the project on the front cover of the Annual Catalogue.

It uses the Expressions in Ink Suite Collection. The two pieces of DSP create a background.

Using Gold Foil Sheets, the ’50’ is cut from the Playful Alphabet Dies, with the leaves from the Artistic Dies from the Suite. This coordinates with the gold foiling running through the DSP.

The flowers from the Artistically Inked Stamp Set are stamped in Polished Pink to coordinate with the DSP, with the leaves in Pear Pizzazz. These are all cut using the Dies.
Expressions in Ink for a 50th. Project designed by Karen at HIPPOFROG Designs

Each piece is then layered together, along with a length of Gold Shimmer Ribbon. A sentiment then sits on top of the roses.

Finally, a touch of Wink of Stella is added to the centre of the flowers, with sequins from the Ephemera Pack dotted around the project.

Expressions in Ink for a 50th. Project designed by Karen at HIPPOFROG Designs

Join me at one of my online classes. Head to my Class Timetable for full details.

Happy crafting

Karen Young HIPPOFROG Designs

To order any of the supplies shown below, head to my Online Store. Items available while stocks last.

Online Shopping Club Code      Join my team      Current Products      Offers & Promotions      Book a Class
EXPRESSIONS IN INK SUITE COLLECTION (ENGLISH)PLAYFUL ALPHABET DIESPOLISHED PINK CLASSIC STAMPIN' PADPEAR PIZZAZZ CLASSIC STAMPIN' PADBASIC WHITE A4 CARDSTOCKBASIC WHITE A4 THICK CARDSTOCKGOLD FOIL SHEETSGOLD 3/8" (1 CM) SHIMMER RIBBONWINK OF STELLA CLEAR GLITTER BRUSHMULTIPURPOSE LIQUID GLUETEAR & TAPE ADHESIVESTAMPIN' DIMENSIONALS

Last Week’s Card & (Your) Cuppa – Simply Elegant Specialty DSP

For last week’s Card & (Your) Cuppa project, I did something slightly different.

Simply Elegant Specialty DSP. Project designed by Karen at HIPPOFROG Designs

As you can see, the base card is black, something I don’t do very often. However, it was the perfect colour to coordinate with the beautiful Simply Elegant Specialty DSP in the background.

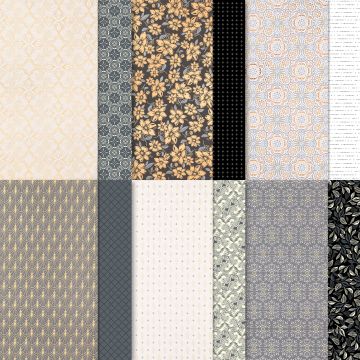
The DSP is black with copper and silver foiling. These pictures don’t do it justice, it’s stunning in the flesh. It truly is the star of this project.

Simply Elegant Specialty DSP. Project designed by Karen at HIPPOFROG DesignsAfter cutting my DSP to fit my base card, I cut and layered strips of Basic Black, Copper Foil and the offcut of DSP together. On top of these is my sentiment, made using the Artistically Inked Stamp Set.

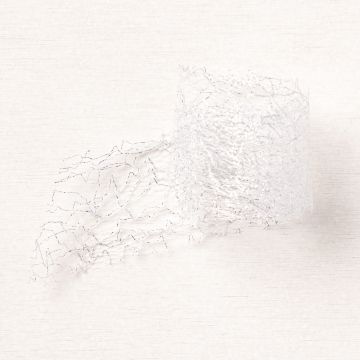
A bow sits to the side. This is quickly made by wrapping a length of Basic Black from the Baker’s Twine Essentials Pack around some looped Metallic Mesh. The combination of black and silver coordinate with the DSP.

Simply Elegant Specialty DSP. Project designed by Karen at HIPPOFROG Designs

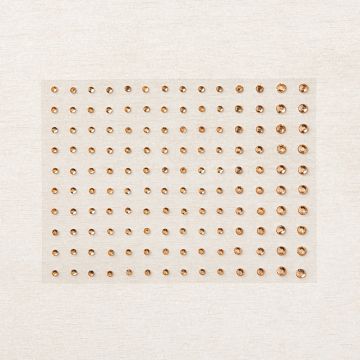
Finally, Champagne Rhinestones add an extra touch of sparkle.

Find out more about joining one of my online classes by heading to my Class Timetable. All abilities welcome.

Happy crafting

Karen Young HIPPOFROG Designs

To order any of the supplies shown below, head to my Online Store

Online Shopping Club Code      Join my team      Current Products      Offers & Promotions      Book a Class
SIMPLY ELEGANT 12" X 12" (30.5 X 30.5 CM) SPECIALTY DESIGNER SERIES PAPERARTISTICALLY INKED CLING STAMP SETBASIC BLACK A4 CARDSTOCKTUXEDO BLACK MEMENTO INK PADVERY VANILLA A4 CARDSTOCK1-1/2" (3.8 CM) METALLIC MESH RIBBONBAKER'S TWINE ESSENTIALS PACKCHAMPAGNE RHINESTONE BASIC JEWELSGLUE DOTSMULTIPURPOSE LIQUID GLUETEAR & TAPE ADHESIVE

Special Christmas Cards – Poinsettia Dies

My final project for my recent Special Christmas Cards class uses the Poinsettia Dies.

It’s become tradition for me to include a Poinsettia project in this class, so this year couldn’t disappoint!

Poinsettial Dies. Project designed by Karen at HIPPOFROG Designs

This stunning project is made in Real Red, Old Olive, and Very Vanilla, with Bumblebee flowers and Gold Foil Sheets.

The fabulous Poinsettia Dies not only cut, they emboss a beautiful pattern too.

Each section is firstly made up of two pieces. These are then layered together using Dimensionals to make the Poinsettia.Poinsettial Dies. Project designed by Karen at HIPPOFROG Designs

Using Gold Foil Sheet for a layer co-ordinates with the gold leaf pieces and the loop of Metallic Edge Ribbon.Poinsettial Dies. Project designed by Karen at HIPPOFROG Designs

The centre is filled with Metallic Pearls, there are handy little indentations that the pearls sit in perfectly.

Plus a few pearls are scattered around the poinsettia too.

All the projects in this class had a matching handmade box to make too. This one has an Old Olive base and Real Red top. I’ve decorated mine and the attendees were able to do the same with theirs too. Poinsettial Dies. Project designed by Karen at HIPPOFROG Designs

Here are all of the projects from the class. Do you have a favourite?

Polar Bear Shaker Dome Card. Project designed by Karen at HIPPOFROG Designs Sweetest Borders Dies. Project designed by Karen at HIPPOFROG Designs Poinsettial Dies. Project designed by Karen at HIPPOFROG DesignsRemember to place any orders by the end of 9th December for pre-Christmas delivery.

Happy crafting

Karen Young HIPPOFROG Designs

To order any of the supplies shown below, head to my Online Store

Online Shopping Club Code      Join my team      Current Products      Special Offers      Book a Class
POINSETTIA DIESREAL RED A4 CARDSTOCKOLD OLIVE A4 CARDSTOCKBUMBLEBEE A4 CARDSTOCKVERY VANILLA A4 CARDSTOCKGOLD FOIL SHEETSMETALLIC PEARLSGOLD 3/8" (1 CM) METALLIC EDGE RIBBONSTAMPIN’ CUT& EMBOSS MACHINETEAR & TAPE ADHESIVESTAMPIN' DIMENSIONALSMINI STAMPIN' DIMENSIONALS

Special Christmas Cards – Sweetest Borders Dies

This candle project is another design from my recent Special Christmas Cards class.

It’s a nod to the project on Page 21 of the August-December Mini Catalogue.

Pear Pizzazz and Crumb Cake provide the base card and layer, with Garden Green and Real Red for the holly.

The candles are made from Copper Foil Sheets, with flames from the Perennial Flower Punch.

I think the attendees are talking to me again after this project, as it was a little bit fiddly!

Using Tear and Tape on the back of the holly, leaving the backing on, each of the pieces was infilled with the opposite colour piece on the front.

Then, Real Red pieces were added to the back to fill in for the holly berries.

Sweetest Borders Dies. Project designed by Karen at HIPPOFROG Designs

I’m not sure if you can see it very well as the Copper Foil Sheets are shiny, but I have embossed the candles using the scoring blade on my Paper Trimmer.

The flames have a Wink of Stella sparkle added to them before the candles are stuck to the Whisper White layer.

A length of Ribbon from the Basket Weave Metallic Ribbon Combo Pack is attached to back of the holly piece.

This piece is then attached using lots of Dimensionals to raise it above the candles.

Finally, Wonderful Gems are added to some of the berries for some extra sparkle.

Sweetest Borders Dies. Project designed by Karen at HIPPOFROG Designs

All of the projects for this class included a box to be made too. This one had a Crumb Cake base with a Pear Pizzazz top that I have decorated.

Sweetest Borders Dies. Project designed by Karen at HIPPOFROG Designs

Pop back soon to see the final project from this class.

Happy crafting

Karen Young HIPPOFROG Designs

To order any of the supplies shown below, head to my Online Store

Online Shopping Club Code      Join my team      Current Products      Special Offers      Book a Class
SWEETEST BORDERS DIESPERENNIAL FLOWER PUNCHPEAR PIZZAZZ A4 CARDSTOCKCRUMB CAKE A4 CARDSTOCKGARDEN GREEN A4 CARDSTOCKREAL RED A4 CARDSTOCKBUMBLEBEE A4 CARDSTOCKWHISPER WHITE A4 CARDSTOCKCOPPER FOIL SHEETSBASKETWEAVE & METALLIC RIBBON COMBO PACKWONDERFUL GEMSWINK OF STELLA CLEAR GLITTER BRUSHPAPER TRIMMERSTAMPIN’ CUT& EMBOSS MACHINETEAR & TAPE ADHESIVESTAMPIN' DIMENSIONALS

Special Christmas Cards – Polar Bear Shaker Dome Card

As we’ve now reached December, I’ll be sharing Christmas projects on each post this week.

My regular Special Christmas Cards took place remotely a few weeks ago.

At the class, the attendees make three Christmas cards for the special people in their lives.

One of the projects is always more tailored towards children, and I’m sharing it with you today.

Polar Bear Shaker Dome Card. Project designed by Karen at HIPPOFROG Designs

I’ve wanted to make a shaker card at class for AGES, and this year I did it, thanks to the fabulous Shaker Domes.

My colour combination is Seaside Spray, Night of Navy, Shimmery White, Whisper White and Silver.

The Snow Globe Scenes Dies provide the correct size hole for the the Shaker Dome, along with the polar bears and stand pieces. There are lots of other shapes in the dies too.

Polar Bear Shaker Dome Card. Project designed by Karen at HIPPOFROG Designs

I coated my bears in Wink of Stella and cut a rough outline of snow for them to sit on before adding my Sequins for Everything shaker pieces.

These were then all sealed very carefully into the dome, ensuring it was firmly in place.

The Shimmery White layer was then sealed on top before attaching the whole piece to the base and layer.Polar Bear Shaker Dome Card. Project designed by Karen at HIPPOFROG Designs

A Night of Navy and Silver stand is then added to the front.

The attendees also had the word SNOW cut out from the Playful Alphabet Dies in their kits, plus some Rhinestones too. They could choose to use these if they wanted. Mine is still blank as I haven’t make a final decision on those yet!

Finally, a box was made for the finished Polar Bear Shaker Dome card to sit in. It has a Night of Navy base and Seaside Spray top.

I’ve stamped mine to add some decoration.Polar Bear Shaker Dome Card. Project designed by Karen at HIPPOFROG Designs

Pop back soon for another project from this Class.

Happy crafting

Karen Young HIPPOFROG Designs

To order any of the supplies shown below, head to my Online Store

Online Shopping Club Code      Join my team      Current Products      Special Offers      Book a Class

SNOW GLOBE SCENES DIESSNOW GLOBE SHAKER DOMESEQUINS FOR EVERYTHINGNIGHT OF NAVY A4 CARDSTOCKSEASIDE SPRAY A4 CARDSTOCKSHIMMERY WHITE A4 CARDSTOCKSILVER FOIL SHEETSWHISPER WHITE A4 CARDSTOCKRHINESTONE BASIC JEWELSWINK OF STELLA CLEAR GLITTER BRUSHSTAMPIN’ CUT& EMBOSS MACHINEMULTIPURPOSE LIQUID GLUESTAMPIN' DIMENSIONALSMINI STAMPIN' DIMENSIONALSTEAR & TAPE ADHESIVE

A Box of Birthday Balloons

For my Niece’s recent lockdown 18th, I made this box of birthday balloons.

A Box of Birthday Balloons. Project designed by Karen at HIPPOFROG Designs

I haven’t made a pop-up box for a while, so I thought it was the perfect occasion.

These lay flat for postage with the box flaps up, then, when the recipient opens it, the flaps fall down and the box takes shape.

My colour combination is from the dotty Playing With Patterns DSP I have used. It’s Calypso Coral, Coastal Cabana, Crushed Curry, Purple Posy and Whisper White.

Coastal Cabana is the main colour for the box. Using the Detailed Trio Punch, I rounded the corners of the box and the DSP.

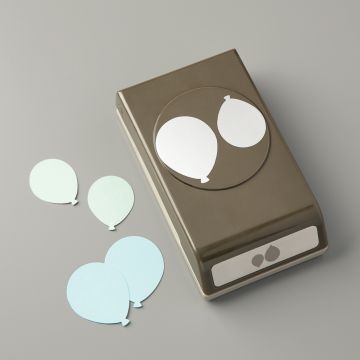
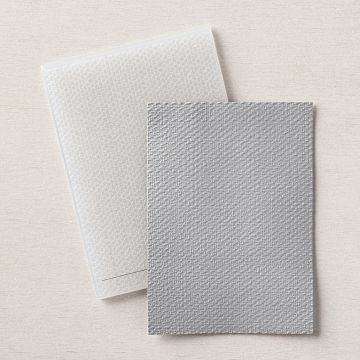
The balloons, cut using the Balloon Bouquet Punch are embossed. Tasteful Textile and Wrapped in Texture Embossing Folders create the fun patterns.

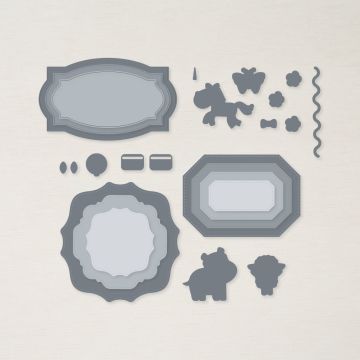
Attaching the balloons to the strings I made from the Hippo & Friends Dies was made easier by sandwiching them between the embossed ballon and a plain balloon shape.

This also means that when it lays flat, the balloons don’t stick to each other.

A Box of Birthday Balloons. Project designed by Karen at HIPPOFROG Designs

I popped three strips across the inside of the box. This not only gave me something to attach the ballons too, but provided some extra rigidity.

As I attached the balloons to the strips, I was carefully checking they wouldn’t foul each other, or overhang the edge too far when folded.

Once I was happy with the positions, I sandwiched the bottom of the strings in with another piece of Coastal Cabana Cardstock.

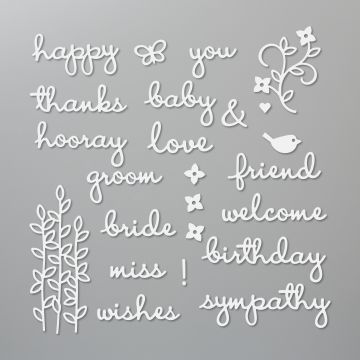
There had to be an ’18’, so using Silver Foil Sheets, this and the sentiment were cut out. Playful Alphabet Dies for the ’18’ and Well Written Dies for the sentiment.

A Box of Birthday Balloons. Project designed by Karen at HIPPOFROG Designs

Finally, a length of matching Playing With Patterns Combo Ribbon is stuck around the box, along with some Playing With Patterns Resin Dots.

I also made an envelope too, but didn’t take a picture of that!

Happy crafting

Karen Young HIPPOFROG Designs

To order any of the supplies shown below, head to my Online Store

Online Shopping Club Code      Join my team      Current Products      Special Offers      Book a Class
BALLOON BOUQUET PUNCHHIPPO & FRIENDS DIESPLAYFUL ALPHABET DIESWELL WRITTEN DIESTASTEFUL TEXTILE 3D EMBOSSING FOLDERWRAPPED IN TEXTURE EMBOSSING FOLDERSDETAILED TRIO PUNCHCALYPSO CORAL A4 CARDSTOCKCOASTAL CABANA A4 CARDSTOCKCRUSHED CURRY A4 CARDSTOCKPURPLE POSY A4 CARDSTOCKWHISPER WHITE A4 CARDSTOCKSILVER FOIL SHEETSPLAYING WITH PATTERNS 6" X 6" (15.2 X 15.2 CM) DESIGNER SERIES PAPERPLAYING WITH PATTERNS RIBBON COMBO PACKPLAYING WITH PATTERNS RESIN DOTSSTAMPIN’ CUT& EMBOSS MACHINEMULTIPURPOSE LIQUID GLUESTAMPIN' DIMENSIONALSFINE-TIP GLUE PENGLUE DOTS

Doggy Duo Saying Happy Birthday

I recently shared two of the three Birthday cards I was asked to make for a regular class attendee. Well, here’s the final one for this special commission, and it’s this cute doggy duo.

The other projects can be seen here and here.

Doggy Duo saying Happy Birthday. Project designed by Karen at HIPPOFROG Designs

As they are a huge dog lover, I just knew I had to include them on one of the cards. I’ve made these dogs, cut from the the Dog Builder Punch to look like the doggy duo they have at home.

This punch has carried over to the new Annual Catalogue, so if you’re a dog lover, you would be barking mad not to have it (sorry!) It is also a great companion punch to the new Playful Pets Suite too.

The white dog has a mottled effect by using Sponge Daubers with Soft Suede and Smoky Slate ink. The collars are from Rhinestones.

Doggy Duo saying Happy Birthday. Project designed by Karen at HIPPOFROG Designs

Using colours from the Brights Collection, the balloons are cut with the Balloon Bouquet Punch. These are then glued together in bunches with a length of Linen Thread from the bottom balloon to the tails.

Rather than tying the other end to the tails, I made separate bows and added them afterwards.

The Happy Birthday sentiment is cut from the Well Written Dies and very carefully added across the balloons with Fine-Tip Glue. This, along with the background layer use Silver Foil Sheets.

Doggy Duo saying Happy Birthday. Project designed by Karen at HIPPOFROG Designs

Using Dimensionals, everything is then added to the card.

As this is a square card, so I also made a matching envelope using Designer Series Paper.

Why not join me for one of my classes. Head to my Class Timetable for full details and booking information.

Happy crafting

Karen Young HIPPOFROG Designs

To order any of the supplies shown below, head to my Online Store

This Month’s Hostess Code      Join my team      Current Products      Special Offers      Book a Class
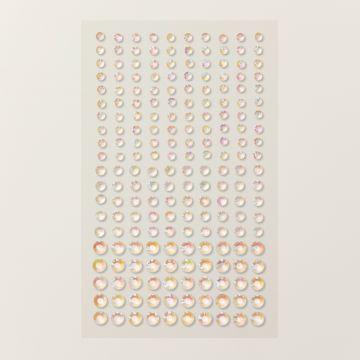
WELL WRITTEN DIESBALLOON BOUQUET PUNCHDOG BUILDER PUNCHBRIGHTS A4 CARDSTOCKBASIC BLACK A4 CARDSTOCKWHISPER WHITE A4 CARDSTOCKWHISPER WHITE A4 THICK CARDSTOCKSILVER FOIL SHEETSSPONGE DAUBERSSMOKY SLATE CLASSIC STAMPIN' PADSOFT SUEDE CLASSIC STAMPIN' PADRHINESTONE BASIC JEWELSLINEN THREADTEAR & TAPE ADHESIVESTAMPIN' DIMENSIONALSGLUE DOTS