April Card Making Class – Project 3

This trio of purple butterflies is the third project from my April Card Making Class.

The attendees made four projects on the theme ‘All creatures great and small’.

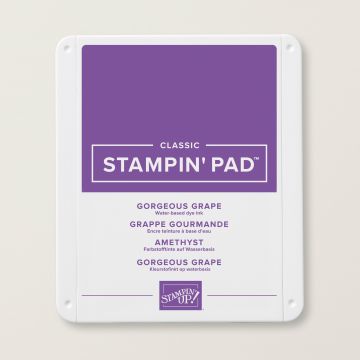
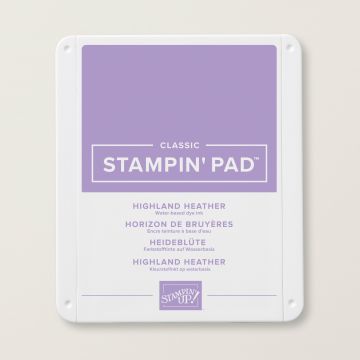
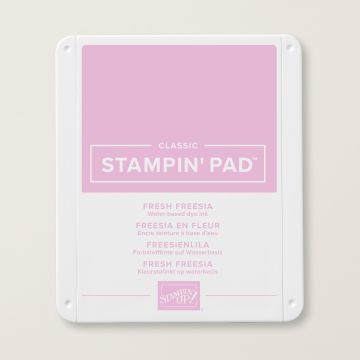
For this design, my colour combination was Gorgeous Grape, Highland Heather and Fresh Freesia, along with Basic White.

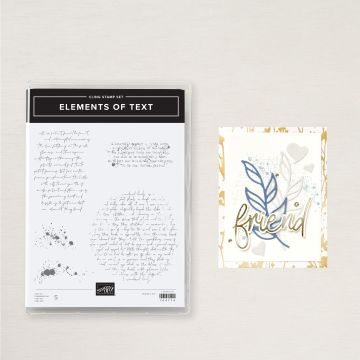
First, the background is stamped using the Elements of Text Stamp Set and Fresh Freesia using 2nd, 3rd and 4th generation stamping to create a mottled look. This Stamp Set is from the Online Exclusives range.

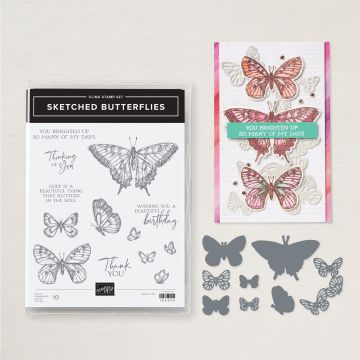
Next, each of the butterflies was stamped and cut out using the Sketched Butterflies Stamp Set and Dies Bundle. The largest is stamped in Gorgeous Grape, with the smaller ones in Highland Heather.

These items are on the Last Chance Products list, so grab them while you still can.

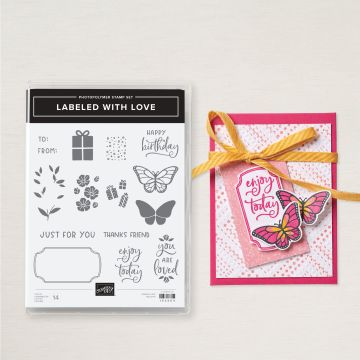
A sentiment from the Labeled with Love Stamp Set (also on the Last Chance Products list) is stamped in Gorgeous Grape.

Each of the butterflies has their wings curled using a Paper Folder. They are then stuck to the backround using a line of glue down their bodies only. This allows their curled wings to stand out.

Using Mini Dimensionals, the sentiment is raised up across the centre of the large butterfly.

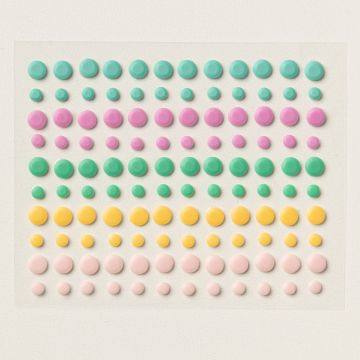
Finally, Rhinestones are use to add a touch of bling.

Join me at one of my classes. Head to my Class Timetable for full details.

Happy crafting

Karen Young HIPPOFROG Designs

To order any of the supplies shown below, head to my Online Store. Items available while stocks last.

NEW Stampin’ Rewards      Join my team      Current Products      Offers & Promotions      Book a Class
SKETCHED BUTTERFLIES BUNDLE (ENGLISH)LABELED WITH LOVE PHOTOPOLYMER STAMP SET (ENGLISH)ELEMENTS OF TEXT CLING STAMP SETGORGEOUS GRAPE A4 CARDSTOCKGORGEOUS GRAPE CLASSIC STAMPIN' PADHIGHLAND HEATHER A4 CARDSTOCKHIGHLAND HEATHER CLASSIC STAMPIN' PADFRESH FREESIA CLASSIC STAMPIN' PADBASIC WHITE A4 CARDSTOCKRHINESTONE BASIC JEWELSMULTIPURPOSE LIQUID GLUEMINI STAMPIN' DIMENSIONALS

Last Week’s Card & Cuppa – Trio of Butterflies

At last week’s Card & Cuppa class, this trio of butterflies were the stars of the show.

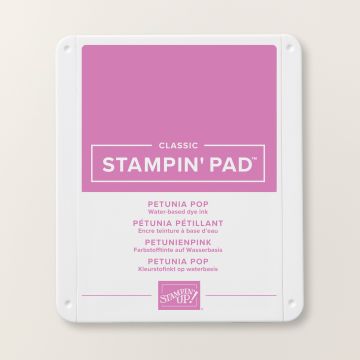
Using a combination of Pretty in Pink and Petunia Pop In Colors, along with Basic White, this project has a spring feel.

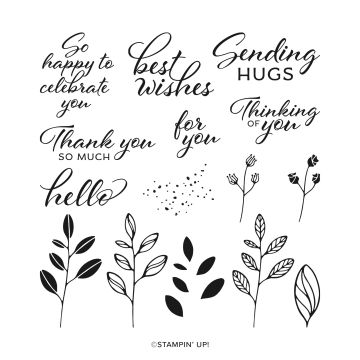
Firstly, the background was stamped using the ‘splats’ from the Layering Leaves Stamp Set.

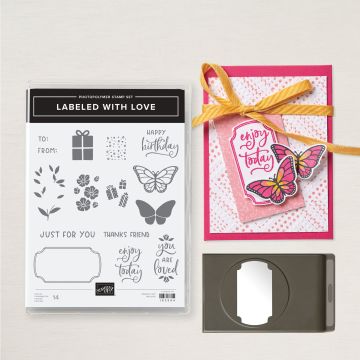
Next, the outlined shapes and butterflies were stamped and then punched out. These used the Labeled with Love Stamp Set and matching Labeled with Love Punch.

Make sure you check out the Last Chance Products section in the online store to see the items that are leaving us to make way for the new Annual Catalogue.

Another butterfly was stamped and cut out by hand, plus another three shaped were also punched out.

The handcut butterfly was given a coat of Wink of Stella.

Each of the Petunia Pop punched shaped were cut in half and then stuck to the back of the Basic White shapes to create a layer.

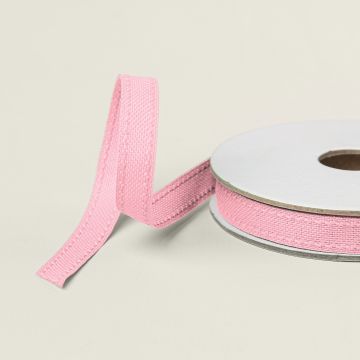
A length of coordinating ribbon was added across the centre and the top and bottom shape were added.

Using Dimensionals, the centre shape was raised up on Dimensionals before the handcut butterfly was added using a Glue Dot.

Finally, some extra bling was added by some Rhinestones.

Join me at one of my classes. Head to my Class Timetable for full details.

Happy crafting

Karen Young HIPPOFROG Designs

To order any of the supplies shown below, head to my Online Store. Items available while stocks last.

Online Shopping Club Code      Join my team      Current Products      Offers & Promotions      Book a Class
LABELED WITH LOVE PUNCH BUNDLE (ENGLISH)LAYERING LEAVES PHOTOPOLYMER STAMP SET (ENGLISH)PRETTY IN PINK A4 CARDSTOCKPRETTY IN PINK CLASSIC STAMPIN PADPETUNIA POP A4 CARDSTOCKPETUNIA POP CLASSIC STAMPIN PADBASIC WHITE A4 CARDSTOCKPRETTY IN PINK 3/8" (1 CM) BORDERED RIBBONWINK OF STELLA CLEAR GLITTER BRUSHRHINESTONE BASIC JEWELSMULTIPURPOSE LIQUID GLUEGLUE DOTSMINI STAMPIN' DIMENSIONALSTEAR & TAPE ADHESIVE

March 2025 Card Making Class – Project 3

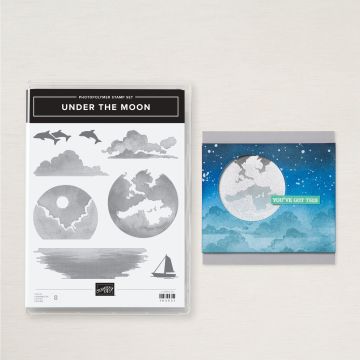
The third project from March’s Card Making Class is this beautiful dolphin card.

It uses the Under the Moon Stamp Set for the main images. The Labeled With Love Stamp Set provides the sentiment.

My colour combination is Azure Afternoon, Night of Navy, Lemon Lolly and Smoky Slate, along with Basic White.

To begin, the moon and sea are stamped. Next, the clouds are added with a mix of first and second generation stamping to provide depth.

On a separate piece of cardstock the dolphins are stamped. These are then carefully cut out. I managed to accidentally cut off a dorsal fin on my first attempt!

A length of Basic White Baker’s Twine is coloured usinga Stampin’ Blend Marker. This is looped behind the sentiment.

Finally, both the dolphins and the sentiment are attached using Mini Dimensionals.

Join me at one of my classes. Head to my Class Timetable for full details.

Happy crafting

Karen Young HIPPOFROG Designs

To order any of the supplies shown below, head to my Online Store. Items available while stocks last.

Online Shopping Club Code      Join my team      Current Products      Offers & Promotions      Book a Class
UNDER THE MOON PHOTOPOLYMER STAMP SETLABELED WITH LOVE PHOTOPOLYMER STAMP SET (ENGLISH)AZURE AFTERNOON A4 CARDSTOCKAZURE AFTERNOON CLASSIC STAMPIN' PADNIGHT OF NAVY A4 CARDSTOCKNIGHT OF NAVY CLASSIC STAMPIN' PADLEMON LOLLY CLASSIC STAMPIN' PADSMOKY SLATE CLASSIC STAMPIN' PADBASIC WHITE A4 CARDSTOCKBAKER'S TWINE ESSENTIALS PACKAZURE AFTERNOON STAMPIN' BLENDS COMBO PACKMINI STAMPIN' DIMENSIONALSMULTIPURPOSE LIQUID GLUETEAR & TAPE ADHESIVE

Last Week’s Card & Cuppa – Changing Leaves

Last week’s Card & Cuppa project was inspired by the changing colours of the leaves, as autumn has well and truly arrived.

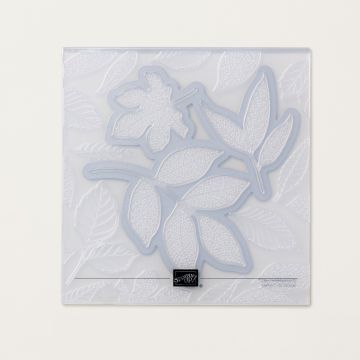
This project uses the Changing Leaves Hybrid Embossing Folder that comes with matching dies. These are from the Online Exclusives range.

My colour combination is an autumnal Old Olive, Real Red, Crushed Curry with Crumb Cake accents.

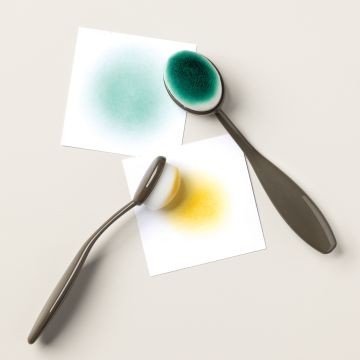
To make the background, the colours were added to a piece of Very Vanilla cardstock with Blending Brushes.

This piece was then embossed using the Embossing Folder.

Additional leaves and the circle for the sentiment were then cut out using the matching dies.

Three lengths of Crumb Cake Baker’s Twine from the Essentials Pack were then added across the project.

Next, the sentiment was stamped, this was from the Labeled with Love Stamp Set.

The leaves were then stuck to the project, with the sentiment added afterwards using Dimensionals.

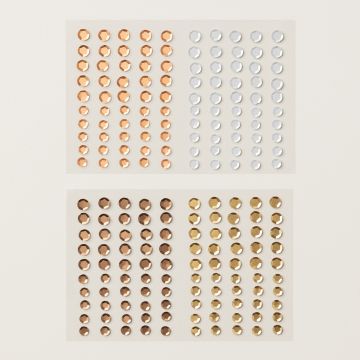
Finally, sequins from the Neutrals Adhesive-Backed Sequins pack provide a touch of sparkle. These were stuck to the non-embossed sections of the project.

Join me at one of my classes. Head to my Class Timetable for full details.

Happy crafting

Karen Young HIPPOFROG Designs

To order any of the supplies shown below, head to my Online Store. Items available while stocks last.

Online Shopping Club Code      Join my team      Current Products      Offers & Promotions      Book a Class

CHANGING LEAVES HYBRID EMBOSSING FOLDERLABELED WITH LOVE PHOTOPOLYMER STAMP SET (ENGLISH)CRUMB CAKE A4 CARDSTOCKCRUMB CAKE CLASSIC STAMPIN' PADOLD OLIVE A4 CARDSTOCKOLD OLIVE CLASSIC STAMPIN' PADCRUSHED CURRY CLASSIC STAMPIN' PADREAL RED CLASSIC STAMPIN' PADVERY VANILLA A4 CARDSTOCKBLENDING BRUSHESBAKER'S TWINE ESSENTIALS PACKNEUTRALS ADHESIVE-BACKED SEQUINSGLUE DOTSMULTIPURPOSE LIQUID GLUESTAMPIN' DIMENSIONALSTEAR & TAPE ADHESIVE

Last Week’s Card & Cuppa – Labeled with Love Bundle

Last week’s Card & Cuppa project is inspired by a design in the Annual Catalogue.

This project uses the Labeled with Love Stamp Set and Punch Bundle.

The colour combination of the Petunia Pop and Shy Shamrock In Colors, along with Blackberry Bliss and Basic White add a bright feel.

As the flowers and leaves are stamped multiple times and then cut out using the Punch, this is a very quick and easy project to create.

Each of the four pieces are stuck to the project before the sentiment is added.

In the Stamp Set, the sentiment is ‘just for you’ but I cut this down to create a shorter ‘for you’ instead, making it a perfect any occasion card.

A length of Basic White Twine from the Essentials Pack is coloured using a coordinating Stampin’ Blend. It is then used to create a swoosh behind the sentiment.

This sentiment piece is then raised up using Mini Dimensionals.

Finally, In Color Shimmer Gems, also in Petunia Pop are added for a touch of sparkle.

Join me at one of my classes. Head to my Class Timetable for full details.

Happy crafting

Karen Young HIPPOFROG Designs

To order any of the supplies shown below, head to my Online Store. Items available while stocks last.

Online Shopping Club Code      Join my team      Current Products      Offers & Promotions      Book a Class
LABELED WITH LOVE PUNCH BUNDLE (ENGLISH)PETUNIA POP A4 CARDSTOCKPETUNIA POP CLASSIC STAMPIN PADBLACKBERRY BLISS A4 CARDSTOCKBLACKBERRY BLISS CLASSIC STAMPIN' PADSHY SHAMROCK CLASSIC STAMPIN PADBASIC WHITE A4 CARDSTOCKBASIC WHITE A4 THICK CARDSTOCKBAKER'S TWINE ESSENTIALS PACKPETUNIA POP STAMPIN' BLENDS COMBO PACK2024–2026 IN COLOR™ SHIMMER GEMSMINI STAMPIN' DIMENSIONALSMULTIPURPOSE LIQUID GLUETEAR & TAPE ADHESIVE

Last Week’s Card & Cuppa for Children – Bee My Valentine Stamp Set & Bee Builder Punch

The second of my classes last week was my Card & Cuppa for Children class.

We used the Bee My Valentine Stamp Set and matching Bee Builder Punch from the Annual Catalogue.

This was the same project the adult class made the day before, with just a few small tweaks to the design.

Once again, the colour combination is Crushed Curry, Early Espresso and Basic White for this Birthday card.

As for the adult class, the honeycomb image is stamped multiple times around the edge. Then, these are coloured using Watercolor Pencils, followed by a Blender Pen.

Next, the stripey body image is stamped directly onto Crushed Curry Cardstock, instead of the two-step stamping onto Basic White the adult project used. Also, for this class, we only stamped the wings.

Both the body and wings were cut out using the Bee Builder Punch.

A sentiment from the Labeled with Love Stamp Set is stamped and layered onto a circle. Both circles were cut out using the Circle Punches from the Online Exclusives range.

When they had decided which way round they wanted their bees to face, the features were then added.

Finally, all of the pieces are added to the honeycomb with the bees raised up on Dimensionals around the sentiment.

Which project do you prefer (Adult – left, Child – right)?
You can see the differences between the two more clearly when they are side by side.


Join me at one of my classes. Head to my Class Timetable for full details.

Happy crafting

Karen Young HIPPOFROG Designs

To order any of the supplies shown below, head to my Online Store. Items available while stocks last.

Online Shopping Club Code      Join my team      Current Products      Offers & Promotions      Book a Class

BEE MY VALENTINE PHOTOPOLYMER STAMP SET (ENGLISH)BEE BUILDER PUNCHLABELED WITH LOVE PHOTOPOLYMER STAMP SET (ENGLISH)1-3/4" (4.4 CM) CIRCLE PUNCH2" (5.1 CM) CIRCLE PUNCHCRUSHED CURRY A4 CARDSTOCKCRUSHED CURRY CLASSIC STAMPIN' PADEARLY ESPRESSO A4 CARDSTOCKEARLY ESPRESSO CLASSIC STAMPIN' PADBASIC WHITE A4 CARDSTOCKWATERCOLOR PENCILS ASSORTMENT 2BLENDER PENSMULTIPURPOSE LIQUID GLUESTAMPIN' DIMENSIONALS

Last Week’s Card & Cuppa – Bee My Valentine Stamp Set & Bee Builder Punch

Last week’s Card & Cuppa used the Bee My Valentine Stamp Set and coordinating Bee Builder Punch.

This stamp set and punch carried over to the new Annual Catalogue. We’ve used these products at class before, but not for creating bees.

The colour combination of Crushed Curry, Early Espresso and Basic White creates a bright and fun Birthday card.

First, the honeycomb image was stamped multiple times around the edge. Then, these are coloured using Watercolor Pencils, followed by a Blender Pen.

Next, the bodies of the bees, wings and antennae were stamped and then cut out using the Bee Builder Punch, before being assembled.

A sentiment from the Labeled with Love Stamp Set is stamped and layered onto a circle. Both circles were cut out using the Circle Punches from the Online Exclusives range.

Finally, all of the pieces are added to the honeycomb with the bees raised up on Dimensionals around the sentiment.

As I also held a Card & Cuppa for Children Class last week, they made a version of this project that I’ll share over the coming days.

Join me at one of my classes. Head to my Class Timetable for full details.

Happy crafting

Karen Young HIPPOFROG Designs

To order any of the supplies shown below, head to my Online Store. Items available while stocks last.

Online Shopping Club Code      Join my team      Current Products      Offers & Promotions      Book a Class
BEE MY VALENTINE PHOTOPOLYMER STAMP SET (ENGLISH)BEE BUILDER PUNCHLABELED WITH LOVE PHOTOPOLYMER STAMP SET (ENGLISH)1-3/4" (4.4 CM) CIRCLE PUNCH2" (5.1 CM) CIRCLE PUNCHCRUSHED CURRY A4 CARDSTOCKCRUSHED CURRY CLASSIC STAMPIN' PADEARLY ESPRESSO A4 CARDSTOCKEARLY ESPRESSO CLASSIC STAMPIN' PADBASIC WHITE A4 CARDSTOCKWATERCOLOR PENCILS ASSORTMENT 2BLENDER PENSMULTIPURPOSE LIQUID GLUESTAMPIN' DIMENSIONALS

Last Week’s Card & Cuppa – Introducing Summer Splash

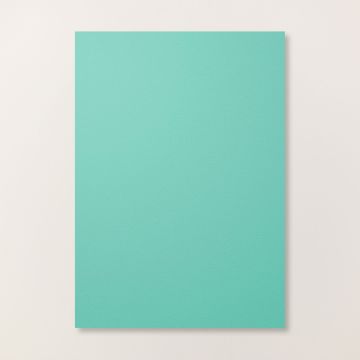
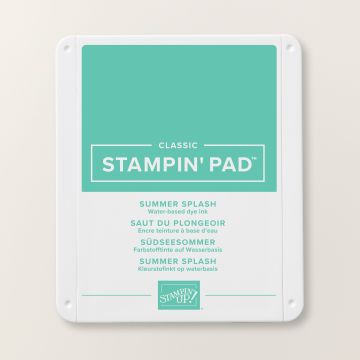
At last week’s Card & Cuppa Class, the project introduced the final new In Color for 2024-2026, Summer Splash.

This fun bright colour worked really well with the new Labeled With Love Bundle. If you haven’t seen this bundle in the new Catalogue then make sure you check it out. You can choose to pair the Stamp Set with a Punch or Dies, depending on  your preference. As I prefer a punch, I chose the Stamp Set and Punch Bundle.

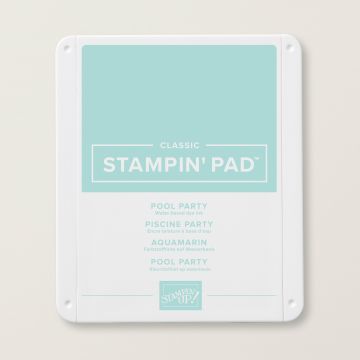
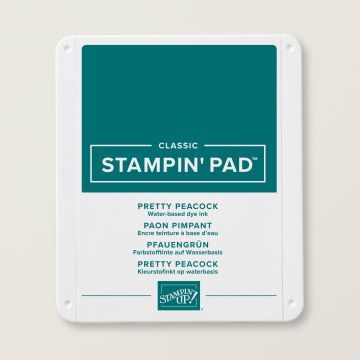
Along with Summer Splash, Pretty Peacock, Pool Party and Basic White completed my colour combination.

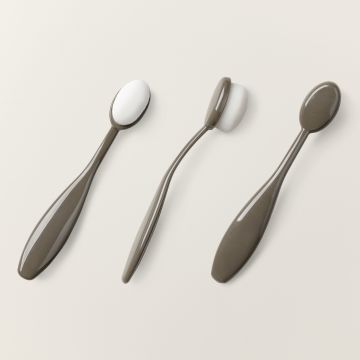
First, the background presents were stamped. These were then given a flare of colour using Pool Party and a Blending Brush.

On a separate piece of cardstock, the sentiment and focal present were stamped. The sentiment was cut out using the coordinating Punch and the present was fussy cut.

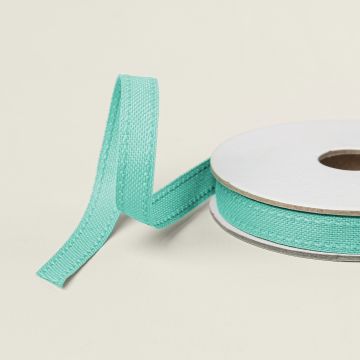
Two lengths of Summer Splash Bordered Ribbon were then added to the background to mirror the parcel wrapping.

With the parcel stuck to the sentiment, this was then attached to the project using Dimensionals.

Finally, coordinating Resin Dots were then added to the project.

This is a quick and simple project and an easy design to create in a range of colours.

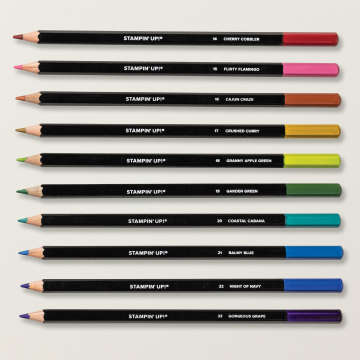
If you are a fan of Summer Splash, here is comparison of it to other current Stampin’ Up! colours. Which is your favourite new In Color?

Join me at one of my classes. Head to my Class Timetable for full details.

Happy crafting

Karen Young HIPPOFROG Designs

To order any of the supplies shown below, head to my Online Store. Items available while stocks last.

Online Shopping Club Code      Join my team      Current Products      Offers & Promotions      Book a Class
LABELED WITH LOVE PUNCH BUNDLE (ENGLISH)SUMMER SPLASH A4 CARDSTOCKSUMMER SPLASH CLASSIC STAMPIN PADPOOL PARTY CLASSIC STAMPIN' PADPRETTY PEACOCK CLASSIC STAMPIN' PADBASIC WHITE A4 CARDSTOCKBASIC WHITE A4 THICK CARDSTOCKSUMMER SPLASH 3/8" (1 CM) BORDERED RIBBONSMALL BLENDING BRUSHES2024-2026 IN COLOR™ RESIN DOTSTEAR & TAPE ADHESIVEMULTIPURPOSE LIQUID GLUESTAMPIN' DIMENSIONALS