Last Week’s Card & Cuppa – Modern Oval Punch

Last week’s Card & Cuppa project used one punch and three shades of the same colour to create this Birthday card.

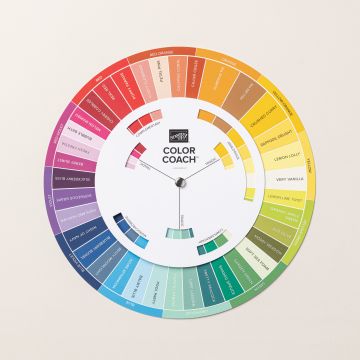
My colour combination was Granny Apple Green, Old Olive and Lemon Lime Twist, three colours next to each other on the Color Coach Colour Wheel.

These were paired with Basic White.

Three shapes were cut from each colour using the Modern Oval Punch.

All, apart from one, were given a touch of extra colour using Blending Brushes and Old Olive Ink before being stuck onto the Basic White piece.

Any overhanging pieces were cut to size.

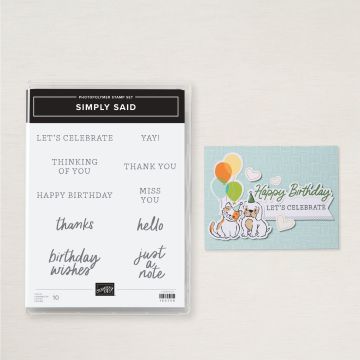
A sentiment from the Simply Said Stamp Set was stamped onto the shape that hadn’t been coloured with the Blending Brush.

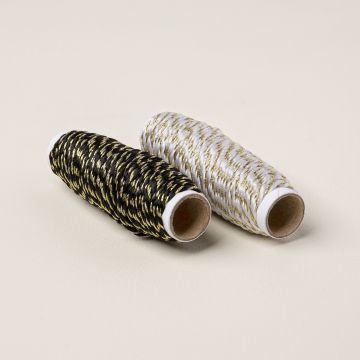
Using the Black & White & Gold Baker’s Twine from the Online Exclusives range, a swoosh was added behind the sentiment.

This whole piece was then stuck to the project using Dimensionals.

Join me at one of my classes. Head to my Class Timetable for full details.

Happy crafting

Karen Young HIPPOFROG Designs

To order any of the supplies shown below, head to my Online Store. Items available while stocks last.

NEW Stampin’ Rewards      Join my team      Current Products      Offers & Promotions      Book a Class
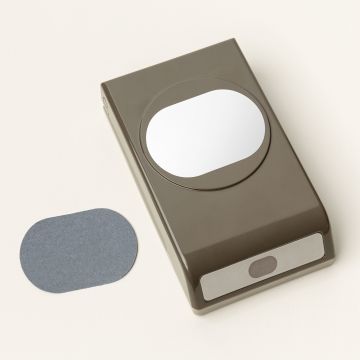
MODERN OVAL PUNCHSIMPLY SAID MIX& MATCH PHOTOPOLYMER STAMP SET (ENGLISH)OLD OLIVE A4 CARDSTOCKOLD OLIVE CLASSIC STAMPIN' PADGRANNY APPLE GREEN A4 CARDSTOCKLEMON LIME TWIST A4 CARDSTOCKBASIC WHITE A4 CARDSTOCKBASIC WHITE A4 THICK CARDSTOCKBLACK & WHITE & GOLD BAKER'S TWINECOLOR COACH™ (ENGLISH)MULTIPURPOSE LIQUID GLUETEAR & TAPE ADHESIVESTAMPIN' DIMENSIONALS

Countdown to Christmas 2024 – Week 9

We’ve reached week 9 of my Countdown to Christmas 2024 series.

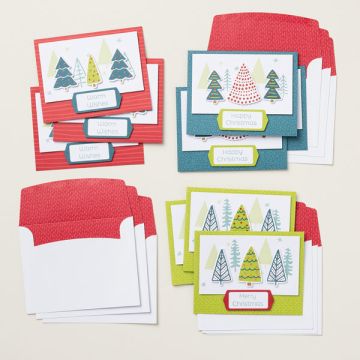
Today’s project is a one of four cards attendees are making later at my Christmas Card Making Day.

During the class, they will make 16 cards, 4 each of 4 designs.

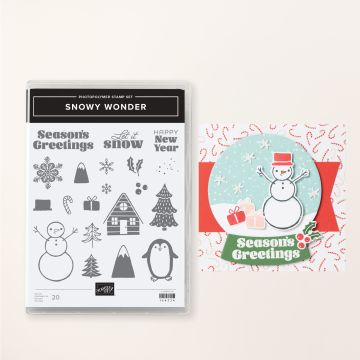
For this quick and easy project, the tree and present from the Snowy Wonder Stamp Set are stamped multiple times in Granny Apple Green and Poppy Parade.

The stars are from the Christmas Everywhere Kit and stamped in Daffodil Delight.

Season’s Greetings, also from the Snowy Wonder Stamp Set is stamped in Basic Gray. It’s stamped onto a piece of Granny Apple Green cardstock cut out using the Modern Oval Punch.

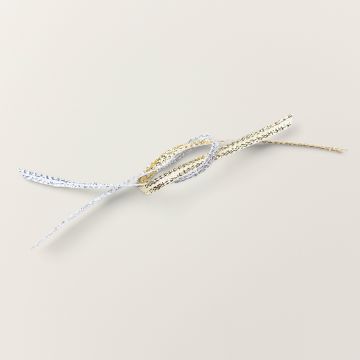
Two lengths from the Gold and Silver Trim Combo Pack are added to the back of the sentiment. It is then raised up using Dimensionals.

For this class, the projects need to be quick and simple, but you could always add extra embellishments and more to step up your own version.

Join me at one of my classes. Head to my Class Timetable for full details.

Happy crafting

Karen Young HIPPOFROG Designs

To order any of the supplies shown below, head to my Online Store. Items available while stocks last.

Online Shopping Club Code      Join my team      Current Products      Offers & Promotions      Book a Class
SNOWY WONDER PHOTOPOLYMER STAMP SET (ENGLISH)CHRISTMAS EVERYWHERE KIT (ENGLISH)MODERN OVAL PUNCHGRANNY APPLE GREEN A4 CARDSTOCKGRANNY APPLE GREEN CLASSIC STAMPIN' PADDAFFODIL DELIGHT CLASSIC STAMPIN' PADPOPPY PARADE CLASSIC STAMPIN' PADBASIC GRAY CLASSIC STAMPIN' PADBASIC WHITE A4 CARDSTOCKBASIC WHITE A4 THICK CARDSTOCKGOLD & SILVER 1/8" (3.2 MM) TRIM COMBO PACKMULTIPURPOSE LIQUID GLUESTAMPIN' DIMENSIONALS

Countdown to Christmas 2024 – Week 4

The project for week 4 of my Countdown to Christmas 2024 series is one of my go to Christmas Card designs.

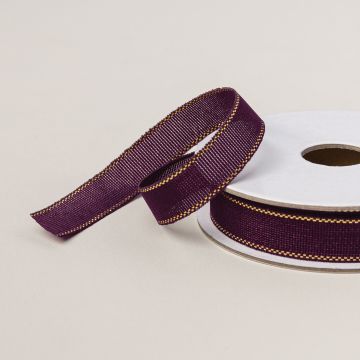
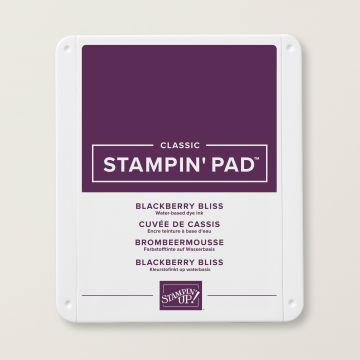
For this version, I’ve used Crumb Cake and Blackberry Bliss, with gold accents to coordinate with the ribbon. It also only uses one ink pad with tone-on-tone stamping.

This card isn’t in the more traditional Christmas colours, but has a more rustic feel.

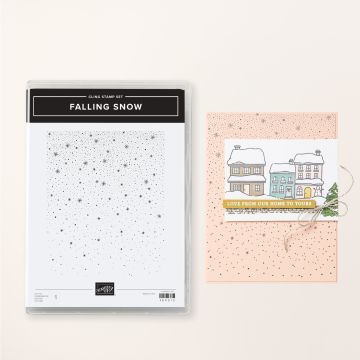
First, I created the background using the Falling Snow Background Stamp Set. As background stamps are larger, only one inking up and stamp is needed to fill the card.

New Textured Ribbon from the Mini Catalogue in Blackberry Bliss and Gold then creates the ribbon across the parcel.

Next, the sentiment is created, this is from the Snowy Wonder Stamp Set and cut out using the Modern Oval Punch. I’ve layered another cut out from the Punch in Blackberry Bliss behind it.

The sentiment is then stuck on with Dimensionals.

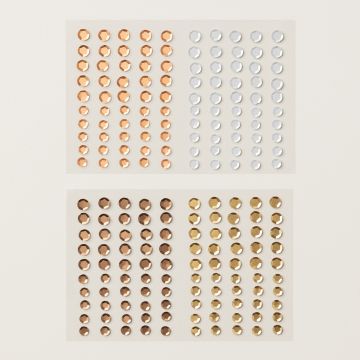
Finally, coordinating gold sequins from the Neutrals Adhesive-Backed Sequins are added for a touch of festive bling.

What I really love about this design is how versatile it is. Use any colours, stamps, bling and more for your creation. You can also use strips of DSP for the ribbon and change it to landscape too. The possibilities with this design are endless and it’s why it’s a firm favourite design of mine.

Join me at one of my classes. Head to my Class Timetable for full details.

Happy crafting

Karen Young HIPPOFROG Designs

To order any of the supplies shown below, head to my Online Store. Items available while stocks last.

Online Shopping Club Code      Join my team      Current Products      Offers & Promotions      Book a Class

FALLING SNOW CLING STAMP SETSNOWY WONDER PHOTOPOLYMER STAMP SET (ENGLISH)MODERN OVAL PUNCHCRUMB CAKE A4 CARDSTOCKCRUMB CAKE CLASSIC STAMPIN' PADBLACKBERRY BLISS A4 CARDSTOCKBLACKBERRY BLISS & GOLD 1/2" (1.3 CM) TEXTURED RIBBONNEUTRALS ADHESIVE-BACKED SEQUINSMULTIPURPOSE LIQUID GLUESTAMPIN' DIMENSIONALSTEAR & TAPE ADHESIVE

Last Week’s Card & Cuppa – Sketched Butterflies Bundle

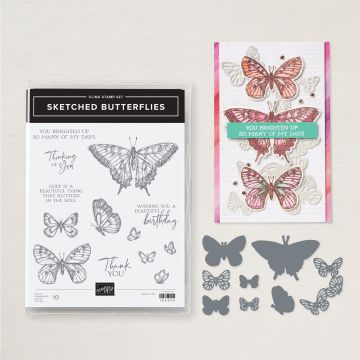
Last week’s Card & Cuppa Class project used a new Bundle from the Annual Catalogue.

The Sketched Butterflies Bundle (Sketched Butterflies Stamp Set & Sketched Butterflies Dies) provide some fabulous images and shapes.

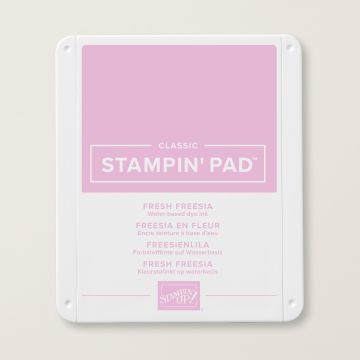
A colour combination of Fresh Freesia, Blackberry Bliss and Basic White provide shades of purple.

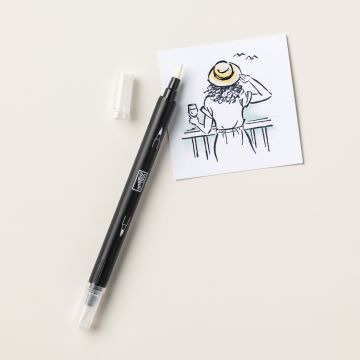
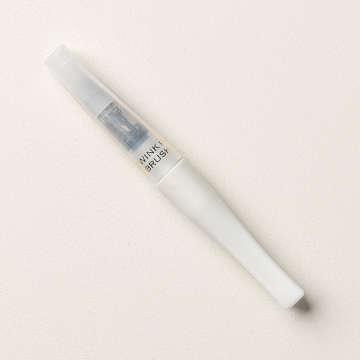
To begin the background is stamped with the small butterflies. They are then coloured using a Blender Pen to pull the ink from the stamping. Light strokes of Wink of Stella on these butterflies provide some subtle sparkle.

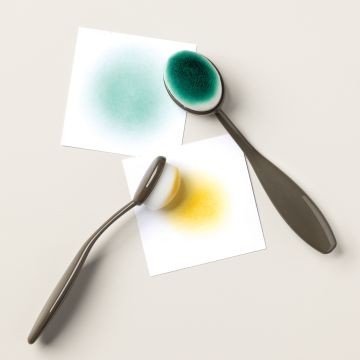
Next, a separate piece of cardstock was coloured with an ombre effect using a Blending Brush and Fresh Freesia ink.

Using the dies from the Bundle, these were used to cut out the ombre piece.

The Modern Oval Punch is then used to cut out the sentiment.

This then has the set of die-cut butterflies carefully stuck to it before the whole piece is attached using Dimensionals.

Finally, the two remaining die-cut butterflies are then added to the project.

My Card & Cuppa for Children Classes during the summer holidays started last week and this was the project for that class too.

Join me at one of my classes. Head to my Class Timetable for full details.

Happy crafting

Karen Young HIPPOFROG Designs

To order any of the supplies shown below, head to my Online Store. Items available while stocks last.

Online Shopping Club Code      Join my team      Current Products      Offers & Promotions      Book a Class
SKETCHED BUTTERFLIES BUNDLE (ENGLISH)MODERN OVAL PUNCHBLACKBERRY BLISS A4 CARDSTOCKBLACKBERRY BLISS CLASSIC STAMPIN' PADFRESH FREESIA A4 CARDSTOCKFRESH FREESIA CLASSIC STAMPIN' PADBASIC WHITE A4 CARDSTOCKBLENDER PENSBLENDING BRUSHESWINK OF STELLA CLEAR GLITTER BRUSHMULTIPURPOSE LIQUID GLUESTAMPIN' DIMENSIONALS

Last Week’s Card & Cuppa – Celebrate with Cheerful Daisies

Last week’s Card & Cuppa project was a little bit different to my usual style.

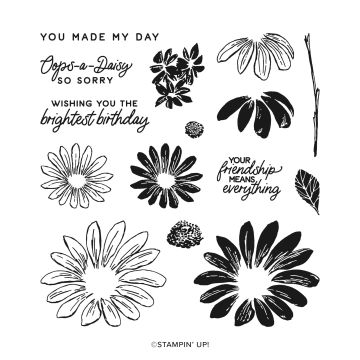
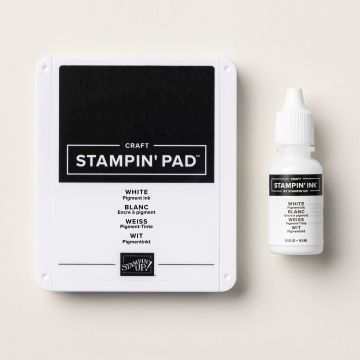
For this project, I used the Cheerful Daisies Stamp Set with White Ink to create this pretty project.

I used both Crumb Cake and Copper Clay for the brown tones, plus Daffodil Delight for the daisy centres.

Using White Ink requires a slightly different thought process to the stamping. You need to ensure that you stamp the white first to avoid cross contamination with other colours. Also, as it is a pigment ink, the pad feels slightly ‘sticky’ to stamp with, but you quickly get used to that.

Once the daisies were stamped onto the background, plus one onto a separate piece, the centres were then added. They were given gentle taps of Wink of Stella in the centre for some sparkle.

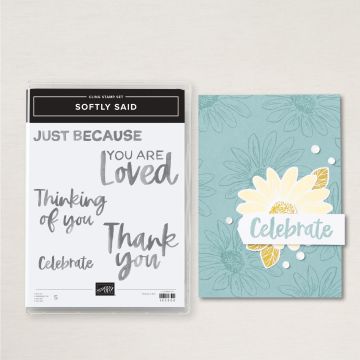
A sentiment from the Softly Said Stamp Set from the Online Exclusives range sits across the separate daisy.

Stamping onto Crumb Cake with pigment ink meant the images became brighter as they dried. They looked rather dull to begin with.

The sentiment is punched out using the Modern Oval Punch. Plus another oval from Copper Clay to create the layer.

This layer is made by cutting the shape in half and sticking each side to the edges.

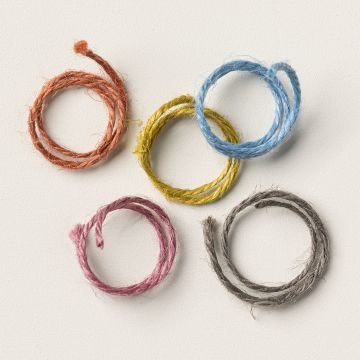
A length of In Color Jute Trim is looped behind the sentiment, before the whole piece is raised up on Dimensionals.

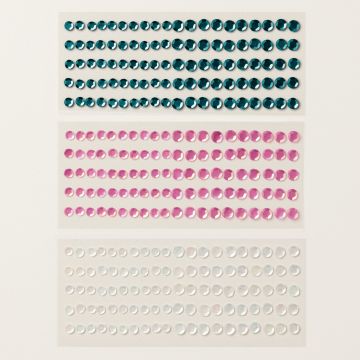
Finally, some white sequins from the Adhesive-Backed Sequins Trio are dotted across the project.

The attendees thought this design would also look good on Basic Black cardstock. I may have to try it out. Watch this space!

All of the items used in this project will be carrying over to the new Catalogue in May. If you want to see the retiring items, then head to the Last Chance List.

Join me at one of my classes. Head to my Class Timetable for full details.

Happy crafting

Karen Young HIPPOFROG Designs

To order any of the supplies shown below, head to my Online Store. Items available while stocks last.

Online Shopping Club Code      Join my team      Current Products      Offers & Promotions      Book a Class
CHEERFUL DAISIES PHOTOPOLYMER STAMP SET (ENGLISH)SOFTLY SAID CLING STAMP SET (ENGLISH)MODERN OVAL PUNCHCOPPER CLAY A4 CARDSTOCKCOPPER CLAY CLASSIC STAMPIN' PADCRUMB CAKE A4 CARDSTOCKUNINKED STAMPIN' PAD & WHISPER WHITE REFILLDAFFODIL DELIGHT CLASSIC STAMPIN' PAD2023–2025 IN COLOR JUTE TRIMADHESIVE-BACKED SEQUINS TRIOWINK OF STELLA CLEAR GLITTER BRUSHSTAMPIN' SEALSTAMPIN' DIMENSIONALSTEAR & TAPE ADHESIVE

Countdown to Christmas 2023 – Week 5

Today I’m sharing October’s Christmas Card Club project. This card is the project for Week 5 of my Countdown to Christmas 2023 series.

For October’s project, I made this card, inspired by Page 21 of the September-December Mini Catalogue.

With the colour combination of Crumb Cake, Mossy Meadow, Real Red and Very Vanilla, it has a rustic feel.

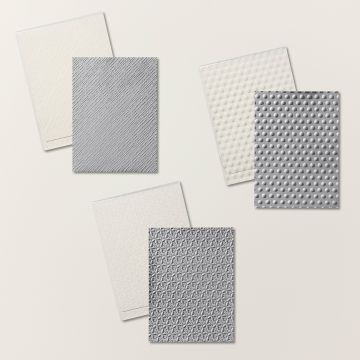
The background is made from shapes cut from the Modern Oval Punch from the Mini Catalogue. These are then given some texture by embossing with the Online Exclusives Basics 3D Embossing Folders.

Once these are stuck to the layer, any excess overhang is cut away.

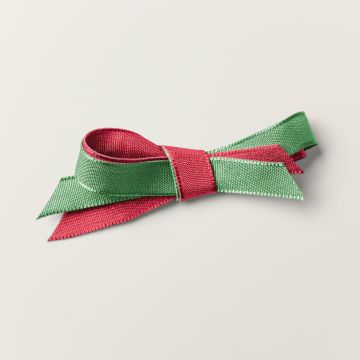
A strip of Mossy Meadow cardstock is then attached, with a length of the Real Red & Garden Green Ribbon Combo Pack on top of that.

Using the Christmas Classics Stamp Set, a new favourite of mine from the Mini Catalogue, the sentiment is created. This is cut out using the Nested Essentials Dies.

Two sets of leaves cut using the Bough Punch are then stuck to the back of the sentiment.

This is then attached to the project using Dimensionals.

Finally, some Iridescent Pearls are added for a touch of bling.

If you want to join us and make a future Christmas Card Club project, make sure you have booked your place by the 9th of each month.

Join me at one of my classes. Head to my Class Timetable for full details.

Happy crafting

Karen Young HIPPOFROG Designs

To order any of the supplies shown below, head to my Online Store. Items available while stocks last.

Online Shopping Club Code      Join my team      Current Products      Offers & Promotions      Book a Class
CHRISTMAS CLASSICS PHOTOPOLYMER STAMP SET (ENGLISH)MODERN OVAL PUNCHNESTED ESSENTIALS DIESBASICS 3D EMBOSSING FOLDERSCRUMB CAKE A4 CARDSTOCKMOSSY MEADOW A4 CARDSTOCKMOSSY MEADOW CLASSIC STAMPIN' PADREAL RED CLASSIC STAMPIN' PADVERY VANILLA A4 CARDSTOCKREAL RED & GARDEN GREEN 3/8" (1 CM) RIBBON COMBO PACKIRIDESCENT PEARL BASIC JEWELSGLUE DOTSMULTIPURPOSE LIQUID GLUESTAMPIN' DIMENSIONALSTEAR & TAPE ADHESIVE

Countdown to Christmas 2023 – Week 3

Week 3 of my Countdown to Christmas 2023 series is this Christmas card.

If you’ve been around for a while you will know that I love a poinsettia project.

This one uses a combination of Poppy Parade, Calypso Coral and Daffodil Delight, with Basic White.

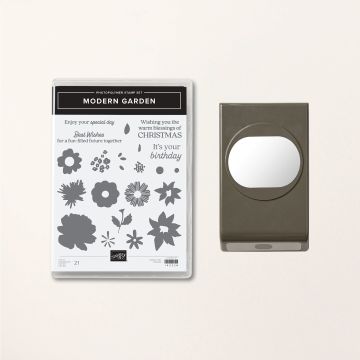
The background is from the new Modern Garden Stamp Set with the dots given a touch of Wink of Stella for some festive sparkle.

To create the poinsettias, these are also from the Modern Garden Stamp Set. They have been stamped and then cut out and layered.

There is a coordinating punch with this Stamp Set, but unfortunately, it’s the Modern Oval shape I used for the sentiment, so the poinsettias all had to be fussy cut!

As I’m not a fan of fussy cutting, it’s safe to say that if you receive this card from me you’re someone special!

Using the Christmas Classics Stamp Set, another new product from the Mini Catalogue, the sentiment is stamped onto the punched Modern Oval shape.

The sentiment and flowers are then stuck together and raised up on Dimensionals.

Finally, some Iridescent Rhinestones add a bit more sparkle.

I think this project would look great in other colours too for a non-traditional look.

Join me at one of my classes. Head to my Class Timetable for full details.

Happy crafting

Karen Young HIPPOFROG Designs

To order any of the supplies shown below, head to my Online Store. Items available while stocks last.

Online Shopping Club Code      Join my team      Current Products      Offers & Promotions      Book a Class
MODERN GARDEN BUNDLE (ENGLISH)CHRISTMAS CLASSICS PHOTOPOLYMER STAMP SET (ENGLISH)CALYPSO CORAL A4 CARDSTOCKCALYPSO CORAL CLASSIC STAMPIN' PADPOPPY PARADE A4 CARDSTOCKPOPPY PARADE CLASSIC STAMPIN' PADDAFFODIL DELIGHT CLASSIC STAMPIN' PADBASIC WHITE A4 CARDSTOCKWINK OF STELLA CLEAR GLITTER BRUSHIRIDESCENT RHINESTONES BASIC JEWELSSTAMPIN' SEALGLUE DOTSSTAMPIN' DIMENSIONALS

Last Week’s Card & Cuppa – Autumn Vibes

Last week’s Card & Cuppa session was my first one back after my break.

Before I went on holiday, I was asked for something autumnal when I returned. So this any occasion card fits the bill.

It uses a colour combination of Copper Clay, Mossy Meadow and Crushed Curry. These are perfect colours to represent the changing colours of the leaves.

To begin, leaves from the Layering Leaves Stamp Set and the Modern Garden Stamp Set are stamped across the Very Vanilla background.

Next, using Blending Brushes, a diagonal strip of Crushed Curry is added down the centre with Mossy Meadow on the outer edges.


Using a Blender Pen, the Copper Clay outline leaves are given a touch of colour. Doing this after adding the colour with the Blending Brushes allows the leaves to be different colours.

The sentiment, also from the Layering Leaves Stamp Set is cut out with the Modern Oval Punch. This is part of a bundle with the Modern Garden Stamp Set in the new Mini Catalogue.

A length of coordinating Textured In Color Ribbon is stuck across the centre, with the sentiment raised above it using Dimensionals.

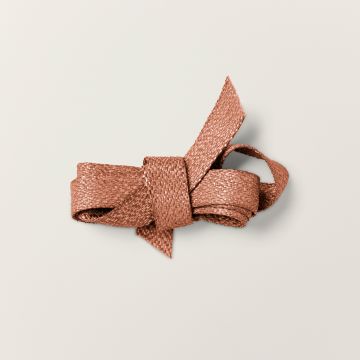
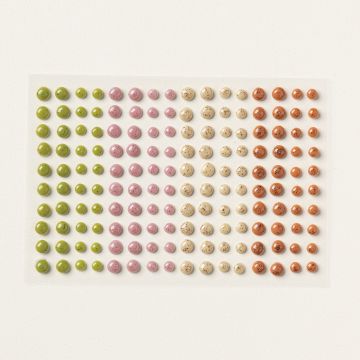
Finally, some Adhesive-Backed Speckled Dots in Copper Clay, also from the new Mini Catalogue are dotted across the project.

Join me at one of my classes. Head to my Class Timetable for full details.

Happy crafting

Karen Young HIPPOFROG Designs

To order any of the supplies shown below, head to my Online Store. Items available while stocks last.

Online Shopping Club Code      Join my team      Current Products      Offers & Promotions      Book a Class

MODERN GARDEN BUNDLE (ENGLISH)LAYERING LEAVES PHOTOPOLYMER STAMP SET (ENGLISH)COPPER CLAY A4 CARDSTOCKCOPPER CLAY CLASSIC STAMPIN' PADMOSSY MEADOW A4 CARDSTOCKMOSSY MEADOW CLASSIC STAMPIN' PADCRUSHED CURRY A4 CARDSTOCKCRUSHED CURRY CLASSIC STAMPIN' PADVERY VANILLA A4 CARDSTOCKBLENDING BRUSHESBLENDER PENSCOPPER CLAY 3/8" (1 CM) TEXTURED RIBBONADHESIVE-BACKED SPECKLED DOTSSTAMPIN' DIMENSIONALSSTAMPIN' SEALTEAR & TAPE ADHESIVE