ICYMI – Simply Leaves Bundle

In case you missed last week’s Card & Cuppa project.

Head here for more details.

Join me at one of my classes. Head to my Class Timetable for full details.

Happy crafting

Karen Young HIPPOFROG Designs

To order any of the supplies shown below, head to my Online Store. Items available while stocks last.

NEW Stampin’ Rewards      Join my team      Current Products      Offers & Promotions      Book a Class

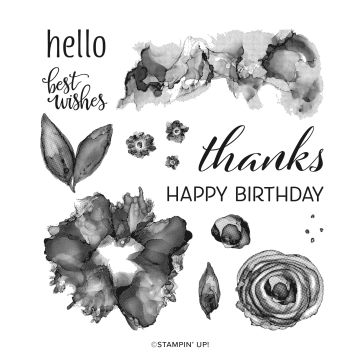
SIMPLY LEAVES BUNDLE (ENGLISH)THREE BANNER PUNCHBERRY BURST A4 CARDSTOCKBERRY BURST CLASSIC STAMPIN' PADHIGHLAND HEATHER CLASSIC STAMPIN' PADPETAL PINK CLASSIC STAMPIN' PADSTRAWBERRY SLUSH CLASSIC STAMPIN' PADBASIC WHITE A4 CARDSTOCKBASIC WHITE A4 THICK CARDSTOCKBLENDING BRUSHESBERRY BURST STAMPIN' BLENDS COMBO PACKIRIDESCENT PEARL BASIC JEWELSMULTIPURPOSE LIQUID GLUEMINI STAMPIN' DIMENSIONALS

July 2026 Card Making Class – Project 1

At the weekend I held my monthly Card Making Class. The theme for the class was ‘It’s all new to me!’ and used new products from the May-August Catalogue and Online Exclusive ranges.

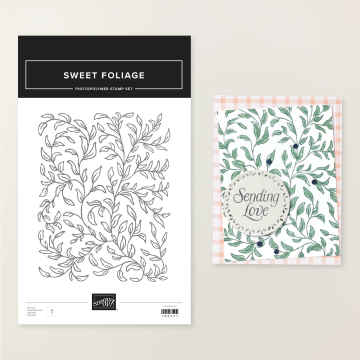
The first of the four projects used the Sweet Foliage Stamp Set from the Online Exclusives range.

As this is a large stamp, it does a lot of the hard work for you and was perfect for this any occasion card.

I chose to stamp the image in Mossy Meadow to create darker lines and to help the colouring to stand out.

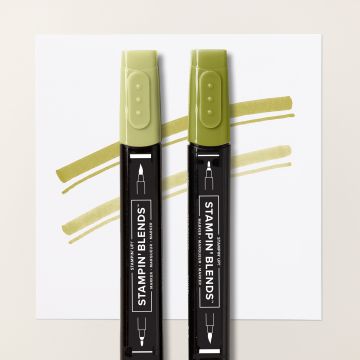
The leaves were then coloured using Stampin’ Blends in Lemon Lime Twist, Granny Apple Green and Old Olive. By colouring sections down the project from lightest to darkest, it created a lovely ombre effect.

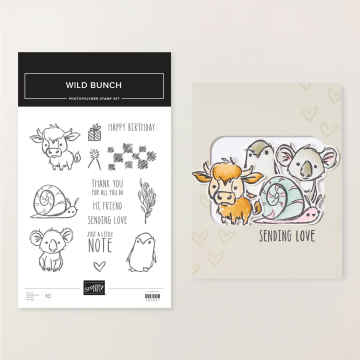
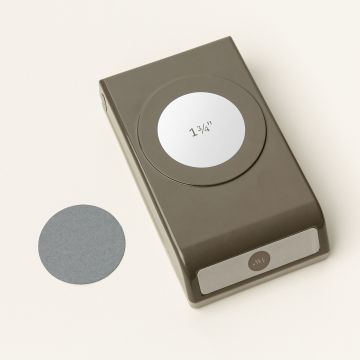
After punching two circles, the sentiment from the Wild Bunch Stamp Set, a former Product of the Month, was stamped in Mossy Meadow.

I chose Old Olive card for the project layers.

Using Dimensionals, the sentiment was raised up above the background.

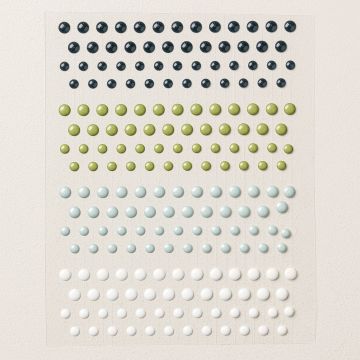
Coordinating dots from the Moody Palette Glossy Dots were then added as a finishing touch.

This project would look great in various colours. I’ve got lots of ideas for when I next use the Stamp Set.

Join me at one of my classes. Head to my Class Timetable for full details.

Happy crafting

Karen Young HIPPOFROG Designs

To order any of the supplies shown below, head to my Online Store. Items available while stocks last.

NEW Stampin’ Rewards      Join my team      Current Products      Offers & Promotions      Book a Class

SWEET FOLIAGE PHOTOPOLYMER STAMP SETWILD BUNCH PHOTOPOLYMER STAMP SET (ENGLISH)1-3/4" (4.4 CM) CIRCLE PUNCH1-7/8" (4.8 CM) CIRCLE PUNCHMELON MAMBO CLASSIC STAMPIN' PADOLD OLIVE A4 CARDSTOCKBASIC WHITE A4 CARDSTOCKBASIC WHITE A4 THICK CARDSTOCKSTAMPIN' BLENDS LEMON LIME TWIST COMBO PACKSTAMPIN' BLENDS GRANNY APPLE GREEN COMBO PACKSTAMPIN' BLENDS OLD OLIVE COMBO PACKMOODY PALETTE GLOSSY DOTSMULTIPURPOSE LIQUID GLUESTAMPIN' DIMENSIONALS

Last Week’s Card & Cuppa – Simply Leaves Bundle

For last week’s Card & Cuppa project, I used a new Bundle from the Online Exclusives range.

The Simply Leaves Bundle (Simply Leaves Stamp Set & Simple Leaf Punch) were recently released as part of the July Online Exclusives range.

If you’ve been around a while, you’ll know I love the punches, so this set just had to fall into my basket.

Rather than an autumnal feel, I chose to create a more summery project with my colours.

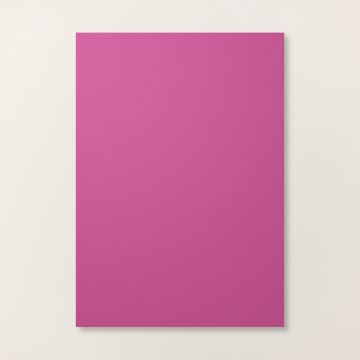
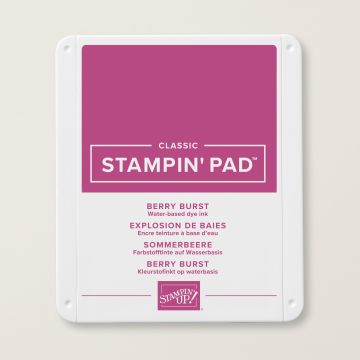
My colour combination was Berry Burst, Strawberry Slush, Petal Pink and Highland Heather, along with Basic White.

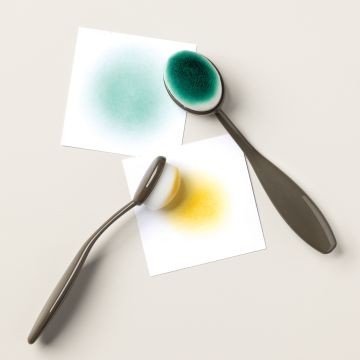
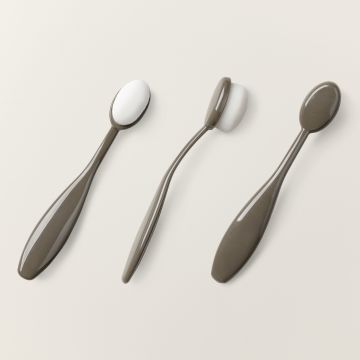
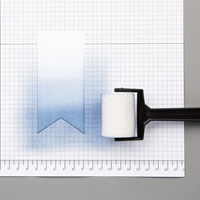
First, the background ombre was created by using Blending Brushes with Petal Pink, Strawberry Slush and Highland Heather.

Next, one of the smaller leaves was stamped 2nd Generation multiple times onto the ombre.

The leaf veins image were stamped 3 times onto a separate piece and these were then coloured with Blending Brushes. They were then cut out using the coordinating Punch.

Any additional colour was then added to the cut shapes.

Each leaf was then scored along each of the vein lines and then gently folded along them to give some additional shaping.

A sentiment, also from the Stamp Set was stamped in Berry Burst onto a shape cut out using the Triple Banner Punch. The layer was cut out in Berry Burst before they were stuck together slightly offset.

The top right leaf was stuck down using glue, while the other leaves were attached to the sentiment to create one piece.

That whole piece was then added using Dimensionals to raise it up.

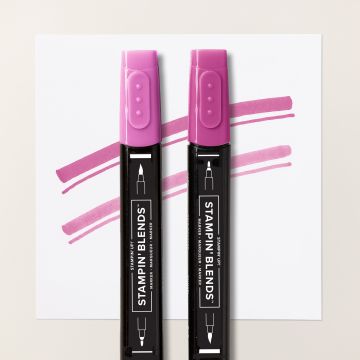
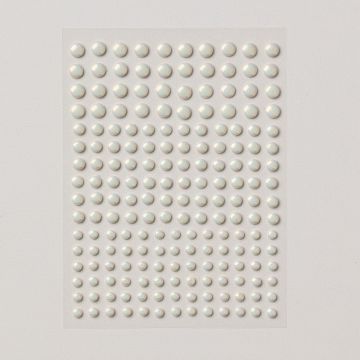
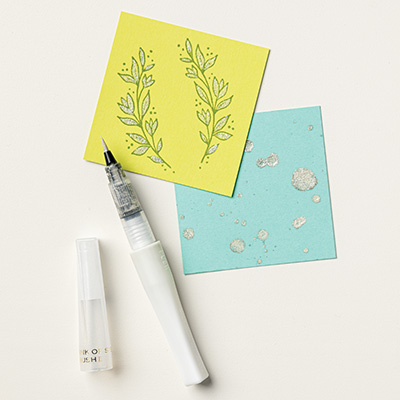
Finally, three Iridescent Pearls were coloured using a Stampin’ Blend, also in Berry Burst, and added to the project.

Join me at one of my classes. Head to my Class Timetable for full details.

Happy crafting

Karen Young HIPPOFROG Designs

To order any of the supplies shown below, head to my Online Store. Items available while stocks last.

NEW Stampin’ Rewards      Join my team      Current Products      Offers & Promotions      Book a Class
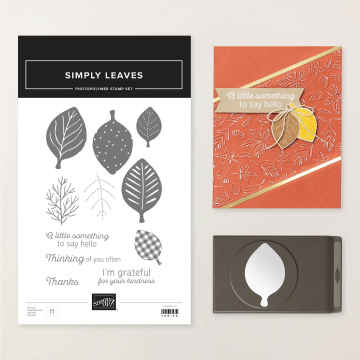
SIMPLY LEAVES BUNDLE (ENGLISH)THREE BANNER PUNCHBERRY BURST A4 CARDSTOCKBERRY BURST CLASSIC STAMPIN' PADHIGHLAND HEATHER CLASSIC STAMPIN' PADPETAL PINK CLASSIC STAMPIN' PADSTRAWBERRY SLUSH CLASSIC STAMPIN' PADBASIC WHITE A4 CARDSTOCKBASIC WHITE A4 THICK CARDSTOCKBLENDING BRUSHESBERRY BURST STAMPIN' BLENDS COMBO PACKIRIDESCENT PEARL BASIC JEWELSMULTIPURPOSE LIQUID GLUEMINI STAMPIN' DIMENSIONALS

March Card Making Class – Project 2

The second project from the weekend’s Card Making Class was this sunny Birthday card.

With the theme of the class being Backgrounds and More, this ombre beach scene is just perfect.

A combination of Balmy Blue, Crushed Curry, Azure Afternoon and some Blending Brushes create the sky, sand and sea.

The sun and boat are from the Choose Happy Stamp Set. Both are coloured using Stamping Blends, with the boat cut out by hand. Care is needed to avoid cutting the sail from the boat!

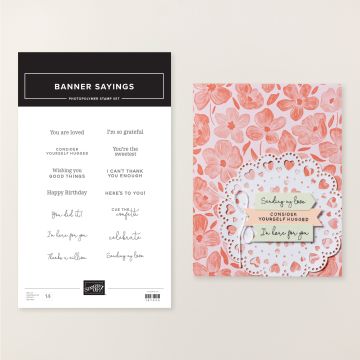
In the bottom corner, a sentiment from the Banner Saying Stamp Set is stamped. This Stamp Set is in the Online Exclusives range.

Although I used Crushed Curry for the sun and sand, I chose to combine Daffodil Delight with Azure Afternoon for my card layers. This gave the project a much brighter look and feel.

Finally, the boat is raised up on Dimensionals to look like it is sailing by!

Join me at one of my classes. Head to my Class Timetable for full details.

Happy crafting

Karen Young HIPPOFROG Designs

To order any of the supplies shown below, head to my Online Store. Items available while stocks last.

NEW Stampin’ Rewards      Join my team      Current Products      Offers & Promotions      Book a Class
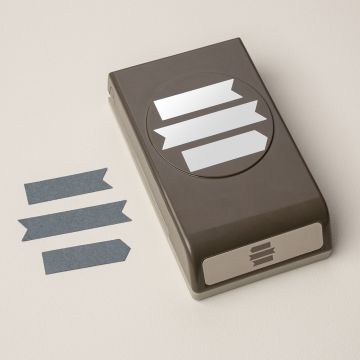
CHOOSE HAPPY PHOTOPOLYMER STAMP SET (ENGLISH)BANNER SAYINGS PHOTOPOLYMER STAMP SET (ENGLISH)AZURE AFTERNOON CLASSIC STAMPIN' PADAZURE AFTERNOON A4 CARDSTOCKBALMY BLUE CLASSIC STAMPIN' PADCRUSHED CURRY CLASSIC STAMPIN' PADDAFFODIL DELIGHT A4 CARDSTOCKBASIC WHITE A4 CARDSTOCKBLENDING BRUSHESSTAMPIN' BLENDS AZURE AFTERNOON COMBO PACKSTAMPIN' BLENDS DAFFODIL DELIGHT COMBO PACKSTAMPIN' BLENDS POPPY PARADE COMBO PACKMULTIPURPOSE LIQUID GLUEMINI STAMPIN' DIMENSIONALS

March 2025 Card Making Class – Project 2

The second of four projects from March’s Card Making Class was this pretty leaf ombre.

I chose Crushed Curry, Old Olive and Garden Green, along with Basic White for my colour combination.

First, the background ombre was created using Blending Brushes, starting with Crushed Curry.A gentle touch is needed for this part to avoid swirls and darker patches.

Next, a separate piece of cardstock was also coloured in readiness for the leaves to be cut out.

Both the leaves and sentiment pieces were cut out using the Changing Leaves Dies, part of the Changing Leaves Hybrid Embossing Folder product in the Online Exclusives range. These items are currently in the Last Chance Products range, so make sure you grab them before they are discontinued.

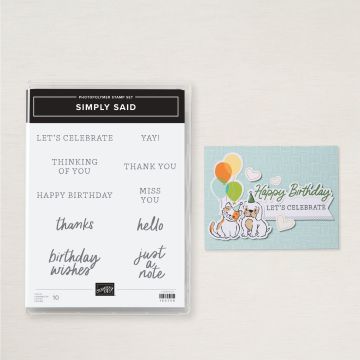
Extra green was added to the leaves with the Blending Brushes as needed, while the sentiment from the Simply Said Stamp Set is also stamped.

A length of Linen Thread is attached to the back of the sentiment, along with two of the leaves.

The other leaves are stuck directly onto the project with the sentiment piece raised up on Dimensionals.

Finally, some Antique Pearls from the Mini Catalogue are added for a touch of bling.

Join me at one of my classes. Head to my Class Timetable for full details.

Happy crafting

Karen Young HIPPOFROG Designs

To order any of the supplies shown below, head to my Online Store. Items available while stocks last.

Online Shopping Club Code      Join my team      Current Products      Offers & Promotions      Book a Class
CHANGING LEAVES HYBRID EMBOSSING FOLDERSIMPLY SAID MIX & MATCH PHOTOPOLYMER STAMP SET (ENGLISH)OLD OLIVE A4 CARDSTOCKOLD OLIVE CLASSIC STAMPIN' PADGARDEN GREEN A4 CARDSTOCKGARDEN GREEN CLASSIC STAMPIN' PADCRUSHED CURRY CLASSIC STAMPIN' PADBASIC WHITE A4 CARDSTOCKBLENDING BRUSHESSMALL BLENDING BRUSHESANTIQUE PEARLSLINEN THREADMULTIPURPOSE LIQUID GLUESTAMPIN' DIMENSIONALSTEAR & TAPE ADHESIVE

Last Week’s Card & Cuppa – Autumn Ombre

At last week’s Card & Cuppa class, the attendees made this pretty autumn ombre Birthday card.

It’s a CASE of a project I’ve made previously, but I chose autumnal colours and also used different stamp sets.

The colours were Cajun Craze, Crushed Curry and Pumpkin Pie, with Old Olive for the stamping and card layer.

Using some offcuts of cardstock, the section to ombre was masked off. It was then coloured using Stampin’ Pads and Blending Brushes. As the name suggests, these helped to mix the colours together beautifully.

Once the masking was removed, the leaf from the Gorgeously Made Stamp Set was stamped on top.

An oval was cut out of the offcuts used for masking. It was coloured at the same time as the centre section. Then, a sentiment from the Medley Mix Stamp Set was added.

Next, three strands of Linen Thread were strung across the project. The sentiment then sits on top on Mini Dimensionals.

Finally, some Rustic Metallic Dots add a subtle touch of sparkle.

Join me at one of my classes. Head to my Class Timetable for full details.

Happy crafting

Karen Young HIPPOFROG Designs

To order any of the supplies shown below, head to my Online Store. Items available while stocks last.

Online Shopping Club Code      Join my team      Current Products      Offers & Promotions      Book a Class
GORGEOUSLY MADE CLING STAMP SET (ENGLISH)MEDLEY MIX PHOTOPOLYMER STAMP SET (ENGLISH)DOUBLE OVAL PUNCHOLD OLIVE A4 CARDSTOCKOLD OLIVE CLASSIC STAMPIN' PADCAJUN CRAZE CLASSIC STAMPIN' PADCRUSHED CURRY CLASSIC STAMPIN' PADPUMPKIN PIE CLASSIC STAMPIN' PADBASIC WHITE A4 CARDSTOCKBASIC WHITE A4 THICK CARDSTOCKBLENDING BRUSHESLINEN THREADRUSTIC METALLIC ADHESIVE-BACKED DOTSSTAMPIN' SEALMINI STAMPIN' DIMENSIONALSTEAR & TAPE ADHESIVE

Ombre Birthday Butterflies

It’s that time of year again where the friend who likes butterflies, teal and purple has their Birthday!

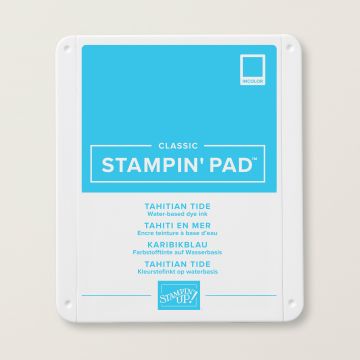
For this year’s card, I chose a colour combination of Gorgeous Grape and the new In Color, Tahitian tide.

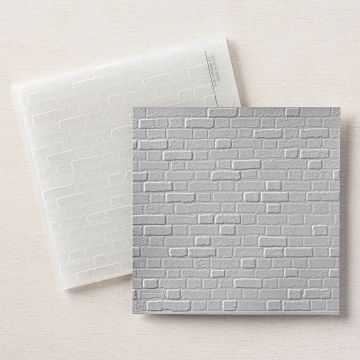
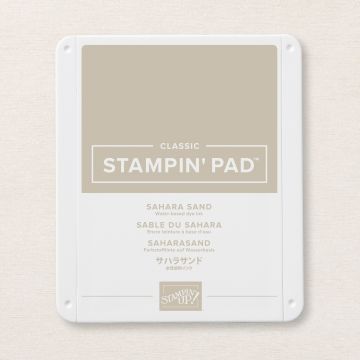
A background made using the Brick & Mortar 3D Embossing Folder is given a subtle colouring using Sahara Sand. Part of the colouring was from inking up the Embossing Folder, and the rest by using a Blending Brush after embossing.

To make the ombre effect, I used Blending Brushes to colour a piece of cardstock with the two colours.

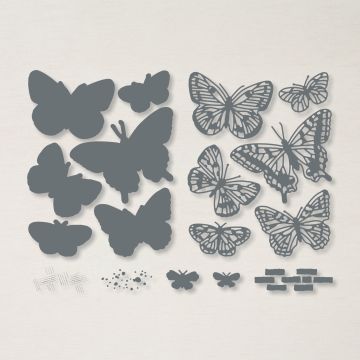
I then cut out the various parts. The butterflies are from the Brilliant Wings Dies with the flowers and sentiment bars from the Sending Dies.

You will notice that I cut the sentiment bar and the flowers more times that I needed. This is because I wasn’t sure which pieces I wanted to use.

For the butterflies to show up against the wall background, they have a full butterfly shape behind them in Basic White. These are again from the Brilliant Wings Dies.

To give the butterflies a 3D effect, each one is stuck to their backing using a thin line of glue down the centre.

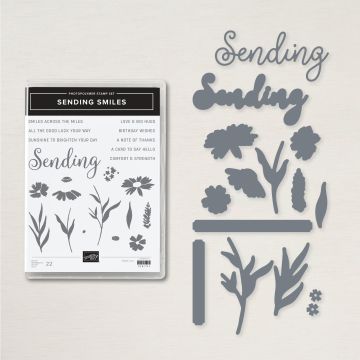
The Sending Smiles Stamp Set, part of the Sending Smiles bundle provides the sentiment that sits with the central butterfly.

This whole piece is stuck to the project using Dimensionals.

Each flower is then given a coating of Wink of Stella for a touch of sparkle, before being stuck down using Glue Dots.

Iridescent Pearl centres add a finishing touch.

Join me at one of my online classes. Head to my Class Timetable for full details.

Happy crafting

Karen Young HIPPOFROG Designs

To order any of the supplies shown below, head to my Online Store. Items available while stocks last.

Online Shopping Club Code      Join my team      Current Products      Offers & Promotions      Book a Class
SENDING SMILES BUNDLE (ENGLISH)BRILLIANT WINGS DIESBRICK & MORTAR 3D EMBOSSING FOLDERGORGEOUS GRAPE A4 CARDSTOCKGORGEOUS GRAPE CLASSIC STAMPIN' PADTAHITIAN TIDE A4 CARDSTOCKTAHITIAN TIDE CLASSIC STAMPIN' PADSAHARA SAND CLASSIC STAMPIN' PADBASIC WHITE A4 CARDSTOCKBLENDING BRUSHESIRIDESCENT PEARL BASIC JEWELSWINK OF STELLA CLEAR GLITTER BRUSHGLUE DOTSMINI STAMPIN' DIMENSIONALSMULTIPURPOSE LIQUID GLUE

Double Masking – the papercrafting way

You may hearing quite a lot about double masking at the moment, but this is a happier papercrafting version.

Double Masking. Project designed by Karen at HIPPOFROG Designs

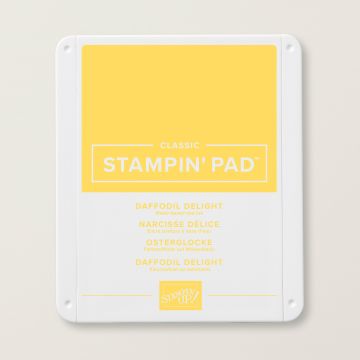
This monochrome ‘thanks’ card is in Daffodil Delight and Basic White.

My first piece of masking was for the strip across the middle of the project to create a blank space for my sentiment.

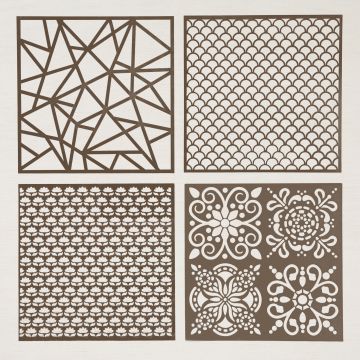
The next piece of masking was using one of the Plenty of Patterns Decorative Masks and a Blending Brush to create an ombre effect. I chose to go darker in the centre and paler towards the edges.

Double Masking. Project designed by Karen at HIPPOFROG Designs

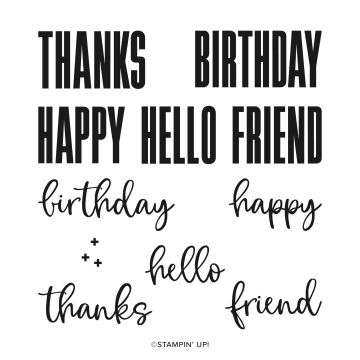
When my masking was complete, I added the sentiment from the Biggest Wish Stamp Set. If you haven’t got this £16 stamp set, I would definitely recommend it. It’s a must for your collection.

Next, I added some lengths of Baker’s Twine from the Essentials Pack across the edges of my centre strip.

Finally, using a Stampin’ Blend, some Rhinestones were given a Daffodil Delight colouring.

Double Masking. Project designed by Karen at HIPPOFROG Designs

This is a really quick and simple project. It would also be great in lots of different colours and sentiments too.

Join me at one of my online classes. Head to my Class Timetable for full details.

Happy crafting

Karen Young HIPPOFROG Designs

To order any of the supplies shown below, head to my Online Store. Items available while stocks last.

Online Shopping Club Code      Join my team      Current Products      Offers & Promotions      Book a Class
PLENTY OF PATTERNS DECORATIVE MASKSBIGGEST WISH PHOTOPOLYMER STAMP SET (ENGLISH)DAFFODIL DELIGHT A4 CARDSTOCKDAFFODIL DELIGHT CLASSIC STAMPIN' PADBLENDING BRUSHESBASIC WHITE A4 CARDSTOCKBASIC WHITE A4 THICK CARDSTOCKRHINESTONE BASIC JEWELSSTAMPIN' BLENDS DAFFODIL DELIGHT COMBO PACKBAKER'S TWINE ESSENTIALS PACKSTAMPIN' SEAL+

Plenty of Patterns Decorative Masks

The new Plenty of Patterns Decorative Masks from the Annual Catalogue definitely appeal to my style. I saw the triangles and instantly knew the type of design I wanted to make.

Plenty of Patterns Decorative Masks. Project designed by Karen at HIPPOFROG Designs

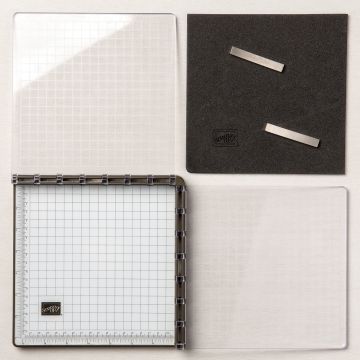
As I love monochrome projects, Night of Navy and a Blending Brush were the products I reached for. I also used my Stamparatus to hold everything in place.

It was my first time using a Blending Brush and it was so easy. My ombre design took no time at all.

Simply use the brush at the darker end when it has more ink and work to the lighter end. Reload your brush as many times as you like to make it even darker.

Plenty of Patterns Decorative Masks. Project designed by Karen at HIPPOFROG Designs

You can use a Sponge Dauber if you prefer, but it was much quicker with the brush. The bristles are really soft and they have a larger surface area too.

Blending Brushes were a new item in the January-June Mini Catalogue and I have to admit I overlooked them to begin with. I’m pleased I have some now.

Using the mask to draw one of the triangle shapes, I cut this out before adding a sentiment from the Artistically Inked Stamp Set.

Plenty of Patterns Decorative Masks. Project designed by Karen at HIPPOFROG Designs

If you watched my video from yesterday, you’ll know that I love to revisit, reuse and refresh previous projects. This is certainly a design I’ll be reusing lots of times in lots of different colours.

Don’t forget to take a look at my class timetable for details of all of my online classes.

Happy crafting

Karen Young HIPPOFROG Designs

To order any of the supplies shown below, head to my Online Store

Online Shopping Club Code      Join my team      Current Products      Offers & Promotions      Book a Class
PLENTY OF PATTERNS DECORATIVE MASKSARTISTICALLY INKED CLING STAMP SETNIGHT OF NAVY A4 CARDSTOCKNIGHT OF NAVY CLASSIC STAMPIN' PADBASIC WHITE A4 CARDSTOCKBLENDING BRUSHESSTAMPARATUSSTAMPIN' SEALSTAMPIN' DIMENSIONALS

Last Week’s Card & Cuppa – SAB Springtime Foils

Happy Monday!

For last week’s Card & Cuppa project, I designed a card using the fabulous SAB Springtime Foils DSP.

SAB Springtime Foils from Stampin' Up! Project from a HIPPOFROG Designs Card & Cuppa Class
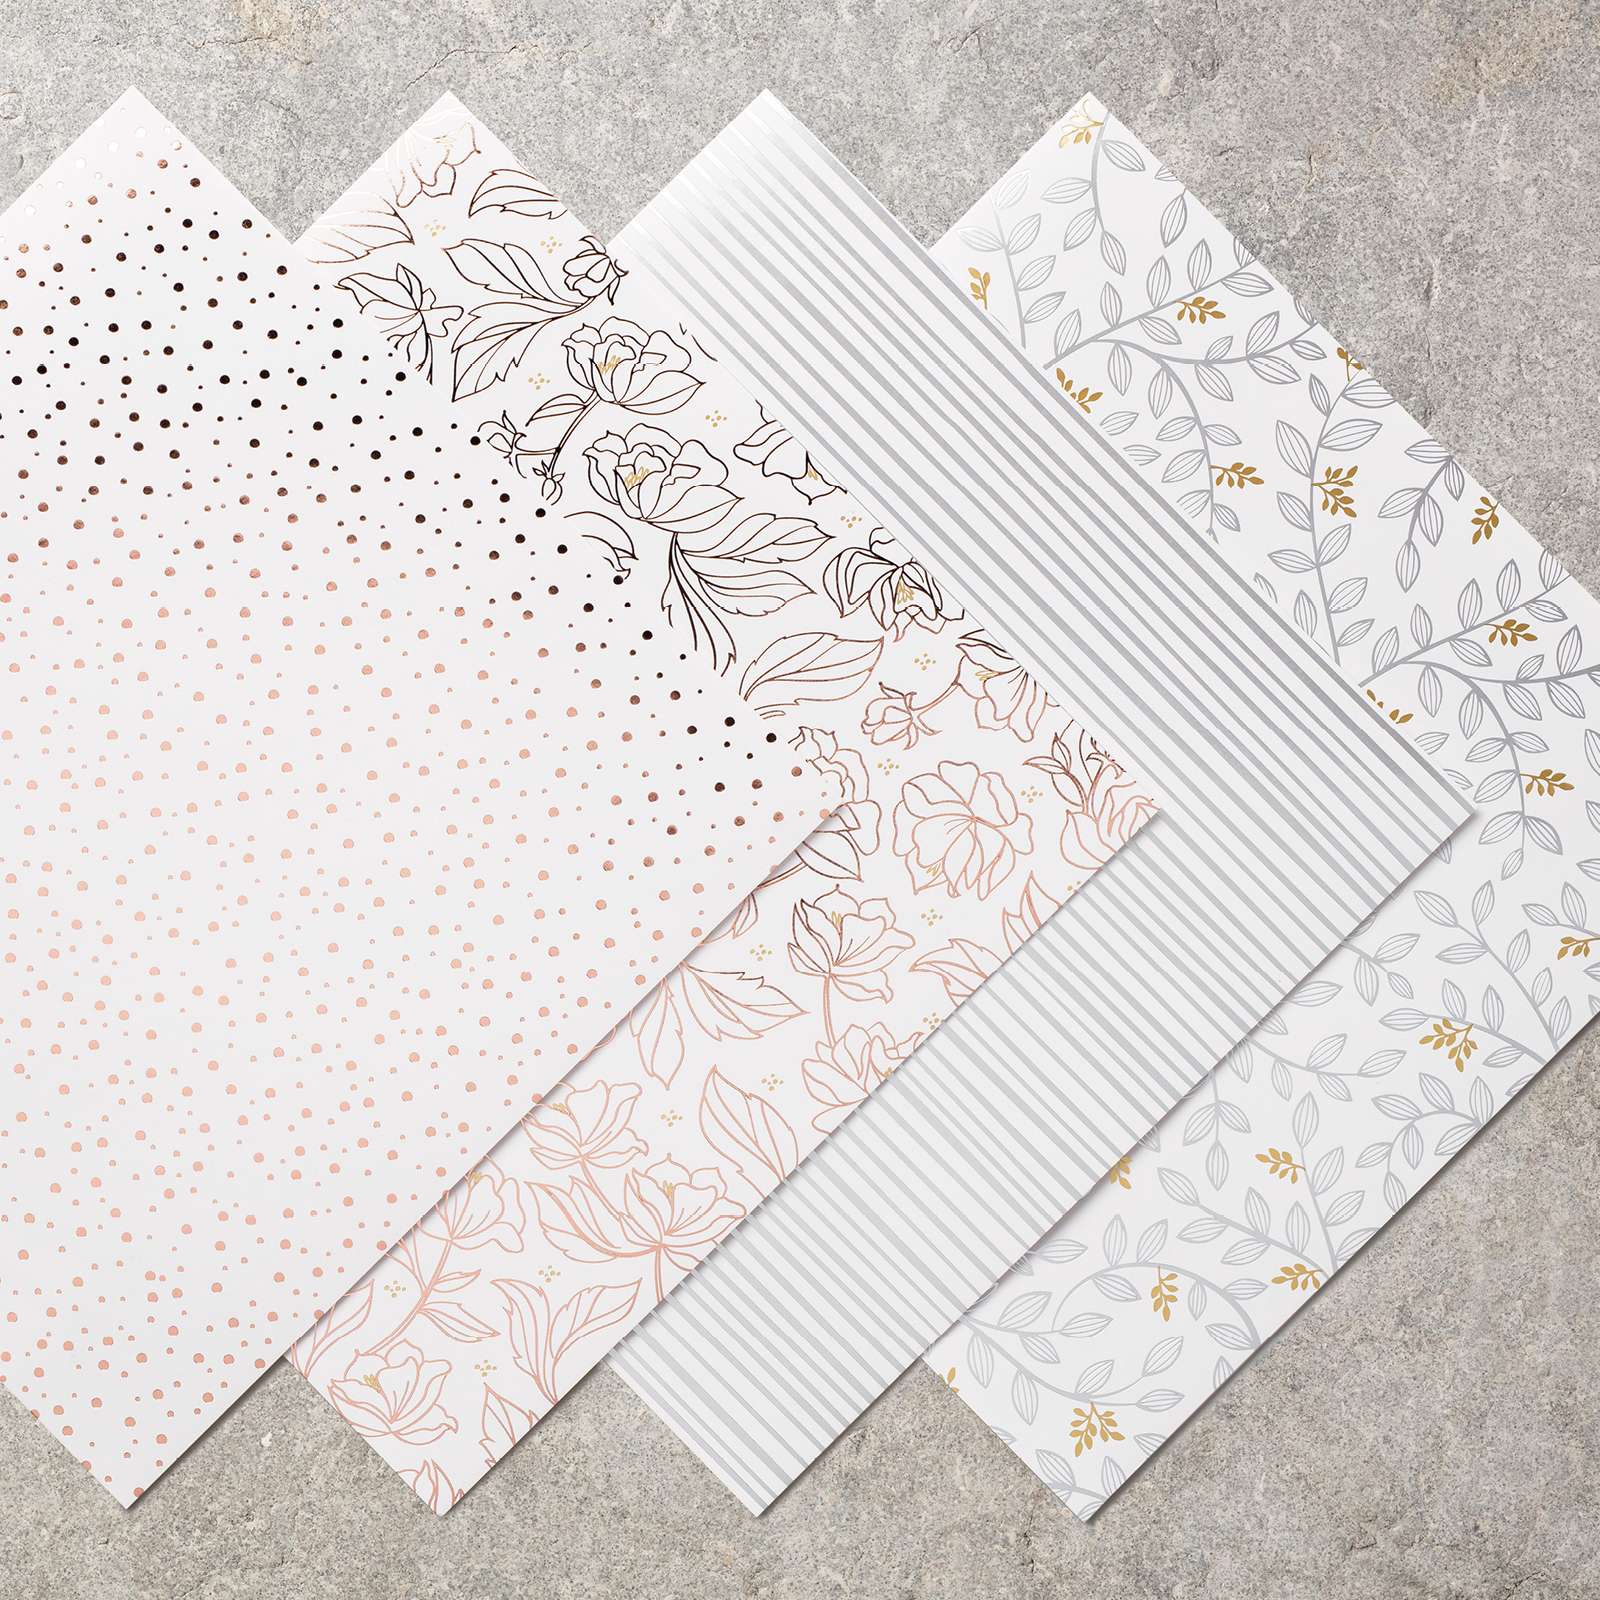
This stunning DSP is thicker than usual and has 3 sheets of 4 different single-sided designs.  Each design has embossed patterns in either gold, rose gold, silver, or a mix, and they are perfect for colouring.

For this project we used the Sponge Brayers to add two colours to make a pretty ombre effect.  It’s important to use a tissue to remove the excess ink from the embossed foil areas, to avoid inky fingers!
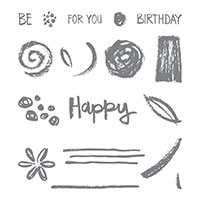
As I didn’t want to detract from the background too much, I chose a simple design to create flowers using the Paint Play Stamp Set.

A strip of Sheer Ribbon in Whisper White and co-ordinating Silver Baker’s Twine cross the project and are perfect for the flowers to sit on.
Inking the edges of the sentiment with the Sponge Brayer continues the two-tone effect.

To carry on the silver and sparkle, Wink of Stella has been applied to the swirls on the flowers.

Why not join us for a future Card & Cuppa sessionBook your place by 18:00 the day before.

Happy crafting

Karen Young - HIPPOFROG Designs

To order any of the supplies used, click on the images below to go to my online store. Remember to use the Hostess Code if you are placing an order.

You can also join my team here.

Paint Play Clear-Mount Stamp SetSpringtime Foils Specialty Designer Series PaperRich Razzleberry A4 CardstockRich Razzlebberry Classic Stampin' PadBlushing Bride A4 CardstockBlushing Bride Classic Stampin' PadDuet Banner Punch1-1/4" (3.2 cm) Circle PunchSponge BrayersClear Wink Of Stella Glitter BrushWhisper White 1/8" Sheer RibbonSilver Baker’S TwineSnail AdhesiveStampin' DimensionalsTear & Tape Adhesive