Last Week’s Card & Cuppa – Thinking of You in Green and Blue

Last week’s Card & Cuppa project was this Thinking of You card.

I regularly ask my attendees what sort of cards they would like to create, and was asked for Thinking of You, so here it is.

For this project, I chose a combination of green and blue with Soft Sea Foam, Lost Lagoon and Balmy Blue, along with Very Vanilla.

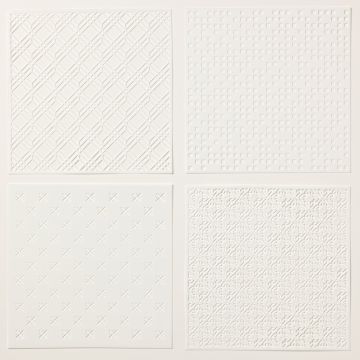
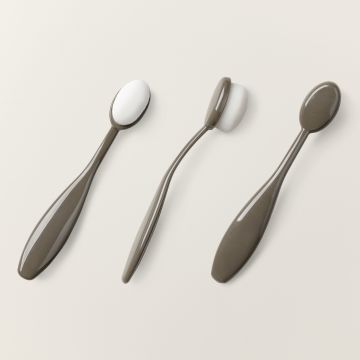
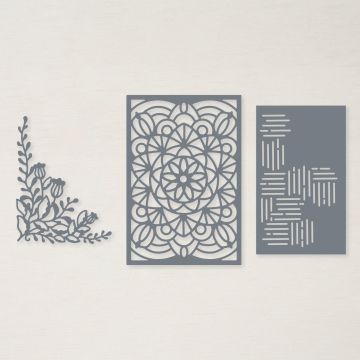
The delicate background is created in Soft Sea Foam using one of the Foursquare Decorative Masks and a Blending Brush.

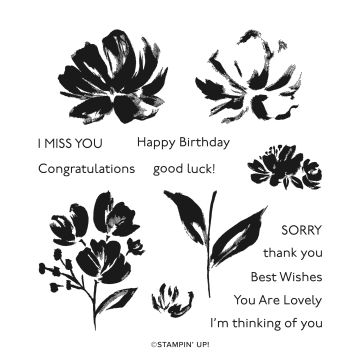
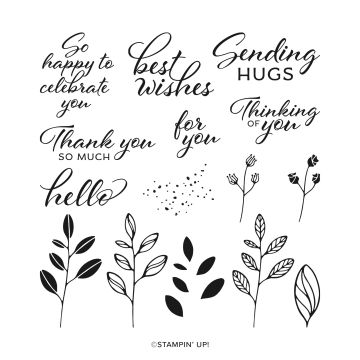
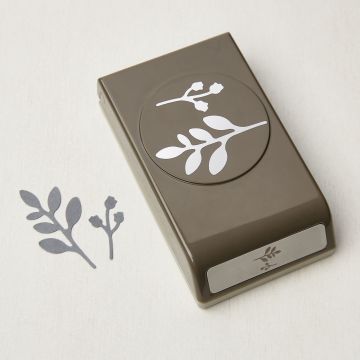
Next, leaves from the Layering Leaves Stamp Set are stamped in Lost Lagoon and punched out using the coordinating Bough Punch.

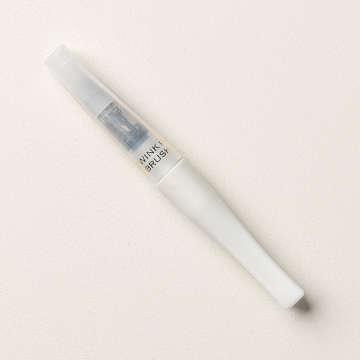
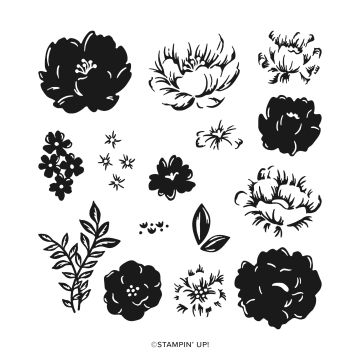
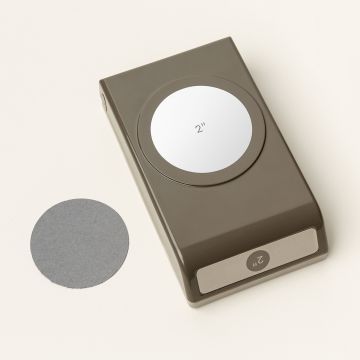
The flower from the Two-Tone Flora Stamp Set is then created using Balmy Blue, with first and second generation stamping to create the layers. It is cut out using a Circle Punch from the Online Exclusives range. A gentle touch of sparkle is added to the centre of the flower with Wink of Stella.

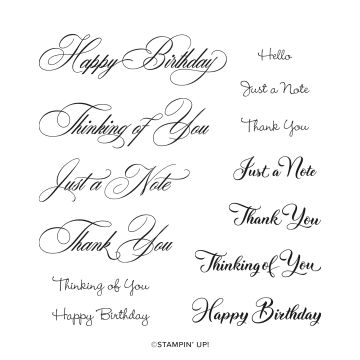
Thinking of You is from the Go To Greetings Stamp Set.

Each piece is then layered together onto the background, with the flower raised up on Dimensionals.

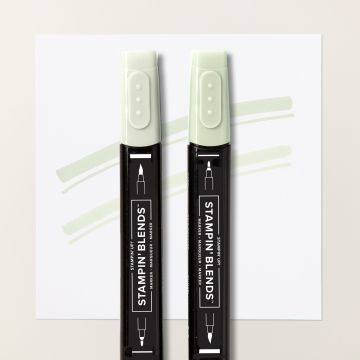
Finally, some Pearls are coloured using Stamping Blends and added to the project.

Join me at one of my classes. Head to my Class Timetable for full details.

Happy crafting

Karen Young HIPPOFROG Designs

To order any of the supplies shown below, head to my Online Store. Items available while stocks last.

Online Shopping Club Code      Join my team      Current Products      Offers & Promotions      Book a Class
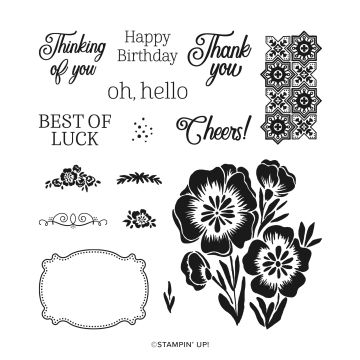
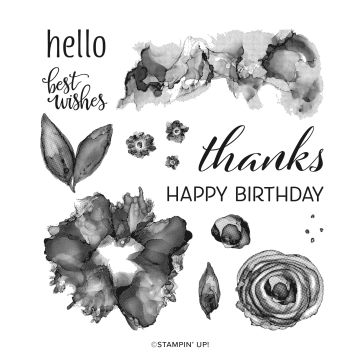
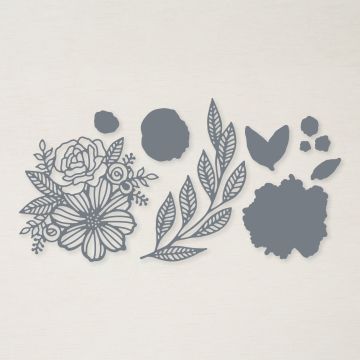
TWO-TONE FLORA PHOTOPOLYMER STAMP SETLAYERING LEAVES PHOTOPOLYMER STAMP SET (ENGLISH)GO TO GREETINGS CLING STAMP SET (ENGLISH)BOUGH PUNCH2" (5.1 CM) CIRCLE PUNCHSOFT SEA FOAM A4 CARDSTOCKSOFT SEA FOAM CLASSIC STAMPIN' PADLOST LAGOON A4 CARDSTOCKLOST LAGOON CLASSIC STAMPIN' PADBALMY BLUE CLASSIC STAMPIN' PADVERY VANILLA A4 CARDSTOCKFOURSQUARE DECORATIVE MASKSSMALL BLENDING BRUSHESSTAMPIN' BLENDS SOFT SEA FOAM COMBO PACKIRIDESCENT PEARL BASIC JEWELSWINK OF STELLA CLEAR GLITTER BRUSHMULTIPURPOSE LIQUID GLUESTAMPIN' DIMENSIONALS

Last Week’s Card & Cuppa – Hand-Penned Petals Two Ways

Last week’s Card & Cuppa project was this pretty floral design.

The stamping is from the Hand-Penned Petals Stamp Set & Dies, with background leaves in Pear Pizzazz.

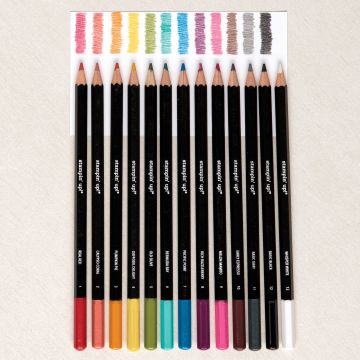
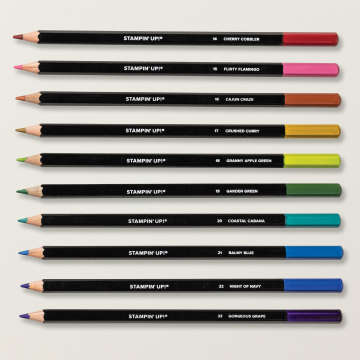
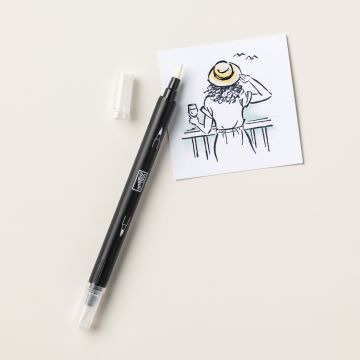
Basic Gray has been used to stamp the floral image and cut out using the coordinating Penned Flowers dies. This is coloured using Watercolor Pencils and Blender Pens.

Using Stamping’ Blends, the ribbon is coloured to coordinate the cardstock. This is then made into a swoosh.

A circle is then cut from the Stylish Shapes Dies in Daffodil Delight.

Pearls are also coloured with Stampin’ Blends and these are then added to finish the project.

I then made another card using the same items, just in a different orientation. They were used for Mothering Sunday cards.

These are shown below. Is the portrait or landscape version your favourite?

Join me at one of my classes. Head to my Class Timetable for full details.

Happy crafting

Karen Young HIPPOFROG Designs

To order any of the supplies shown below, head to my Online Store. Items available while stocks last.

Online Shopping Club Code      Join my team      Current Products      Offers & Promotions      Book a Class
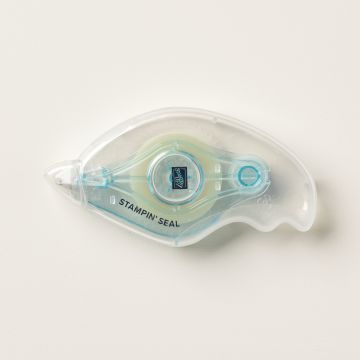
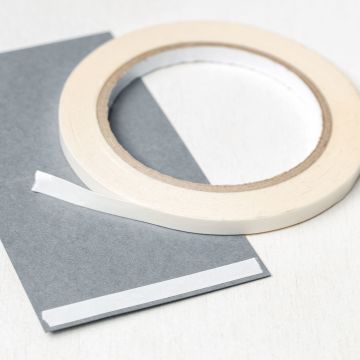
HAND-PENNED PETALS PHOTOPOLYMER STAMP SETPENNED FLOWERS DIESSTYLISH SHAPES DIESDAFFODIL DELIGHT A4 CARDSTOCKPEAR PIZZAZZ CLASSIC STAMPIN' PADBASIC GRAY CLASSIC STAMPIN' PADVERY VANILLA A4 CARDSTOCKVERY VANILLA A4 THICK CARDSTOCKWATERCOLOR PENCILSWATERCOLOR PENCILS ASSORTMENT 2BLENDER PENSWHITE 1/4" (6.4 MM) CRINKLED SEAM BINDING RIBBONSTAMPIN' BLENDS DAFFODIL DELIGHT COMBO PACKPEARL BASIC JEWELSMINI STAMPIN' DIMENSIONALSSTAMPIN' DIMENSIONALSSTAMPIN' SEALTEAR & TAPE ADHESIVE

Last Week’s Card & Cuppa – Dragonfly Garden Stamp Set & Punch

Since being back at in person Card & Cuppa classes, I have designed projects using stamp sets beginning with A, B and C.

Last week, it was the turn of D wtih the Dragonfly Garden Stamp Set and matching Dragonflies Punch. This card is inspired by a project in the Annual Catalogue.

For mine, I have used Mint Macaron and Soft Sea Foam for the layer and base card, with Basic White.

The small dragonflies are stamped tone-on-tone onto the layer.

Next, the sentiment, from the Lovely & Lasting Stamp Set is stamped onto the Basic White cardstock.

Then, using Basic Gray, the flower image is added. On a separate piece, the large dragonfly is stamped, also in Basic Gray and then cut out using the Dragonflies Punch.

Using Watercolor Pencils, both packs 1 and 2, these images are coloured and a Blender Pen is used to smooth out any colouring lines.

The wings are then gently curled with a Paper Folder and the dragonfly is stuck to the project using Dimensionals. This makes it look like it is flying.

Finally, a few Pearls are coloured using a Stampin’ Blend marker to coordinate them with the rest of the project.

I really like how using the softer colours for the background and base card has allowed the other colours to pop.

Join me at one of my classes. Head to my Class Timetable for full details.

Happy crafting

Karen Young HIPPOFROG Designs

To order any of the supplies shown below, head to my Online Store. Items available while stocks last.

Online Shopping Club Code      Join my team      Current Products      Offers & Promotions      Book a Class
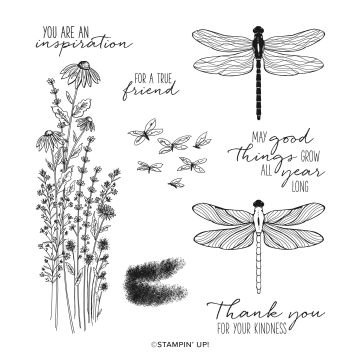
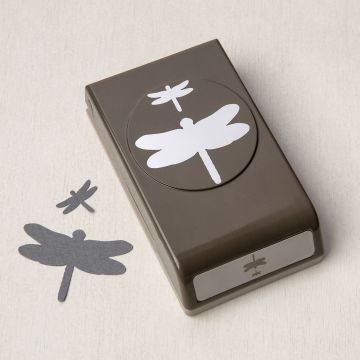
DRAGONFLY GARDEN CLING STAMP SETDRAGONFLIES PUNCHLOVELY & LASTING PHOTOPOLYMER STAMP SET (ENGLISH)MINT MACARON A4 CARDSTOCKMINT MACARON CLASSIC STAMPIN' PADSOFT SEA FOAM A4 CARDSTOCKSOFT SEA FOAM CLASSIC STAMPIN' PADBASIC GRAY CLASSIC STAMPIN' PADBASIC WHITE A4 CARDSTOCKWATERCOLOR PENCILSWATERCOLOR PENCILS ASSORTMENT 2BLENDER PENSPEARL BASIC JEWELSSTAMPIN' BLENDS MINT MACARON COMBO PACKMULTIPURPOSE LIQUID GLUESTAMPIN' DIMENSIONALS

Countdown to Christmas 2022 – Week 6

This week’s Countdown to Christmas 2022 project uses non-Christmas products.

The Oceanfront Stamp Set, Bough Punch and Decorative Circle Punch combine to create this fun mistletoe project.

My colour combination is Tahitian Tide, Granny Apple Green and Basic White, with a hint of Sweet Sorbet.

Using a similar technique to this previous project, I made a stamped strip to look like a wintry snowy scene.

A shape cut from the Decorative Circle Punch then sits in the centre of the project.

A shape from the Bough Punch is cut multiple times, and then stuck together at the top to create the mistletoe.

Next, a length of Sweet Sorbet Baker’s Twine is wrapped around the stems and tied in a bow to help join them together.

The mistletoe is then stuck to the central shape.

Finally, some Pearls are added as ‘berries’.

As I wasn’t using festive stamp sets for this project, I have deliberately left the card sentiment free.

Join me at one of my classes. Head to my Class Timetable for full details.

Happy crafting

Karen Young HIPPOFROG Designs

To order any of the supplies shown below, head to my Online Store. Items available while stocks last.

Online Shopping Club Code      Join my team      Current Products      Offers & Promotions      Book a Class
OCEANFRONT PHOTOPOLYMER STAMP SETBOUGH PUNCHDECORATIVE CIRCLE PUNCHTAHITIAN TIDE A4 CARDSTOCKTAHITIAN TIDE CLASSIC STAMPIN' PADGRANNY APPLE GREEN A4 CARDSTOCKBASIC WHITE A4 CARDSTOCKBASIC WHITE A4 THICK CARDSTOCK2022–2024 IN COLOR BAKER'S TWINE PACKPEARL BASIC JEWELSMULTIPURPOSE LIQUID GLUEGLUE DOTS

Last Week’s Card & Cuppa – Artistically Inked

Last week was an exciting week. I held my first in-person Card & Cuppa class in over 2.5 years. It was also at a new venue too.

As I have been teaching classes over ZOOM, the attendees haven’t had access to the stamps, dies, punches etc they normally would. There are a lot of fun products for them to get their hands on.

What better place to start for our first class back than at ‘A’, with the Artistically Inked Stamp Set and matching Artistic Dies.

I’ve used Sweet Sorbet, So Saffron and Pear Pizzazz, along with Basic White for this  project.

The background is made from various generations of stamping.

Next, the flowers and leaves are stamped onto a separate piece, with the smaller flowers in second generation stamping for a slightly lighter tone.

These are all cut out using the coordinating Artistic Dies.

All of the pieces are layered together, with the large flower and leaves stuck with Dimensionals to raise them.

A sentiment is then stamped and cut out, before being added across the centre of the flower.

Finally, some Iridescent Rhinestones are added for a touch of sparkle.

It’s lovely to be back at face-to-face classes. This is the first of my classes to return to an in-person format, others will hopefully follow next year when I have sourced a suitable venue.

Why not join me. Head to my Class Timetable for full details.

Happy crafting

Karen Young HIPPOFROG Designs

To order any of the supplies shown below, head to my Online Store. Items available while stocks last.

Online Shopping Club Code      Join my team      Current Products      Offers & Promotions      Book a Class
ARTISTICALLY INKED CLING STAMP SETARTISTIC DIESSWEET SORBET A4 CARDSTOCKSWEET SORBET CLASSIC STAMPIN' PADSO SAFFRON CLASSIC STAMPIN' PADPEAR PIZZAZZ CLASSIC STAMPIN' PADBASIC WHITE A4 CARDSTOCKBASIC WHITE A4 THICK CARDSTOCKIRIDESCENT PEARL BASIC JEWELSMULTIPURPOSE LIQUID GLUESTAMPIN' DIMENSIONALS

Ombre Birthday Butterflies

It’s that time of year again where the friend who likes butterflies, teal and purple has their Birthday!

For this year’s card, I chose a colour combination of Gorgeous Grape and the new In Color, Tahitian tide.

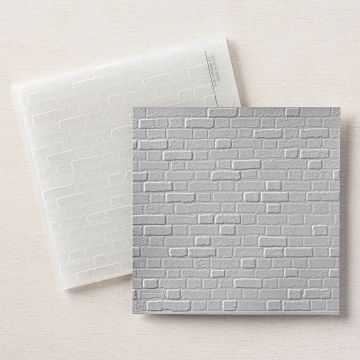
A background made using the Brick & Mortar 3D Embossing Folder is given a subtle colouring using Sahara Sand. Part of the colouring was from inking up the Embossing Folder, and the rest by using a Blending Brush after embossing.

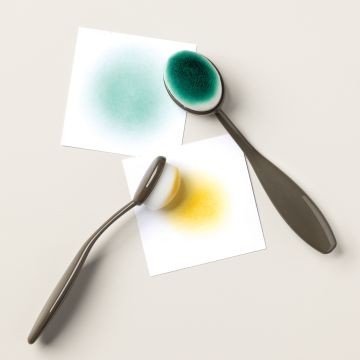
To make the ombre effect, I used Blending Brushes to colour a piece of cardstock with the two colours.

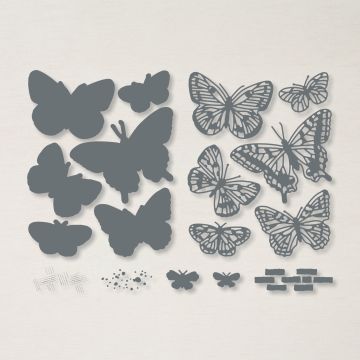
I then cut out the various parts. The butterflies are from the Brilliant Wings Dies with the flowers and sentiment bars from the Sending Dies.

You will notice that I cut the sentiment bar and the flowers more times that I needed. This is because I wasn’t sure which pieces I wanted to use.

For the butterflies to show up against the wall background, they have a full butterfly shape behind them in Basic White. These are again from the Brilliant Wings Dies.

To give the butterflies a 3D effect, each one is stuck to their backing using a thin line of glue down the centre.

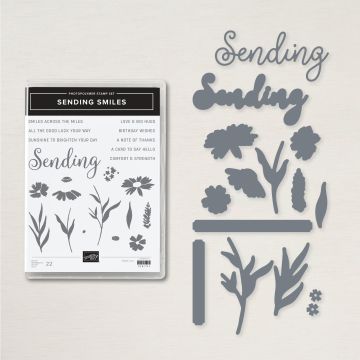
The Sending Smiles Stamp Set, part of the Sending Smiles bundle provides the sentiment that sits with the central butterfly.

This whole piece is stuck to the project using Dimensionals.

Each flower is then given a coating of Wink of Stella for a touch of sparkle, before being stuck down using Glue Dots.

Iridescent Pearl centres add a finishing touch.

Join me at one of my online classes. Head to my Class Timetable for full details.

Happy crafting

Karen Young HIPPOFROG Designs

To order any of the supplies shown below, head to my Online Store. Items available while stocks last.

Online Shopping Club Code      Join my team      Current Products      Offers & Promotions      Book a Class
SENDING SMILES BUNDLE (ENGLISH)BRILLIANT WINGS DIESBRICK & MORTAR 3D EMBOSSING FOLDERGORGEOUS GRAPE A4 CARDSTOCKGORGEOUS GRAPE CLASSIC STAMPIN' PADTAHITIAN TIDE A4 CARDSTOCKTAHITIAN TIDE CLASSIC STAMPIN' PADSAHARA SAND CLASSIC STAMPIN' PADBASIC WHITE A4 CARDSTOCKBLENDING BRUSHESIRIDESCENT PEARL BASIC JEWELSWINK OF STELLA CLEAR GLITTER BRUSHGLUE DOTSMINI STAMPIN' DIMENSIONALSMULTIPURPOSE LIQUID GLUE

Finishing Up Friday

Welcome to my new weekly series – Finishing Up Friday.

The idea behind Finishing Up Friday is to use those pre-stamped, pre-cut and half-made items that are already on my desk, instead of starting to create something new.

These are items such as projects I’ve started making and then changed my mind on during the process, to extra shapes that I’ve cut for class projects etc. All of these bits and pieces get put in a pile and I tend to forget about them, so I’m on a mission to actually use them!

I showed you this project last week and have decided to start a weekly series.

This week’s Finishing Up Friday project uses an image from the Dragonfly Garden Stamp Set that I had stamped multiple times and already coloured with Watercolor Pencils. The colouring lines were softened with a Blender Pen.

I have just added a sentiment, also from the Dragonfly Garden Stamp Set using Basic Gray.

Then, I was able to create a flat (Dior) bow using the Soft Sea Foam Seam Binding Ribbon from the July-December Mini Catalogue.

The whole piece was then mounted onto a coordinating Soft Sea Foam layer and So Saffron basecard.

Finally, I added a few Iridescent Pearls for a touch of bling.

Which pre-made items are you going to use from your desk?

Don’t forget to pop back next week to see my next Finishing Up Friday project.

Join me at one of my online classes. Head to my Class Timetable for full details.

Happy crafting

Karen Young HIPPOFROG Designs

To order any of the supplies shown below, head to my Online Store. Items available while stocks last.

Online Shopping Club Code      Join my team      Current Products      Offers & Promotions      Book a Class
DRAGONFLY GARDEN CLING STAMP SETBASIC GRAY CLASSIC STAMPIN' PADSO SAFFRON A4 CARDSTOCKSOFT SEA FOAM A4 CARDSTOCKBASIC WHITE A4 CARDSTOCKWATERCOLOR PENCILSBLENDER PENSSOFT SEA FOAM 3/8" (1 CM) SEAM BINDING RIBBONIRIDESCENT PEARL BASIC JEWELSGLUE DOTSSTAMPIN' SEAL

Last Week’s Card & (Your) Cuppa – Decorative Circle Punch Flower

For last week’s Card & (Your) Cuppa project, I again decided to use punches in a slightly different way.


My colour combination is Sweet Sorbet and Parakeet Party, two of the new In Colors, along with Very Vanilla.

First, a sentiment from the Lovely & Lasting Stamp Set is stamped onto the background.

Using a Blending Brush, the edges are then coloured with Sweet Sorbet.

A strip of coordinating cardstock and ribbon are then added across this background piece.

The project uses the Decorative Circle Punch and the Fish Builder Punch, along with a circle from the Stylish Shapes Dies.

Again, using a Blending Brush, both sides of the Decorative Circle pieces are given some colour.

Next, they are scrunched to soften the fibres. This then allows the cardstock to be split in half to create two softer thinners layers.

These layers are then arranged, inked side up, and glued together to create the delicate Decorative Circle Punch flower. The circle piece, coated in Wink of Stella turns into the centre.

Fish Builder Punch shapes are given veins with a Bone Folder to create leaves.

Finally, some Iridescent Pearls are dotted across the project.

Join me at one of my online classes. Head to my Class Timetable for full details.

Happy crafting

Karen Young HIPPOFROG Designs

To order any of the supplies shown below, head to my Online Store. Items available while stocks last.

Online Shopping Club Code      Join my team      Current Products      Offers & Promotions      Book a Class
DECORATIVE CIRCLE PUNCHFISH BUILDER PUNCHSTYLISH SHAPES DIESLOVELY & LASTING PHOTOPOLYMER STAMP SET (ENGLISH)SWEET SORBET A4 CARDSTOCKSWEET SORBET CLASSIC STAMPIN' PADPARAKEET PARTY A4 CARDSTOCKPARAKEET PARTY CLASSIC STAMPIN' PADVERY VANILLA A4 CARDSTOCKVERY VANILLA A4 THICK CARDSTOCKBLENDING BRUSHESSWEET SORBET 1/8'' (3.2 MM) METALLIC WOVEN RIBBONWINK OF STELLA CLEAR GLITTER BRUSHIRIDESCENT PEARL BASIC JEWELSMULTIPURPOSE LIQUID GLUETEAR & TAPE ADHESIVE

Introduction to In Color Class – Sweet Sorbet

For the Sweet Sorbet project at my recent Introduction to In Color Class, we made this card.

It combines here with Pear Pizzazz, Blushing Bride and Very Vanilla.

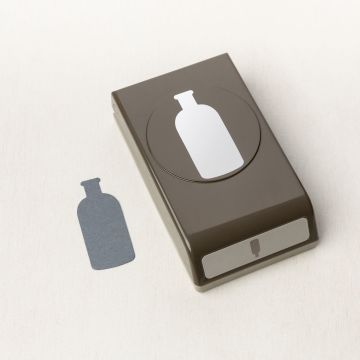
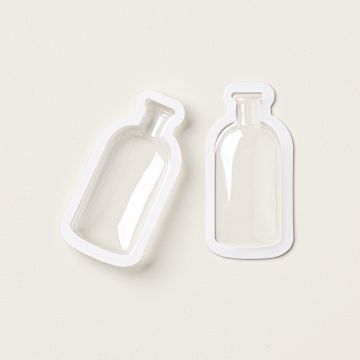
Using the Vintage Bottle Punch, Vintage Bottle Shaker Dome and Effervescent Elements, all new in the Annual Catalogue, the fun shaker section is created.

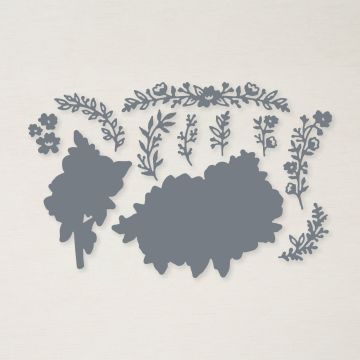
Leaves, cut using the Bough Punch are stuck to the project. Then, flowers from the Sending Dies, Flowers of Home Dies and Penned Flowers Dies are coated in Wink of Stella and added using Glue Dots.

Each flower is given a centre using a combination of In Color Matte Decorative Dots from the Class kit and some Iridescent Pearls.

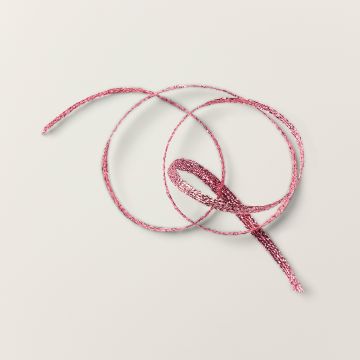
Finally, a bow made from coordinating In Color Metallic Woven Ribbon sit on the bottle.

This project is sentiment free, but one can be added if required.

Join me at one of my online classes. Head to my Class Timetable for full details.

Happy crafting

Karen Young HIPPOFROG Designs

To order any of the supplies shown below, head to my Online Store. Items available while stocks last.

Online Shopping Club Code      Join my team      Current Products      Offers & Promotions      Book a Class
VINTAGE BOTTLE PUNCHVINTAGE BOTTLE SHAKER DOMESBOUGH PUNCHFLOWERS OF HOME DIESPENNED FLOWERS DIESSENDING DIES (ENGLISH)SWEET SORBET A4 CARDSTOCKBLUSHING BRIDE A4 CARDSTOCKPEAR PIZZAZZ A4 CARDSTOCKVERY VANILLA A4 CARDSTOCKSWEET SORBET 1/8'' (3.2 MM) METALLIC WOVEN RIBBON2022-2024 IN COLOR MATTE DECORATIVE DOTSIRIDESCENT PEARL BASIC JEWELSEFFERVESCENT ELEMENTSWINK OF STELLA CLEAR GLITTER BRUSHGLUE DOTSMULTIPURPOSE LIQUID GLUE

Last Week’s Card & (Your) Cuppa – Artisan Additions Meets Brilliant Wings

For last week’s Card & (Your) Cuppa project I a new product from the Annual Catalogue, the Artisan Additions Dies.

Artisan Additions. Project designed by Karen at HIPPOFROG Designs

These dies are stand-alone type dies and each has a different design element. One of the three dies is this very pretty intricate rectangle piece.

I chose to use three purples, Gorgeous Grape, Highland Heather and Fresh Freesia, along with Basic White.

The Brilliant Wings Dies provided both the solid butterfly shapes and the more intricate outline pieces. By just sticking the centre of purple butterflies to their coordinating outline, this allows the wings to be popped up.

Before they were stuck together, they were given a coating of Wink of Stella for a touch of sparkle.

Artisan Additions. Project designed by Karen at HIPPOFROG Designs

Each butterfly is stuck to the project using Dimensionals to provide extra depth.

A sentiment from the Art Gallery Stamp Set is stuck across the centre butterfly using Dimensionals.

Finally, some of the new Iridescent Pearls, also from the new Annual Catalogue are placed into the four circular places on the die-cut shape.

Artisan Additions. Project designed by Karen at HIPPOFROG Designs

I can’t wait to use these pretty Artisan Additions Dies again.

Join me at one of my online classes. Head to my Class Timetable for full details.

Happy crafting

Karen Young HIPPOFROG Designs

To order any of the supplies shown below, head to my Online Store. Items available while stocks last.

Online Shopping Club Code      Join my team      Current Products      Offers & Promotions      Book a Class

ARTISAN ADDITIONS DIESBRILLIANT WINGS DIESART GALLERY PHOTOPOLYMER STAMP SETFRESH FREESIA A4 CARDSTOCKGORGEOUS GRAPE A4 CARDSTOCKGORGEOUS GRAPE CLASSIC STAMPIN' PADHIGHLAND HEATHER A4 CARDSTOCKBASIC WHITE A4 CARDSTOCKBASIC WHITE A4 THICK CARDSTOCKWINK OF STELLA CLEAR GLITTER BRUSHIRIDESCENT PEARL BASIC JEWELSMINI STAMPIN' DIMENSIONALSMULTIPURPOSE LIQUID GLUE