Card & Cuppa for Children – Punch Art Lion

As the Summer Holidays have rolled around again, it’s time for my annual Card & Cuppa for Children Classes.

The venue I hold them at runs a themed set of activities each week. This week it was ‘Movie Mayhem’ and my punch art lion fitted this perfectly due to the newly released Lion King film.

Punch Art Lion. Project designed by Karen at HIPPOFROG Designs

Isn’t it cute? He uses a lot of punches to create it and there are some key steps, so keep reading for details on how to make your own version.

Punch Art Lion. Project designed by Karen at HIPPOFROG Designs

You’ll need:
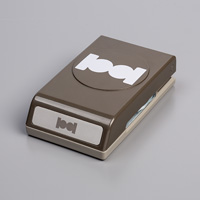
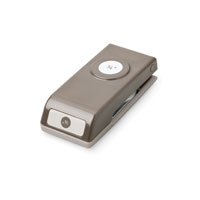
2 x Daisy Punch – Early Espresso
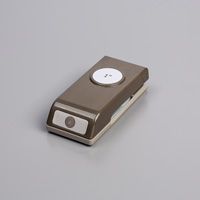
1 x Pretty Label Punch – Crushed Curry
1 x Pretty Label Punch (extra bit punched from the piece left behind) – Crushed Curry
1 x Circle Tab Punch – Crushed Curry
1 x 1 1/2″ Circle Punch – Crushed Curry
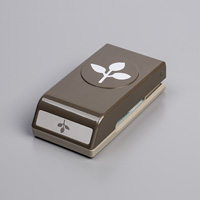
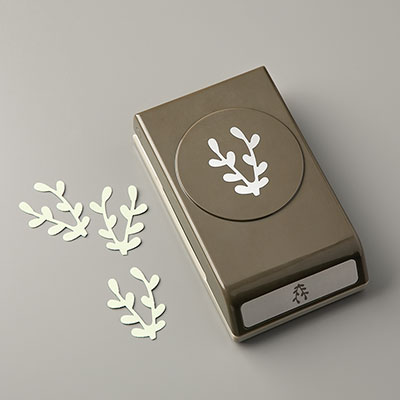
1 x Leaf Punch – Crushed Curry
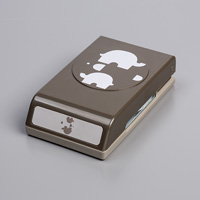
3 x Elephant Builder Punch (Large Ears) – Early Espresso
2 x Elephant Builder Punch (Small Ears) – Whisper White. You can’t see these very well in the picture above.

Cut the Pretty Label pieces, Circle Tab and Leaf Punch pieces as shown above. Discard the unwanted pieces.

Punch Art Lion. Project designed by Karen at HIPPOFROG Designs

Now it’s time to assemble:

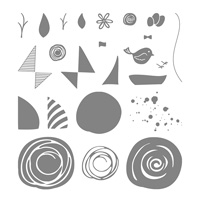
– Use the tiny circle stamp from Budding Borders Stamp Set to add some eyes to the white pieces
– Use glue dots to attach these to two of the large elephant ear pieces
– Glue the Daisy shapes together to create a mane
– Add the circle to the top
– Attach the two pieces from the Circle Tab Punch to the straight edge of your Pretty Label (body) piece. Make sure the longer edges of the Circle Tab Punch pieces are aligned with the straight edge to create feet
– Add the Leaf piece to the cut end of the Pretty Label extra piece to create a tail
– Attach the tail to the back of the body
– Add the eyes and remaining large Elephant Builder Punch ear to the face
– Draw a mouth using Early Espresso Stampin’ Write Marker.

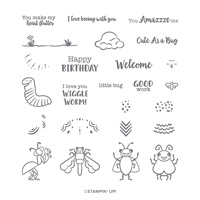
Create the background using Pear Pizzazz and Old Olive Stampin’ Pads. I’ve used Artisan Textures Stamp Set and High Tide Stamp Set. The sentiment is from Wiggle Worm Stamp Set.

Attach the body of the lion first using Dimensionals, I used a Mini Dimensional for the tip of the tail. Next, add a Dimensional to the top of the head and some adhesive to the bottom of the head. By adding the head last, you can decide if you’d like it angled or straight.

Affix the head and the project is finished 🙂

Punch Art Lion. Project designed by Karen at HIPPOFROG Designs

I hope you like this punch art lion. The young attendees certainly enjoyed making it.

I only have two more Card & Cuppa for Children sessions left this summer. Places are limited so make sure you book your place now.

Happy crafting

Karen Young HIPPOFROG Designs


To order any of the supplies used, click on the product images below to go to my online store.

This Month’s Hostess Code      Join my team      Current Products      Special Offers      Book a Class
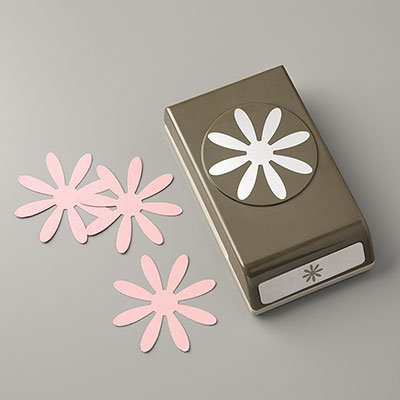
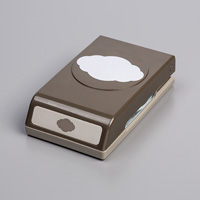
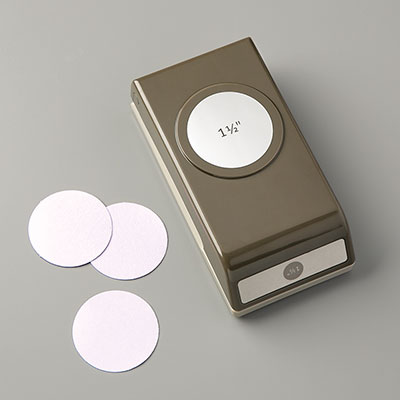
Daisy PunchPretty Label Punch1-1/2" (3.8 cm) Circle PunchCircle Tab PunchLeaf PunchElephant Builder PunchCrushed Curry A4 CardstockEarly Espresso A4 CardstockPear Pizzazz A4 CardstockPear Pizzazz Classic Stampin' PadOld Olive Classic Stampin' PadBasic Gray Classic Stampin' PadWhisper White A4 CardstockBudding Borders Photopolymer Stamp SetArtisan Textures Cling-Mount Stamp SetHigh Tide Photopolymer Stamp SetWiggle Worm Photopolymer Stamp SetSnail AdhesiveStampin' DimensionalsMini Stampin' DimensionalsMini Glue Dots


Last Week’s Card & Cuppa – Inspired by Wimbledon 2019

As Wimbledon 2019 started last week, it was time for my Annual ‘Inspired by Wimbledon’ Card & Cuppa project.

Inspired by Wimbledon. Project designed by Karen at HIPPOFROG Designs

Each year, the project is usually purple, green, yellow and white. This year I chose Purple Posy, Highland Heather, Soft Sea Foam and So Saffron. These colours created a lovely muted and subtle project.

Inspired by Wimbledon. Project designed by Karen at HIPPOFROG Designs

The background is stamped with a combination of textured shapes from the Artisan Textures Stamp Set and leaves from the Pop of Petals Stamp Set. ‘Celebrate…’ is from the Beautiful You Stamp Set.

Using the Detailed Trio Punch, the corners are rounded.

Inspired by Wimbledon. Project designed by Karen at HIPPOFROG Designs

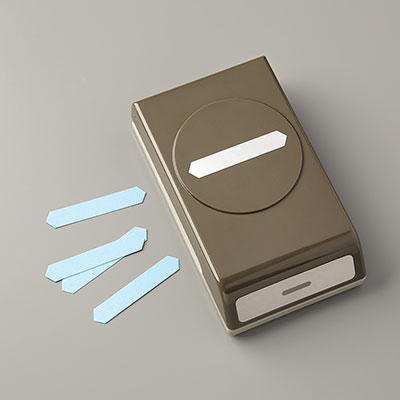
A strip of So Saffron is made by cutting two shapes using the Classic Label Punch. With an extra layer made for the sentiment using the Pretty Label Punch, these are added to the project.

Finally, the flower, with a centre from 1/2″ Circle Punch and a touch of Wink of Stella is added to the card.

If you’d like to join us for a future Card & Cuppa Class then book your place by 18:00 the day before. All abilities welcome.

Happy crafting

Karen Young HIPPOFROG Designs


To order any of the supplies used, click on the product images below to go to my online store.

This Month’s Hostess Code      Join my team      Current Products      Special Offers      Book a Class
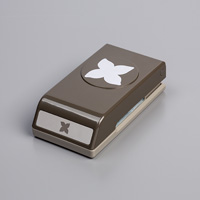
Pop Of Petals Cling-Mount Stamp SetArtisan Textures Cling-Mount Stamp SetBeautiful You Cling-Mount Stamp SetSoft Sea Foam A4 CardstockSoft Sea Foam Classic Stampin' PadSo Saffron A4 CardstockSo Saffron Classic Stampin' PadPurple Posy A4 CardstockHighland Heather Classic Stampin' PadWhisper White A4 CardstockFour-Petal Flower PunchClassic Label PunchPretty Label Punch1/2" (1.3 cm) Circle PunchDetailed Trio PunchClear Wink Of Stella Glitter BrushSnail AdhesiveStampin' Dimensionals

Last Week’s Card & Cuppa – Spring Blooms

I decided to create this pretty spring blooms card for last week’s Card & Cuppa sessions.

Spring Blooms Card & Cuppa Project. Designed and Handmade by Karen at HIPPOFROG Designs

My inspiration for this project was Page 10 of the new Spring/Summer Catalogue.

This project uses various punches, Leaf Punch, Sprig Punch, Detailed Trio Punch, Pretty Label Punch and Bitty Blooms Punch Pack. Falling Flowers, Happy Birthday Gorgeous and Bloom by Bloom are the stamp sets used.

For this card I combined a Soft Sea Foam base and background with Pear Pizzazz and Mossy Meadow Leaves, plus Rich Razzleberry and Petal Pink flowers.

Spring Blooms Card & Cuppa Project. Designed and Handmade by Karen at HIPPOFROG Designs

Once everything is stamped and punched, it’s assembly time. The leaves are stuck under where the sentiment is going. When the sentiment is in place, an additional piece of leaf and flower are added on top

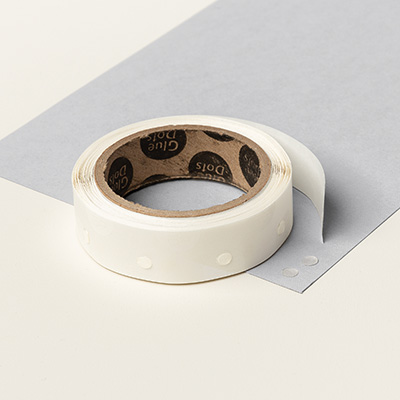
Due to the flowers being very tiny, they are all attached using Glue Dots.

The finishing touches are the Pearls in the centre of the flowers. These are added using the Take Your Pick tool.

Spring Blooms Card & Cuppa Project. Designed and Handmade by Karen at HIPPOFROG Designs

Why not join us for future Card & Cuppa or Papercrafting Classes. Visit my Class Timetable for more details and to book your place.

Happy crafting

Karen Young HIPPOFROG Designs


To order any of the supplies used, click on the product images below to go to my online store.

This Month’s Hostess Code      Join my team      Current Products      Special Offers      Book a Class
Falling Flowers Clear-Mount Stamp SetHappy Birthday Gorgeous Photopolymer Stamp SetBloom By Bloom Photopolymer BundleLeaf PunchDetailed Trio PunchPretty Label PunchSprig PunchSoft Sea Foam Classic Stampin' PadSoft Sea Foam A4 CardstockPetal Pink Classic Stampin' PadPetal Pink A4 CardstockRich Razzleberry Classic Stampin' PadRich Razzleberry A4 CardstockPear Pizzazz A4 CardstockMossy Meadow A4 CardstockWhisper White A4 CardstockPearl Basic JewelsSnail AdhesiveStampin' DimensionalsMini Glue Dots

Last Week’s Card & Cuppa – Serene Garden

At last week’s Card & Cuppa Class I used a stamp set that I’ve only recently purchased, Serene Garden.
Serene Garden Card & Cuppa Project. Designed by Karen at HIPPOFROG Designs

I’d been looking for another stamp set that is good for colouring and this fit the bill perfectly.

The two corner pieces stamped in Old Olive create a lovely frame. Using Watercolor Pencils, the leaves are coloured. I then stamped the flowers and butterfly in Smoky Slate onto a separate piece and again coloured. Blender Pens soften the colouring of these.

Although there is a matching set of framelits for this set, as I don’t use the Big Shot at Card & Cuppa classes, these were cut out by hand.

Serene Garden Card & Cuppa Project. Designed by Karen at HIPPOFROG Designs

The sentiment is from the ever versatile Happy Birthday Gorgeous Stamp Set cut out with the Pretty Label Punch. Another shape is cut out to create a backing layer for the sentiment. This is set on top of a length of co-ordinating ribbon.

As the attendees could use any colour for their flowers and butterflies, I chose a Thick Whisper White base card to co-ordinate with all of their projects.

Serene Garden Card & Cuppa Project. Designed by Karen at HIPPOFROG Designs

The coloured flowers and butterfly are then added to the project using Dimensionals to give a layered effect. This design will be perfect in a wide range of colours and different sentiments.

There are another four stamps in the set and I can see me using Serene Garden quite a lot in the future.

Why not join us for a future Card & Cuppa session. Book your place by 18:00 the day before.

Happy crafting

Karen Young HIPPOFROG Designs

To order any of the supplies used, click on the images below to go to my online store. Remember to use the Hostess Code if you are placing an order.

You can also join my team here.

Serene Garden Photopolymer Stamp SetHappy Birthday Gorgeous Photopolymer Stamp SetWhisper White A4 CardstockWhisper White A4 Thick CardstockOld Olive Classic Stampin' PadOld Olive A4 CardstockSmoky Slate Classic Stampin' PadSilver 3/8" Metallic-Edge RibbonWatercolor PencilsBlender PensPretty Label PunchSnail AdhesiveStampin' DimensionalsMini Stampin' Dimensionals

Saying Congratulations with Varied Vases

There isn’t a Card & Cuppa project to share with you this week, but, I do have a card I made for one of my regular Card & Cuppa attendees.

They have recently landed a job so I’m saying Congratulations with Varied Vases as my main design element.

Congratulations Card. Project designed by Karen at HIPPOFROG Designs

I’ve taken inspiration from this project and changed the colours to suit the recipient.

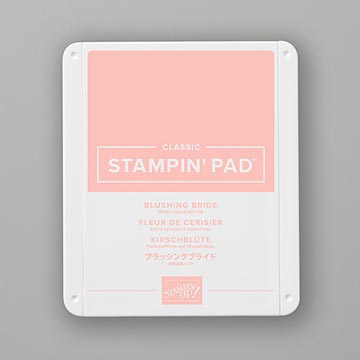
The colour combination is Blushing Bride, Highland Heather and Pear Pizzazz.

A sponge brayer creates the ombre Blushing Bride section. Then, a sentiment from the Happy Birthday Gorgeous Stamp Set is layered onto a Highland Heather background.

Congratulations Card. Project designed by Karen at HIPPOFROG Designs

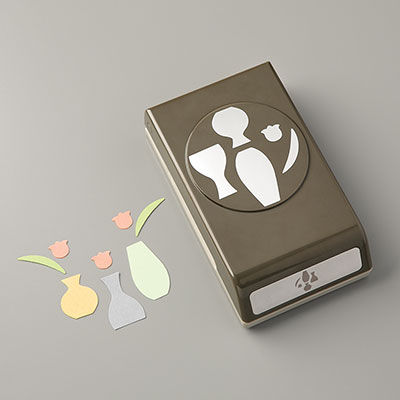
Using the Vases Builder Punch, I created the flower and leaves and stuck those to the layered section using Glue Dots.

Once again the Detailed Trio Punch makes an appearance to round the corners.

The strip of Metallic-Edge Ribbon mirrors the Whisper White of the cardstock and also the sparkle of the Wink of Stella on the flowers.

Congratulations Card. Project designed by Karen at HIPPOFROG Designs

To join us at a Card & Cuppa Class, book your place here.

Happy crafting

Karen Young HIPPOFROG Designs

To order any of the supplies used, click on the images below to go to my online store. Remember to use the Hostess Code if you are placing an order.

You can also join my team here.

Vases Builder PunchHappy Birthday Gorgeous Photopolymer Stamp SetBlushing Bride Classic Stampin' PadBlushing Bride A4 CardstockHighland Heather Classic Stampin' PadHighland Heather A4 CardstockPear Pizzazz A4 CardstockWhisper White A4 CardstockSilver 3/8" Metallic-Edge RibbonSponge BrayersPretty Label PunchDetailed Trio PunchClear Wink Of Stella Glitter BrushSnail AdhesiveStampin' DimensionalsMini Glue Dots

Last Week’s Card & Cuppa – Punch Art Dragon

Last week’s Card & Cuppa project, this punch art dragon has a bit of twist.

Punch Art Dragon. Card & Cuppa project designed by Karen at HIPPOFROG Designs

Punch Art Dragon. Card & Cuppa project designed by Karen at HIPPOFROG Designs

I hold separate Card & Cuppa for Children projects during the summer holidays and usually design a separate project for them as well. This year, I decided that both the adult and children sessions should make the same project.

The cafe where I hold the sessions for Children has a theme of activities for each week of the holidays and it was ‘Mystical’. This is where the dragon comes in.

I also couldn’t decide on which one I liked, so I made both!

Punch Art Dragon. Card & Cuppa project designed by Karen at HIPPOFROG Designs

Punch Art Dragon. Card & Cuppa project designed by Karen at HIPPOFROG Designs

I’d seen similar projects on Pinterest, but they all used Ovals, which we no longer have in punch format. So I did my own take on the designs using punches we have available.

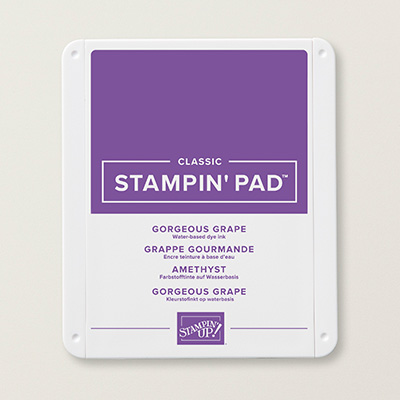
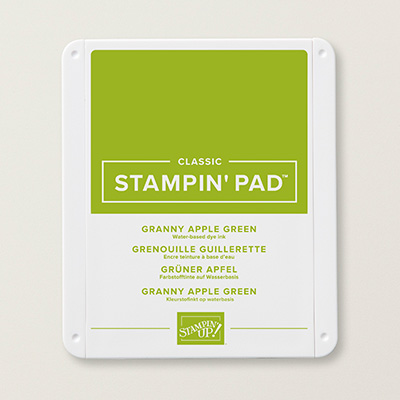
To create the body pattern I used Playful Backgrounds in either Granny Apple Green or Gorgeous Grape.

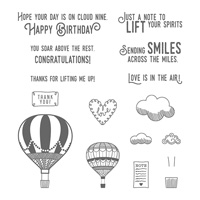
The clouds are from Lift Me Up and again stamped tone-on-tone in Balmy Blue.

After a bit of cutting out to create the neck piece, several punches are used to create the head, eye socket and nose.

Then it’s smaller circles in Whisper White and Basic Black for the eyes and nose and Classic Label for the fangs. The scales are from the new four-petal flower, cut into four.

Punch Art Dragon. Card & Cuppa project designed by Karen at HIPPOFROG Designs

Punch Art Dragon. Card & Cuppa project designed by Karen at HIPPOFROG Designs

It was then a case of putting everything together and attaching the head with Dimensionals.

An optional sentiment from Happy Birthday Gorgeous was the finishing touch.

Both the Card & Cuppa (Adults) and Card & Cuppa for Children attendees created fabulous projects.

Which one would you have made?

Punch Art Dragon. Card & Cuppa project designed by Karen at HIPPOFROG Designs

Why not join us for a future Card & Cuppa session? Book your place by 18:00 the day before.

Happy crafting

Karen Young HIPPOFROG Designs

To order any of the supplies used, click on the images below to go to my online store. Remember to use the Hostess Code if you are placing an order.

You can also join my team here.

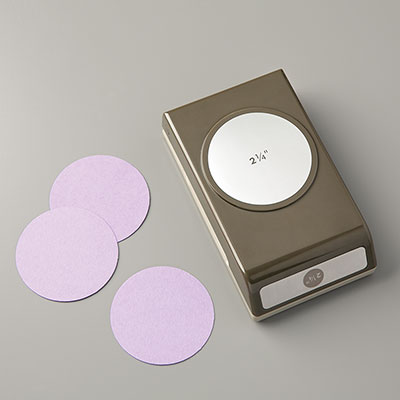
Playful Backgrounds Photopolymer Stamp SetHappy Birthday Gorgeous Photopolymer Stamp SetLift Me Up Clear-Mount Stamp SetGorgeous Grape Classic Stampin' PadGorgeous Grape A4 CardstockGranny Apple Green Stampin' PadGranny Apple Green A4 CardstockBalmy Blue Classic Stampin' PadBalmy Blue A4 CardstockReal Red A4 CardstockBasic Black A4 CardstockWhisper White A4 CardstockWhisper White A4 Thick Cardstock1/2" (1.3 cm) Circle Punch3/4" (1.9 cm) Circle Punch1" (2.5 cm) Circle Punch2-1/4" (5.7 cm) Circle PunchPretty Label PunchClassic Label PunchFour-Petal Flower PunchSnail AdhesiveStampin' Dimensionals

‘In Color’ Introduction – Shades of Lovely Lipstick

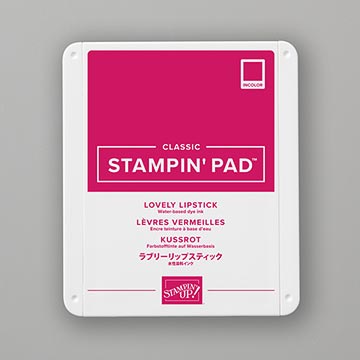
Today I’m sharing another project from my recent In Color Introduction Class. This time it’s shades of Lovely Lipstick.

Shades of Lovely Lipstick Card. Designed by Karen at HIPPOFROG Designs

Blackberry Bliss and Pear Pizzazz work really well with the new Lovely Lipstick to make a fabulous colour combination .

A Sponge Brayer and some strips of card for masking creates the shades of Lovely Lipstick effect. I love how you can make ombre effect as subtle or expressive as you want to.

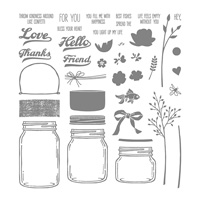
The leaves and flowers from Swirly Bird are stamped multiple times to create different colour shades with a sentiment from Jar of Love.

As with this project, the Pretty Label shape is punched twice, once for the sentiment, and again to create a layer by chopping it in half. The strip of co-ordinating ribbon neatly hides the join.

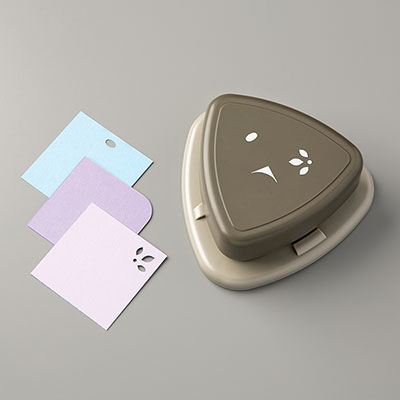
Due to the round shapes on this project, the new Details Trio Punch just had to be used to round the corners.

Shades of Lovely Lipstick Card. Designed by Karen at HIPPOFROG Designs

Once the flowers are punched and leaves are fussy cut, they are stuck onto the sentiment. This is then finally attached to the project using Dimensionals.

Shades of Lovely Lipstick Card. Designed by Karen at HIPPOFROG Designs

This project can be easily replicated in lots of different colours with different sentiments too.

Want to join us for future classes? Check out my class timetable for more details.
Happy crafting

Karen Young HIPPOFROG Designs

To order any of the supplies used, click on the images below to go to my online store. Remember to use the Hostess Code if you are placing an order.

You can also join my team here.

Swirly Bird Photopolymer Stamp SetJar Of Love Photopolymer Stamp SetVery Vanilla A4 CardstockLovely Lipstick Classic Stampin' PadLovely Lipstick A4 CardstockLovely Lipstick 1/8" (3.2 mm) Grosgrain RibbonPear Pizzazz Classic Stampin' PadPear Pizzazz A4 CardstockBlackberry Bliss Classic Stampin' Pad1/2" (1.3 cm) Circle PunchDetailed Trio PunchSponge BrayersSnail AdhesiveStampin' DimensionalsVery Vanilla C6 Envelopes

Last Week’s Card & Cuppa – Amazing You

At last week’s Card & Cuppa I reached for one of the FREE Sale-a-Bration Stamp Sets – Amazing You.

Here is the project.

Amazing You from Stampin' Up!

All of the stamping is in Smoky Slate, with co-ordinating cardstock and ribbon. This is because every attendee used Watercolor Pencils of their choice to colour their flower. The Smoky Slate background, along with the Thick Whisper White base card work with any colour of flower.

Tone-on-tone stamping onto the Smoky Slate background adds a bit more detail, before adding the ribbon and sentiment. This versatile sentiment will be useful for a number of occasions and is framed here using the Leaf Punch and Pretty Label Punch.  A Clear Faceted Gem adds a touch of sparkle as a finishing touch.

Which colour would you have coloured your flower?

Don’t forget to take advantage of the fabulous SAB offers. Why not join in the fun and book your place for future classes?

Happy crafting

Karen Young - HIPPOFROG Designs

To order any of the supplies used, click on the images below to go to my online store. Remember to use the Hostess Code if you are placing an order.
You can also join my team here.

Amazing You Clear-Mount Stamp SetWhisper White A4 CardstockSmoky Slate A4 CardstockSmoky Slate Classic Stampin' PadSmoky Slate 1/2" Gingham RibbonWhisper White A4 Thick CardstockPretty Label PunchLeaf PunchWatercolor PencilsBlender PensClear Faceted GemsSnail AdhesiveStampin' Dimensionals
Last Week’s Card & Cuppa – Label Me Pretty

I can’t quite believe that it is the last Monday in October already.  Where has the year gone?

As it’s Monday, I’m here to show you last week’s Card & Cuppa project.

Stampin' Up! Label Me Pretty HIPPOFROG Designs

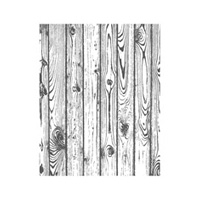
First, we used the Hardwood Background Stamp in Sahara Sand for the panelled look.

Then, the leaves from the Jar of Love Stamp Set stamped in Old Olive softened the edge slightly.  These were a mixture of first, second and third stamping after inking.

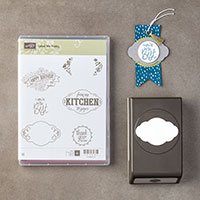
Next we used the Label Me Pretty Stamp Set and Pretty Label Punch Bundle to create the centre sentiment.  It was coloured using Watercolor Pencils with the only stipulation being that Old Olive and Calypso Coral much be used somewhere to co-ordinate all the elements.

Don’t you love how the Pretty Label Punch fits beautifully on the new Everyday Label Punch?

A strip of Natural Trim Ribbon across the centre and Wink of Stella on the flowers add a touch of sparkle.

Happy crafting

Karen Young - HIPPOFROG Designs

To order any of the supplies used, click on the images below to go to my online store. Remember to use the Hostess Code if you are placing an order.

You can also join my team here.

Label Me Pretty Clear-Mount BundleHardwood Wood-Mount StampJar Of Love Photopolymer Stamp SetVery Vanilla A4 CardstockSahara Sand Classic Stampin' PadOld Olive A4 CardstockOld Olive Classic Stampin' PadCalypso Coral A4 CardstockBasic Gray Archival Stampin’ PadWatercolor PencilsBlender PensClear Wink Of Stella Glitter BrushGold 1/4" (6.4 Mm) Natural TrimEveryday Label PunchSnail AdhesiveStampin' Dimensionals

Save

Sending smiles across the miles

A very talented friend is off to China this weekend to play a lead role in a musical.

This friend loves sunflowers so the Painted Harvest Stamp Set was the obvious choice.

Stampin' Up! Painted Harvest

I combined Crushed Curry and Chocolate Chip for the sunflowers.  There is Wink of Stella in the centre of each flower for a bit of sparkle too.

‘Sending smiles across the miles’ from the Lift Me Up Stamp Set is a sentiment I never thought I’d use.  As they are way on tour for five months, it was the perfect opportunity to ink it up for the first time.

The sentiment fits nicely into the Pretty Label punch with the new Everyday Label Punch from the Autumn/Winter Catalogue as a background layer.

A strip of Burlap Ribbon across the card for the sentiment to sit on completes the project.

Happy crafting

Karen Young - HIPPOFROG Designs

To order any of the supplies used, click on the images below to go to my online store. Remember to use the Hostess Code if you are placing an order.

You can also join my team here.

Painted Harvest Photopolymer Stamp SetLift Me Up Clear-Mount Stamp SetVery Vanilla A4 CardstockCrushed Curry A4 CardstockCrushed Curry Classic Stampin' PadChocolate Chip A4 CardstockChocolate Chip Classic Stampin' Pad5/8" (1.6 Cm) Burlap RibbonPretty Label PunchEveryday Label PunchSnail AdhesiveStampin' Dimensionals