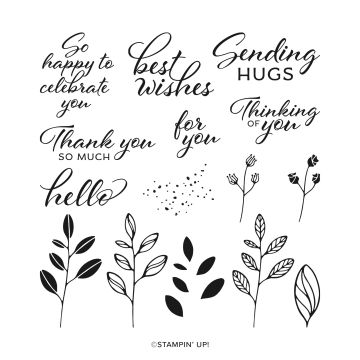
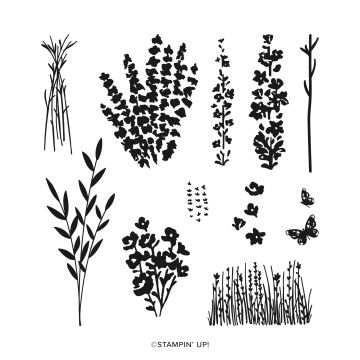
ICYMI – Lovely Arrangements Stamp Set

In case you missed last week’s Card & Cuppa project.

Head here for more details.

Join me at one of my classes. Head to my Class Timetable for full details.

Happy crafting

Karen Young HIPPOFROG Designs

To order any of the supplies shown below, head to my Online Store. Items available while stocks last.

NEW Stampin’ Rewards      Join my team      Current Products      Offers & Promotions      Book a Class

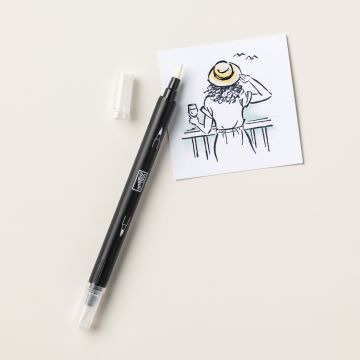
LOVELY ARRANGEMENTS BUNDLE (ENGLISH)1-7/8" (4.8 CM) CIRCLE PUNCH2" (5.1 CM) CIRCLE PUNCHMELON MAMBO CARDSTOCK A4MELON MAMBO CLASSIC STAMPIN' PADBUBBLE BATH CLASSIC STAMPIN' PADDARLING DUCKLING CLASSIC STAMPIN' PADFRESH FREESIA CLASSIC STAMPIN' PADGRANNY APPLE GREEN CLASSIC STAMPIN' PADBASIC WHITE A4 CARDSTOCKBLENDING BRUSHESSMALL BLENDING BRUSHESBAKER'S TWINE ESSENTIALS PACKWINK OF STELLA CLEAR GLITTER BRUSHMOODY PALETTE GLOSSY DOTSMULTIPURPOSE LIQUID GLUESTAMPIN' DIMENSIONALSTEAR & TAPE ADHESIVE

Last Week’s Card & Cuppa – Lovely Arrangements Stamp Set

Last week’s Card & Cuppa class once again used the Lovely Arrangements Stamp Set and Dies Bundle.

We used this bundle from the Online Exclusives range a few weeks ago, but this time the project was very different.

My colour combination for this project used Melon Mambo, Bubble Bath, Fresh Freesia, Granny Apple Green, Darling Duckling and Basic White.

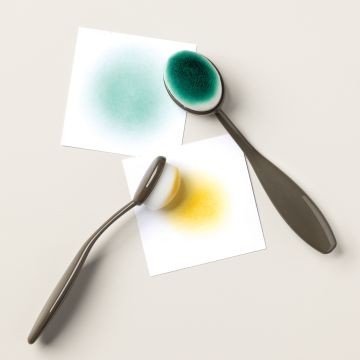
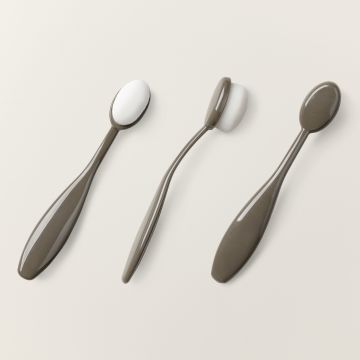
Firstly, the background was given a two tone ombre effect with Blending Brushes, Fresh Freesia at the top and Bubble Bath at the bottom.

Next, a flower image was stamped across the background and a Sponge Dauber and Darling Duckling was used to colour the centre of the flowers.

On a separate piece, a circle was punched and the leaves were stamped.

The leaves were given some extra colour around the edge before they were cut out using the dies. This was to avoid leaving a white edge all around.

A flower was then stamped onto the circle and this was also coloured in using Blending Brushes. This was achieved by creating a stencil – stamping the flower and fussy cutting out the centre just along the lines.

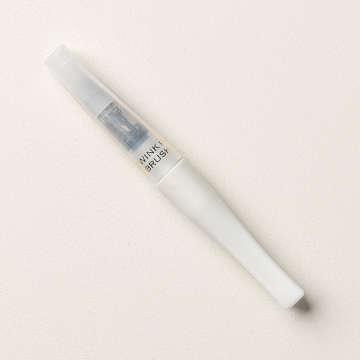
The stencil was then lined up over the top of the stamped image on the circle and coloured. Once again, Darling Duckling and a Sponge Dauber provided the centre colour. Plus a light touch of Wink of Stella in the centre too.

Using another Circle Punch from the Online Exclusives range, a layer was punched.

Lengths of Basic White Baker’s Twine from the Baker’s Twine Essentials Pack we placed across the centre.

The sentiment and leaf were then raised up on Dimensionals.

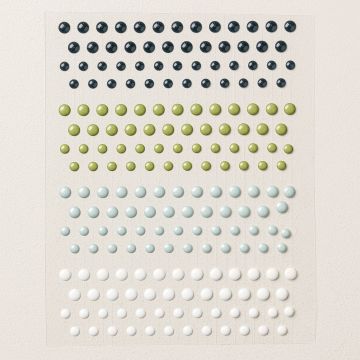
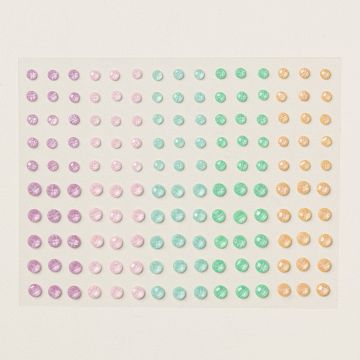
Finally, some coordinating Moody Palette Glossy Dots were added.

Join me at one of my classes. Head to my Class Timetable for full details.

Happy crafting

Karen Young HIPPOFROG Designs

To order any of the supplies shown below, head to my Online Store. Items available while stocks last.

NEW Stampin’ Rewards      Join my team      Current Products      Offers & Promotions      Book a Class
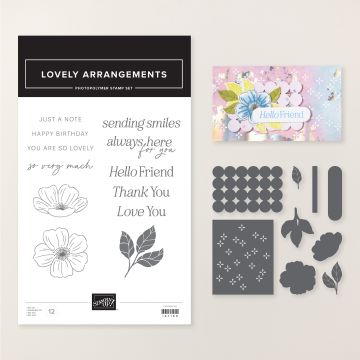
LOVELY ARRANGEMENTS BUNDLE (ENGLISH)1-7/8" (4.8 CM) CIRCLE PUNCH2" (5.1 CM) CIRCLE PUNCHMELON MAMBO CARDSTOCK A4MELON MAMBO CLASSIC STAMPIN' PADBUBBLE BATH CLASSIC STAMPIN' PADDARLING DUCKLING CLASSIC STAMPIN' PADFRESH FREESIA CLASSIC STAMPIN' PADGRANNY APPLE GREEN CLASSIC STAMPIN' PADBASIC WHITE A4 CARDSTOCKBLENDING BRUSHESSMALL BLENDING BRUSHESBAKER'S TWINE ESSENTIALS PACKWINK OF STELLA CLEAR GLITTER BRUSHMOODY PALETTE GLOSSY DOTSMULTIPURPOSE LIQUID GLUESTAMPIN' DIMENSIONALSTEAR & TAPE ADHESIVE

Last Week’s Card & Cuppa – Delightful Wishes

Last week’s Card & Cuppa project was this sentiment free design, perfect for any occasion.

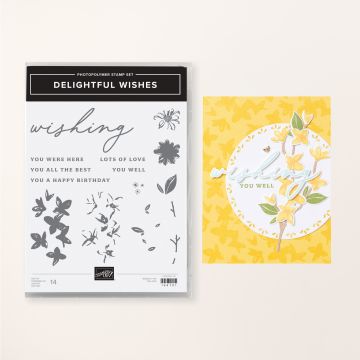
It uses the Delightful Wishes Stamp Set from the Annual Catalogue.

For this project, the attendees were able to choose if they wanted to use Basic White and Iridescent Pearls (as above), or Very Vanilla and Antique Pearls (see below).

This is a two-step stampin’ Stamp Set, so there are various images that fit together to make the design.

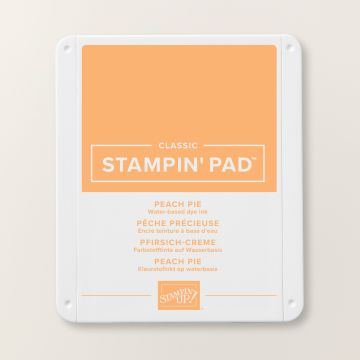
For this design, a combination of Lemon Lolly, Peach Pie, Pecan Pie and Lemon Lime Twist are used to create the card.

First, the less detailed flower image is stamped second generation in two corners onto the background piece.

Next, the more detailed flower image is stamped first generation aligning with the first image.

The stem is then lined up and stamped, followed by the leaves.

‘Splats’ are then dotted around the project in Lemon Lolly.

This process, minus the ‘splats’ is then repeated onto a punched circle which is layered onto a larger punched circle. These punches can be found in the Online Exclusives range. It is attached to the project with Dimensionals to ‘hide’ where the two images meet.

Finally, the Pearls are added.

Which version do you prefer, white or vanilla?

Join me at one of my classes. Head to my Class Timetable for full details.

Happy crafting

Karen Young HIPPOFROG Designs

To order any of the supplies shown below, head to my Online Store. Items available while stocks last.

NEW Stampin’ Rewards      Join my team      Current Products      Offers & Promotions      Book a Class
DELIGHTFUL WISHES PHOTOPOLYMER STAMP SET (ENGLISH)2" (5.1 CM) CIRCLE PUNCH2-3/8" (6 CM) CIRCLE PUNCHLEMON LOLLY A4 CARDSTOCKLEMON LOLLY CLASSIC STAMPIN' PADPEACH PIE A4 CARDSTOCKPEACH PIE CLASSIC STAMPIN PADLEMON LIME TWIST A4 CARDSTOCKPECAN PIE A4 CARDSTOCKBASIC WHITE A4 CARDSTOCKIRIDESCENT PEARL BASIC JEWELSMULTIPURPOSE LIQUID GLUESTAMPIN' DIMENSIONALS

Last Week’s Card & Cuppa – Trio of Butterflies

At last week’s Card & Cuppa class, this trio of butterflies were the stars of the show.

Using a combination of Pretty in Pink and Petunia Pop In Colors, along with Basic White, this project has a spring feel.

Firstly, the background was stamped using the ‘splats’ from the Layering Leaves Stamp Set.

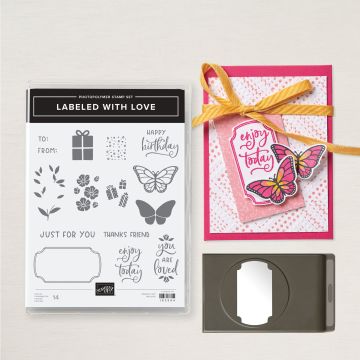
Next, the outlined shapes and butterflies were stamped and then punched out. These used the Labeled with Love Stamp Set and matching Labeled with Love Punch.

Make sure you check out the Last Chance Products section in the online store to see the items that are leaving us to make way for the new Annual Catalogue.

Another butterfly was stamped and cut out by hand, plus another three shaped were also punched out.

The handcut butterfly was given a coat of Wink of Stella.

Each of the Petunia Pop punched shaped were cut in half and then stuck to the back of the Basic White shapes to create a layer.

A length of coordinating ribbon was added across the centre and the top and bottom shape were added.

Using Dimensionals, the centre shape was raised up on Dimensionals before the handcut butterfly was added using a Glue Dot.

Finally, some extra bling was added by some Rhinestones.

Join me at one of my classes. Head to my Class Timetable for full details.

Happy crafting

Karen Young HIPPOFROG Designs

To order any of the supplies shown below, head to my Online Store. Items available while stocks last.

Online Shopping Club Code      Join my team      Current Products      Offers & Promotions      Book a Class
LABELED WITH LOVE PUNCH BUNDLE (ENGLISH)LAYERING LEAVES PHOTOPOLYMER STAMP SET (ENGLISH)PRETTY IN PINK A4 CARDSTOCKPRETTY IN PINK CLASSIC STAMPIN PADPETUNIA POP A4 CARDSTOCKPETUNIA POP CLASSIC STAMPIN PADBASIC WHITE A4 CARDSTOCKPRETTY IN PINK 3/8" (1 CM) BORDERED RIBBONWINK OF STELLA CLEAR GLITTER BRUSHRHINESTONE BASIC JEWELSMULTIPURPOSE LIQUID GLUEGLUE DOTSMINI STAMPIN' DIMENSIONALSTEAR & TAPE ADHESIVE

Last Week’s Card & Cuppa – Flowers of Beauty Stamp Set & Dies

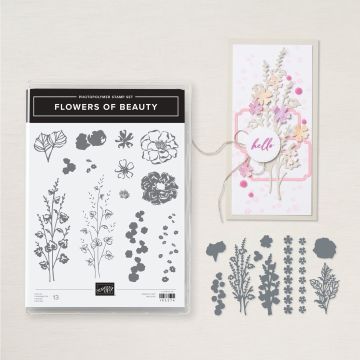
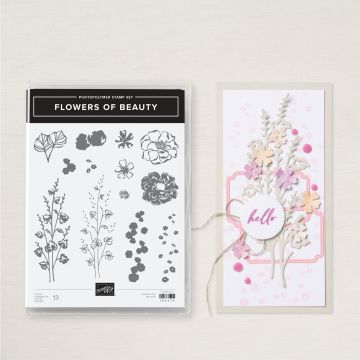
At last week’s Card & Cuppa Class, we made this project using the Flowers of Beauty Stamp Set & Dies Bundle.

Only two stamps and one die from the bundle, two ink pads and some embellishments were needed to create this design.

The colour combination of In Color Moody Mauve, Petal Pink and Very Vanilla give this card a more vintage feel. It’s also sentiment free, so perfect for any occasion.

First, the small flowers were stamped on the background piece. This was second generation stamping to give a paler feel, and not distract from the more focal stems.

Next, the main stems were stamped, twice tone-on-tone onto Moody Mauve and once onto a separate piece. The Very Vanilla image was cut out using the dies.

A touch of Wink of Stella was used on the inside of the leaves to give a hint of sparkle.

Three lengths of coordinating Very Vanilla Baker’s Twine, from the Essentials Pack were then added across the Moody Mauve piece.

The focal stem was then attached using carefully placed Mini Dimensionals.

Finally, some sequins from the Adhesive-Backed Sequins Trio are added.

This project didn’t take long to create at all and could easily be replicated in different colour ways. You could also add a sentiment at the top or bottom too.

Don’t forget it’s SAB time of year, make sure you don’t miss out on FREE products.

Join me at one of my classes. Head to my Class Timetable for full details.

Happy crafting

Karen Young HIPPOFROG Designs

To order any of the supplies shown below, head to my Online Store. Items available while stocks last.

Online Shopping Club Code      Join my team      Current Products      Offers & Promotions      Book a Class
FLOWERS OF BEAUTY BUNDLEMOODY MAUVE A4 CARDSTOCKMOODY MAUVE CLASSIC STAMPIN' PADPETAL PINK A4 CARDSTOCKPETAL PINK CLASSIC STAMPIN' PADVERY VANILLA A4 CARDSTOCKBAKER'S TWINE ESSENTIALS PACKWINK OF STELLA CLEAR GLITTER BRUSHADHESIVE-BACKED SEQUINS TRIOMULTIPURPOSE LIQUID GLUETEAR & TAPE ADHESIVEMINI STAMPIN' DIMENSIONALS

Last Week’s Card & Cuppa – Stippled Roses Stamp Set

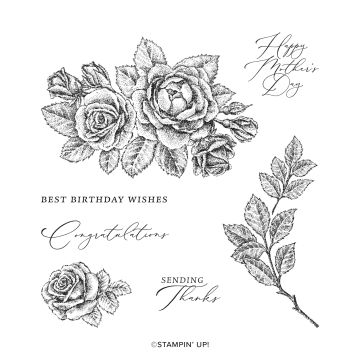
Last week’s Card & Cuppa project used the new Stippled Roses Stamp Set from the Annual Catalogue.

If you’ve been around for a while, you may have heard me mention the lovely red rose bush that grows by my front door. This Stamp Set reminds me of it.

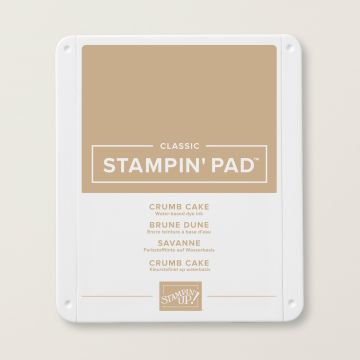
For my project, I chose to use neutrals of Crumb Cake and Very Vanilla. By using this combination, the attendees could then colour their roses however they wanted.

To begin, the bottom section was masked off diagonally and the main image from the Stamp Set stamped. Then, the leaf image is used to fill in around the edges.

Next, the individual rose is then stamped and punched out using the Online Exclusives Circle Punch.

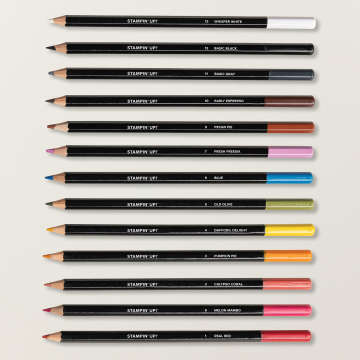
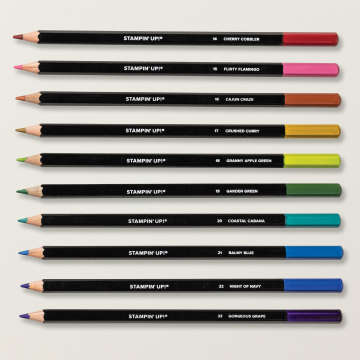
The roses were then coloured in using Watercolor Pencils with the lines softened using Blender Pens. A little touch of Wink of Stella was used on the smaller rose.

I chose to colour my roses red, to reflect those at home.

Lengths of Very Vanilla and Crumb Cake Baker’s Twine from the Essentials Pack are placed along the masking line.

With the smaller rose coloured, this is mounted onto another circle, also cut using a Circle Punch from Online Exclusives range, before being stuck to the project.

Finally, a short row of Iridescent Pearls are added to the corner.

Due to the diagonal masking, this card can be used either portrait or landscape orientation. Also, as it is quite busy, I chose to leave it sentiment free which helps it to be an ‘any way’ project too.

Join me at one of my classes. Head to my Class Timetable for full details.

Happy crafting

Karen Young HIPPOFROG Designs

To order any of the supplies shown below, head to my Online Store. Items available while stocks last.

Online Shopping Club Code      Join my team      Current Products      Offers & Promotions      Book a Class
STIPPLED ROSES CLING STAMP SET (ENGLISH)1-3/4" (4.4 CM) CIRCLE PUNCH2" (5.1 CM) CIRCLE PUNCHCRUMB CAKE A4 CARDSTOCKCRUMB CAKE CLASSIC STAMPIN' PADVERY VANILLA A4 CARDSTOCKWATERCOLOR PENCILS ASSORTMENT 1WATERCOLOR PENCILS ASSORTMENT 2BLENDER PENSBAKER'S TWINE ESSENTIALS PACKWINK OF STELLA CLEAR GLITTER BRUSHIRIDESCENT PEARL BASIC JEWELSMULTIPURPOSE LIQUID GLUETEAR & TAPE ADHESIVE

Last Week’s Card & Cuppa – (Re)Introducing Pretty in Pink

Last week’s Card & Cuppa class continued working through the new In Colors. This time it was the turn of Pretty in Pink, a previous retired Stampin’ Up! colour that has returned as an In Color for 2024-2026.

For this grunge/vintage-style project, I combined the new colour with Moody Mauve, Crumb Cake and Very Vanilla.

The background is stamped with images from the new Flowers of Beauty Stamp Set. This stamping is all second generation.

Next, the background is given a vintage look using Blending Brushes, Crumb Cake and Pretty in Pink ink.

For my project, I ripped the background piece and also curled a corner for a grungey look.

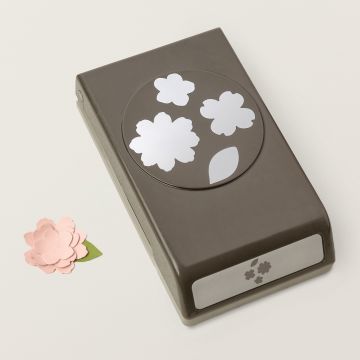
Using the Petal Park Builder Punch, the flower shapes were punched and then coloured on both sides using Blending Brushes. They were then scrunched to soften the fibres and the cardstock was split into two layers. Both layers were then offset and stuck back together before one layer of the centre was added.

The flowers were stuck to a punched circle that had the edge coloured. A piece of coordinating In Color Ribbon was stuck to the back of the circle before the whole piece was added to the project.

Each flower had a sequin from the Adhesive-Backed Sequins Trio Pack popped in the centre.

Finally, Pretty in Pink Shimmer Gems were dotted around the project.

As this design is quite busy, I chose to leave it sentiment free – perfect for any occasion.

If you are a fan of Pretty in Pink, here is comparison of it to other current Stampin’ Up! colours.

Join me at one of my classes. Head to my Class Timetable for full details.

Happy crafting

Karen Young HIPPOFROG Designs

To order any of the supplies shown below, head to my Online Store. Items available while stocks last.

Online Shopping Club Code      Join my team      Current Products      Offers & Promotions      Book a Class
FLOWERS OF BEAUTY PHOTOPOLYMER STAMP SETPETAL PARK BUILDER PUNCH1-3/4" (4.4 CM) CIRCLE PUNCHPRETTY IN PINK A4 CARDSTOCKPRETTY IN PINK CLASSIC STAMPIN PADMOODY MAUVE A4 CARDSTOCKMOODY MAUVE CLASSIC STAMPIN' PADCRUMB CAKE CLASSIC STAMPIN' PADVERY VANILLA A4 CARDSTOCKBLENDING BRUSHESSMALL BLENDING BRUSHESPRETTY IN PINK 3/8" (1 CM) BORDERED RIBBON2024–2026 IN COLOR™ SHIMMER GEMSADHESIVE-BACKED SEQUINS TRIOMULTIPURPOSE LIQUID GLUETEAR & TAPE ADHESIVE

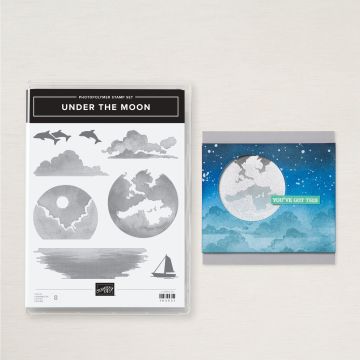
Last Week’s Card & Cuppa – Under The Moon

As I was still in holiday mode after a lovely week away in Cyprus, last week’s Card & Cuppa design reflected that!

It is a CASE of a project in the new Annual Catalogue.

This new Under The Moon Stamp Set is great as it does a lot of the hard work for you, so you can make a project really quickly. Plus there are some great images in the Annual Catalogue to use as inspiration too.

I chose to combine Azure Afternoon, Night of Navy, Daffodil Delight and Calypso Coral for this design.

All of the images, apart from the boat, are inked up using Sponge Daubers. This gives a more subtle effect and allows you to create darker and lighter areas.

After inking up the sea image with a Sponge Dauber, I used my Grid Paper to ensure I stamped a straight horizon.

Next, the moon image is carefully inked up with both colours using the Sponge Daubers and lined up with the sea below.

The boat is then added to the side to finish the stamping of the scene.

Finally a few white sequins from adhesive-backed sequins trio are dotted across the sea to look like water droplets.

For my project, I decided to leave it sentiment free as I think it makes a great any occasion card. Alternatively, there is white space where a sentiment can easily be added as needed.

Join me at one of my classes. Head to my Class Timetable for full details.

Happy crafting

Karen Young HIPPOFROG Designs

To order any of the supplies shown below, head to my Online Store. Items available while stocks last.

Online Shopping Club Code      Join my team      Current Products      Offers & Promotions      Book a Class
UNDER THE MOON PHOTOPOLYMER STAMP SETAZURE AFTERNOON A4 CARDSTOCKAZURE AFTERNOON CLASSIC STAMPIN' PADCALYPSO CORAL CLASSIC STAMPIN' PADDAFFODIL DELIGHT CLASSIC STAMPIN' PADNIGHT OF NAVY CLASSIC STAMPIN' PADBASIC WHITE A4 CARDSTOCKBASIC WHITE A4 THICK CARDSTOCKSPONGE DAUBERSADHESIVE-BACKED SEQUINS TRIOSTAMPIN' SEAL

Last Week’s Card & Cuppa – Introducing Petunia Pop

For last week’s Card & Cuppa class, I designed a project using another of the new 2024-2026 In Colors.

Petunia Pop was the colour I chose and I combined it with Old Olive, Petal Pink and Basic White.

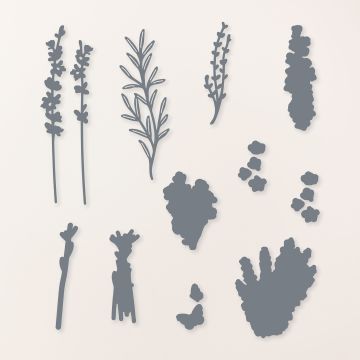
All of the stamping was from the Painted Lavender Stamp Set, with pieces cut out using the matching Painted Lavender Dies.

The design is inspired by a project in the now retired previous Jan-April Mini Catalogue.

First, the stems are stamped, with the flowers stamped on top. Another set of flowers are then stamped onto a separate sheet with first and second generation stamping to provide different depths of colour.

These flowers and the additional stems are cut out using the dies and attached to the project.

Butterflies are then added in the corner.

Wink of Stella is dotted onto the flowers and butterflies as needed.

Finally, some sequins from the Adhesive-Backed Sequins Trio are added for a little touch of bling.

As this design is sentiment free, it makes it great for any occasion. You can either leave it as it is, or add a sentiment nearer the time.

If you are a fan of Petunia Pop, here is comparison of it to other current Stampin’ Up! colours.

Join me at one of my classes. Head to my Class Timetable for full details.

Happy crafting

Karen Young HIPPOFROG Designs

To order any of the supplies shown below, head to my Online Store. Items available while stocks last.

Online Shopping Club Code      Join my team      Current Products      Offers & Promotions      Book a Class
PAINTED LAVENDER PHOTOPOLYMER STAMP SETPAINTED LAVENDER DIESPETUNIA POP A4 CARDSTOCKPETUNIA POP CLASSIC STAMPIN PADPETAL PINK A4 CARDSTOCKPETAL PINK CLASSIC STAMPIN' PADOLD OLIVE CLASSIC STAMPIN' PADBASIC WHITE A4 CARDSTOCKADHESIVE-BACKED SEQUINS TRIOWINK OF STELLA CLEAR GLITTER BRUSHGLUE DOTSMULTIPURPOSE LIQUID GLUE

Last Week’s Card & Cuppa – Introducing Peach Pie

Last week’s Card & Cuppa project used both a new Bundle from the Annual Catalogue and a new In Color too.

For this sentiment free design I was introducing Peach Pie, one of the new In Color Collection for 2024-2026. See the bottom of this post for more details on Peach Pie.

This new orange is teamed with Pecan Pie and Calypso Coral and Very Vanilla for a softer look.

The project also uses the new Flowers of Beauty Bundle (Stamp Set & Dies).

A background is stamped in 2nd and 3rd generation stamping (see my Top Tips, Tricks & Techniques Video here for more details on generational stamping).

Next, the central leaves and flower are stamped and cut out using the coordinating dies. As the flower is two-step stampin’ we used Peach Pie for both parts, stamping off the infill piece to make it lighter. The large leaf is then cut out too.

Using a Blender Pen, the two smaller leaves are given a little bit of colour.

One of the Online Exclusives Circle Punches creates the central piece that all of the cut outs are then attached to.

Coordinating In Color Bordered Ribbon is then added across the centre of the project before the circle with it’s attachments are stuck on with Dimensionals.

Finally, some In Color Shimmer Gems, again in coordinating Peach Pie, add a little touch of sparkle.

As this design is sentiment free, it makes it great for any occasion. You can either leave it as it is, or add a sentiment nearer the time.

If you are a fan of Peach Pie, here is comparison of it to other current Stampin’ Up! colours.

Join me at one of my classes. Head to my Class Timetable for full details.

Happy crafting

Karen Young HIPPOFROG Designs

To order any of the supplies shown below, head to my Online Store. Items available while stocks last.

Online Shopping Club Code      Join my team      Current Products      Offers & Promotions      Book a Class
FLOWERS OF BEAUTY BUNDLE2" (5.1 CM) CIRCLE PUNCHPEACH PIE A4 CARDSTOCKPEACH PIE CLASSIC STAMPIN PADPECAN PIE A4 CARDSTOCKPECAN PIE CLASSIC STAMPIN' PADCALYPSO CORAL A4 CARDSTOCKVERY VANILLA A4 CARDSTOCKPEACH PIE 3/8" (1 CM) BORDERED RIBBONBLENDER PENS2024–2026 IN COLOR™ SHIMMER GEMSWINK OF STELLA CLEAR GLITTER BRUSHMULTIPURPOSE LIQUID GLUESTAMPIN' DIMENSIONALS