ICYMI – Simply Leaves Bundle

In case you missed last week’s Card & Cuppa project.

Head here for more details.

Join me at one of my classes. Head to my Class Timetable for full details.

Happy crafting

Karen Young HIPPOFROG Designs

To order any of the supplies shown below, head to my Online Store. Items available while stocks last.

NEW Stampin’ Rewards      Join my team      Current Products      Offers & Promotions      Book a Class

SIMPLY LEAVES BUNDLE (ENGLISH)THREE BANNER PUNCHBERRY BURST A4 CARDSTOCKBERRY BURST CLASSIC STAMPIN' PADHIGHLAND HEATHER CLASSIC STAMPIN' PADPETAL PINK CLASSIC STAMPIN' PADSTRAWBERRY SLUSH CLASSIC STAMPIN' PADBASIC WHITE A4 CARDSTOCKBASIC WHITE A4 THICK CARDSTOCKBLENDING BRUSHESBERRY BURST STAMPIN' BLENDS COMBO PACKIRIDESCENT PEARL BASIC JEWELSMULTIPURPOSE LIQUID GLUEMINI STAMPIN' DIMENSIONALS

Last Week’s Card & Cuppa – Simply Leaves Bundle

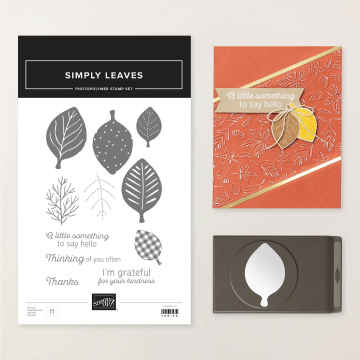
For last week’s Card & Cuppa project, I used a new Bundle from the Online Exclusives range.

The Simply Leaves Bundle (Simply Leaves Stamp Set & Simple Leaf Punch) were recently released as part of the July Online Exclusives range.

If you’ve been around a while, you’ll know I love the punches, so this set just had to fall into my basket.

Rather than an autumnal feel, I chose to create a more summery project with my colours.

My colour combination was Berry Burst, Strawberry Slush, Petal Pink and Highland Heather, along with Basic White.

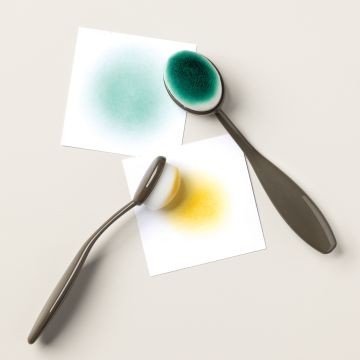
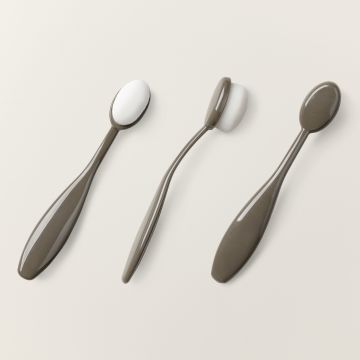
First, the background ombre was created by using Blending Brushes with Petal Pink, Strawberry Slush and Highland Heather.

Next, one of the smaller leaves was stamped 2nd Generation multiple times onto the ombre.

The leaf veins image were stamped 3 times onto a separate piece and these were then coloured with Blending Brushes. They were then cut out using the coordinating Punch.

Any additional colour was then added to the cut shapes.

Each leaf was then scored along each of the vein lines and then gently folded along them to give some additional shaping.

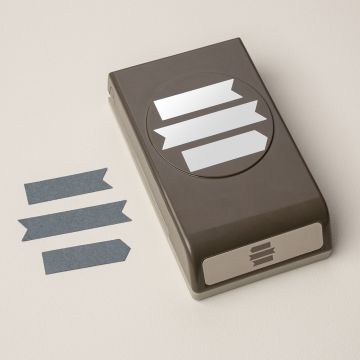
A sentiment, also from the Stamp Set was stamped in Berry Burst onto a shape cut out using the Triple Banner Punch. The layer was cut out in Berry Burst before they were stuck together slightly offset.

The top right leaf was stuck down using glue, while the other leaves were attached to the sentiment to create one piece.

That whole piece was then added using Dimensionals to raise it up.

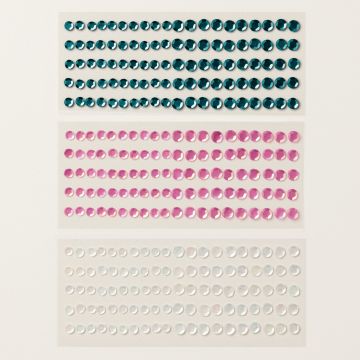
Finally, three Iridescent Pearls were coloured using a Stampin’ Blend, also in Berry Burst, and added to the project.

Join me at one of my classes. Head to my Class Timetable for full details.

Happy crafting

Karen Young HIPPOFROG Designs

To order any of the supplies shown below, head to my Online Store. Items available while stocks last.

NEW Stampin’ Rewards      Join my team      Current Products      Offers & Promotions      Book a Class
SIMPLY LEAVES BUNDLE (ENGLISH)THREE BANNER PUNCHBERRY BURST A4 CARDSTOCKBERRY BURST CLASSIC STAMPIN' PADHIGHLAND HEATHER CLASSIC STAMPIN' PADPETAL PINK CLASSIC STAMPIN' PADSTRAWBERRY SLUSH CLASSIC STAMPIN' PADBASIC WHITE A4 CARDSTOCKBASIC WHITE A4 THICK CARDSTOCKBLENDING BRUSHESBERRY BURST STAMPIN' BLENDS COMBO PACKIRIDESCENT PEARL BASIC JEWELSMULTIPURPOSE LIQUID GLUEMINI STAMPIN' DIMENSIONALS

March Card Making Class – Project 3

This is the third project from my recent Card Making Class.

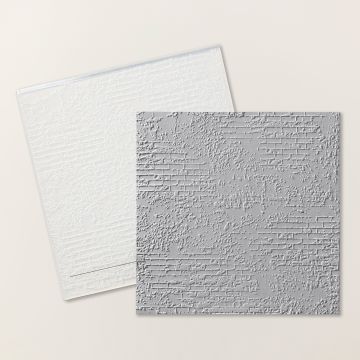
The theme for the class was ‘Backgrounds and more’, so I chose to use the Exposed Brick 3D Embossing Folder from the Annual Catalogue.

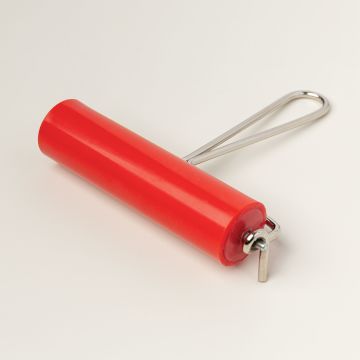
Once the piece of Basic White cardstock had been embossed, we used a Brayer to very quickly colour the brickwork.

This colouring technique is something I haven’t used at class before, so it was a great learning experience for the attendees.

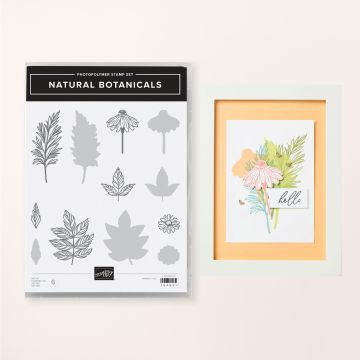
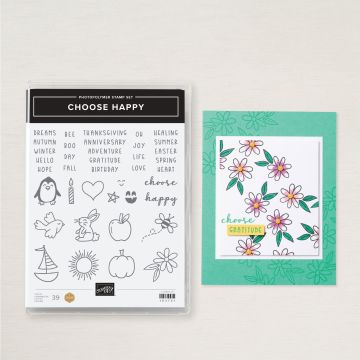
Three flowers from the Natural Botanicals Stamp Set were stamped onto Petunia Pop cardstock and three sets of leaves from the Choose Happy Stamp Set were stamped onto Granny Apple Green cardstock. Secret Sea was used for all of the stamping on this project.

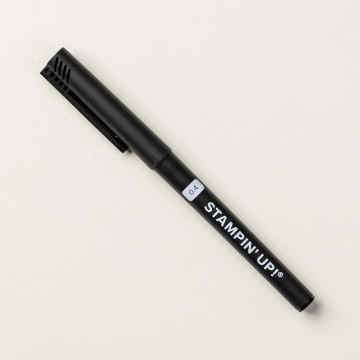
These were all cut out by hand with the centre of the flowers coloured with a black journalling pen.

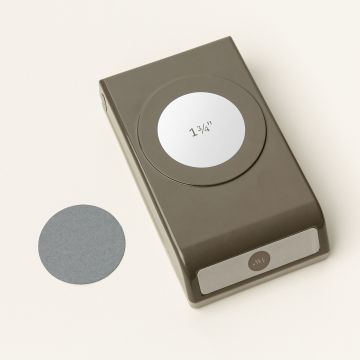
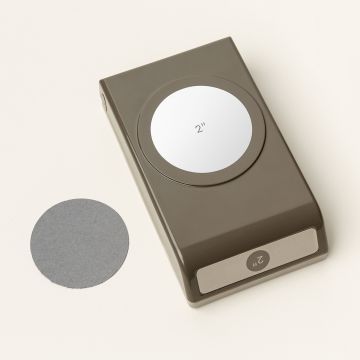
They were then stuck to two layered circles from the Online Exclusives range, one in Real Red to coordinate with the brick brayering and the card layer.

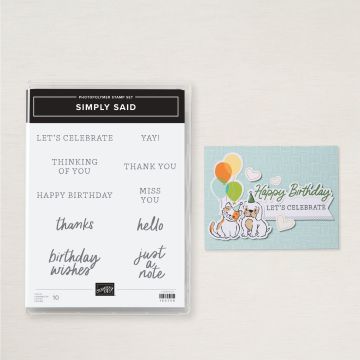
A sentiment from the Simply Said Stamp Set is then also attached to the back circles.

This whole piece was then attached to the background wall using Dimensionals.

Join me at one of my classes. Head to my Class Timetable for full details.

Happy crafting

Karen Young HIPPOFROG Designs

To order any of the supplies shown below, head to my Online Store. Items available while stocks last.

NEW Stampin’ Rewards      Join my team      Current Products      Offers & Promotions      Book a Class
EXPOSED BRICK 3D EMBOSSING FOLDERNATURAL BOTANICALS PHOTOPOLYMER STAMP SETCHOOSE HAPPY PHOTOPOLYMER STAMP SET (ENGLISH)SIMPLY SAID MIX& MATCH PHOTOPOLYMER STAMP SET (ENGLISH)1-3/4" (4.4 CM) CIRCLE PUNCH2" (5.1 CM) CIRCLE PUNCHSTAMPIN' BRAYERREAL RED A4 CARDSTOCKREAL RED CLASSIC STAMPIN' PADSECRET SEA CLASSIC STAMPIN' PADGRANNY APPLE GREEN A4 CARDSTOCKPETUNIA POP A4 CARDSTOCKBASIC WHITE A4 CARDSTOCKBASIC WHITE A4 THICK CARDSTOCKBLACK 0.4 MM STAMPIN' JOURNALING PENSMULTIPURPOSE LIQUID GLUETEAR & TAPE ADHESIVEGLUE DOTSSTAMPIN' DIMENSIONALSMINI STAMPIN' DIMENSIONALS

October Card Making Class – Project 3

The third project from my recent Card Making Class for October was this striped design.

If you’ve been following me for a while, you’ll know that I love a design with stripes. So I thought I would include one for the class.

I chose shades of purple, Fresh Freesia, Highland Heather and Gorgeous Grape, along with Basic White.

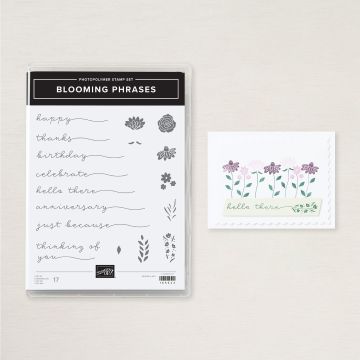
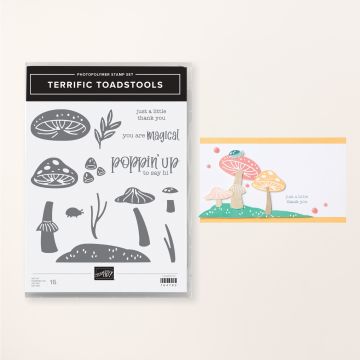
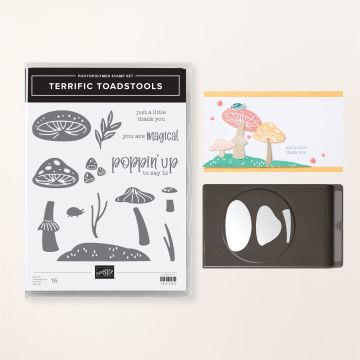
Each of the stripes is stamped tone-on-tone using images from the Blooming Phrases Stamp Set and the Terrific Toadstools Stamp Set. Blooming Phrases from the Online Exclusives Range and Terrific Toadstools from the Annual Catalogue.

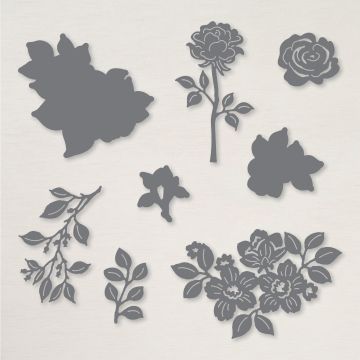
The leaves and flowers are cut out using the Charming Day Dies and the Delightful Wishes Dies. Wink of Stella was added to the flowers for a touch of sparkle.

Once the stripes were stuck to the background piece, three lengths of Basic White Baker’s Twine from the Essentials Pack were added.

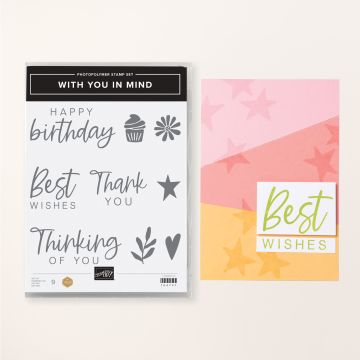
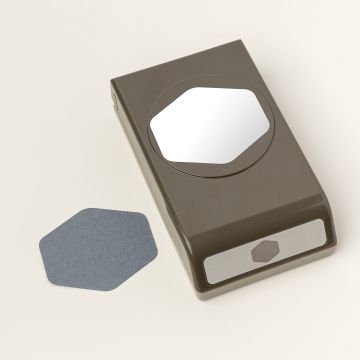
The sentiment uses the With You in Mind Stamp Set and is cut out with the Heartfelt Hexagon Punch.

Leaves are stuck straight onto the striped piece, with the flowers stuck onto the sentiment.

Finally, this sentiment piece is then stuck to the project using Dimensionals.

Designs like this one are really easy to replicate as you can use any colours, images, shapes, sentiments and embellishments you chose.

Join me at one of my classes. Head to my Class Timetable for full details.

Happy crafting

Karen Young HIPPOFROG Designs

To order any of the supplies shown below, head to my Online Store. Items available while stocks last.

NEW Stampin’ Rewards      Join my team      Current Products      Offers & Promotions      Book a Class
BLOOMING PHRASES PHOTOPOLYMER STAMP SET (ENGLISH)WITH YOU IN MIND PHOTOPOLYMER STAMP SET (ENGLISH)TERRIFIC TOADSTOOLS PHOTOPOLYMER STAMP SET (ENGLISH)CHARMING DAY DIESHEARTFELT HEXAGON PUNCHFRESH FREESIA A4 CARDSTOCKFRESH FREESIA CLASSIC STAMPIN' PADGORGEOUS GRAPE A4 CARDSTOCKGORGEOUS GRAPE CLASSIC STAMPIN' PADHIGHLAND HEATHER A4 CARDSTOCKHIGHLAND HEATHER CLASSIC STAMPIN' PADBASIC WHITE A4 CARDSTOCKBAKER'S TWINE ESSENTIALS PACKWINK OF STELLA CLEAR GLITTER BRUSHMULTIPURPOSE LIQUID GLUESTAMPIN' DIMENSIONALSTEAR & TAPE ADHESIVE

Last Week’s Card & Cuppa – Terrific Toadstools Bundle

Last week’s Card & Cuppa project followed the ‘It’s all new to me!’ theme from this month’s Card Making Class.

For this project, I used the Terrific Toadstools Bundle. I’d looked at it for a while, and when I saw it was transferring over to the new Annual Catalogue it jumped into my basket!

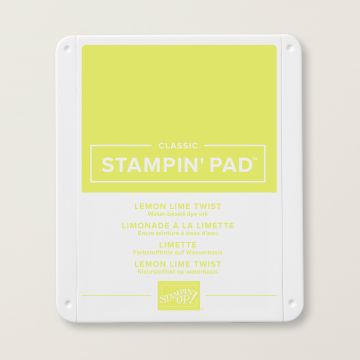
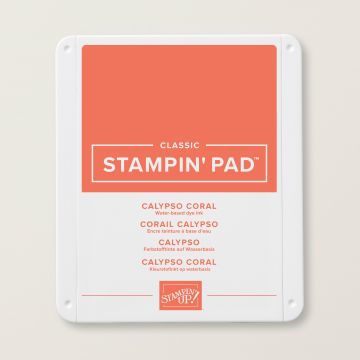
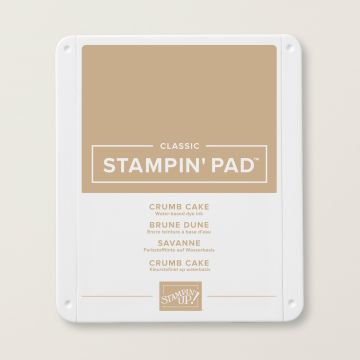
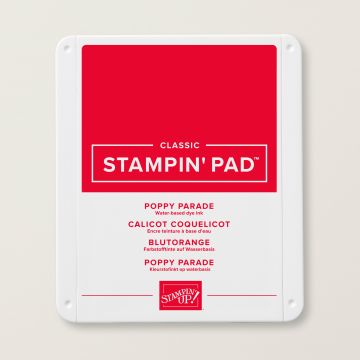
I chose a bright and cheery colour combination with Calypso Coral and Poppy Parade caps and Lemon Lime Twist grass. Balmy Blue added some colour for the sky and Crumb Cake for the stalks and sentiment. Everything was set on a Basic White background.

First, the sentiment from the Terrific Toadstools Stamp Set was stamped.

Next, a hint of blue sky was created using a Blending Brush.

Then, the grass and different parts of the toadstools were stamped.

The two smaller stalks and all of the caps were cut out using the coordinating Terrific Toadstools Builder Punch. Fussy cutting was needed for the grass and large stalk.

All of the toadstools were then assembled and the scene was created with the smaller toadstools attached first. The grass section were added next, with the overhang cut away from the edges.

Finally, the centre toadstool was added using Dimensionals.

I think I’m definitely going to be creating more projects with this Terrific Toadstools Bundle.

Join me at one of my classes. Head to my Class Timetable for full details.

Happy crafting

Karen Young HIPPOFROG Designs

To order any of the supplies shown below, head to my Online Store. Items available while stocks last.

NEW Stampin’ Rewards      Join my team      Current Products      Offers & Promotions      Book a Class
TERRIFIC TOADSTOOLS BUNDLE (ENGLISH)LEMON LIME TWIST A4 CARDSTOCKLEMON LIME TWIST CLASSIC STAMPIN' PADBALMY BLUE CLASSIC STAMPIN' PADCALYPSO CORAL CLASSIC STAMPIN' PADCRUMB CAKE CLASSIC STAMPIN' PADPOPPY PARADE CLASSIC STAMPIN' PADBASIC WHITE A4 CARDSTOCKBASIC WHITE A4 THICK CARDSTOCKSMALL BLENDING BRUSHESMULTIPURPOSE LIQUID GLUEMINI STAMPIN' DIMENSIONALS

June Card Making Class – Project 2

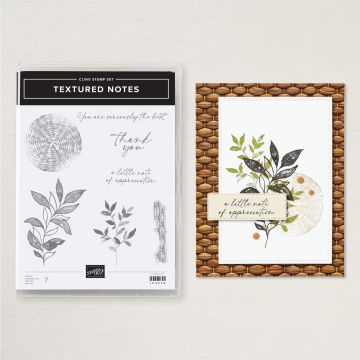
This Thank You card with a vintage feel is the second project from my monthly Card Making class I held at the weekend.

All of the project for June’s session had the theme ‘It’s all new to me!’

This meant all of the projects used products that were new to me from the Annual Catalogue and Online Exclusives range.

For this design, I chose a colour combination of Basic Beige, Pecan Pie, Blackberry Bliss and Fresh Freesia.

All of the images are from the Textured Notes Stamp Set from the Online Exclusives range.

First, the various images were stamped onto the background. The Pecan Pie stamping was second generation to lighten it a touch.

On a separate piece, the circular image was stamped and the sentiment added. This was then punched out, along with a layer using Circle Punches, again from the Online Exclusives range.

A ribbon swoosh using the Gold & Silver Trim was created before the sentiment was added using Dimensionals.

Finally, some Antique Pearls were added to the project as a finishing touch.

I really like this colour combination and think there may be a few more projects using it in my future!

Join me at one of my classes. Head to my Class Timetable for full details.

Happy crafting

Karen Young HIPPOFROG Designs

To order any of the supplies shown below, head to my Online Store. Items available while stocks last.

NEW Stampin’ Rewards      Join my team      Current Products      Offers & Promotions      Book a Class
TEXTURED NOTES CLING STAMP SET (ENGLISH)1-3/4" (4.4 CM) CIRCLE PUNCH2" (5.1 CM) CIRCLE PUNCHBLACKBERRY BLISS A4 CARDSTOCKBLACKBERRY BLISS CLASSIC STAMPIN' PADFRESH FREESIA CLASSIC STAMPIN' PADPECAN PIE CLASSIC STAMPIN' PADBASIC BEIGE A4 CARDSTOCKGOLD & SILVER 1/8" (3.2 MM) TRIM COMBO PACKANTIQUE PEARLSMULTIPURPOSE LIQUID GLUESTAMPIN' DIMENSIONALSTEAR & TAPE ADHESIVE

March 2025 Card Making Class – Project 1

Last weekend I held my first in-person monthly Card Making Class of the year. It was my first in-person monthly class since before the pandemic started.

At the class, the attendees made 4 projects.

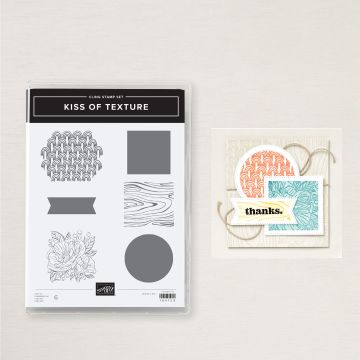
My first design was this kissing technique card, inspired by a project on the Stampin’ Up! website. It uses the Kiss of Texture Stamp Set, a new product in the Online Exclusives range.

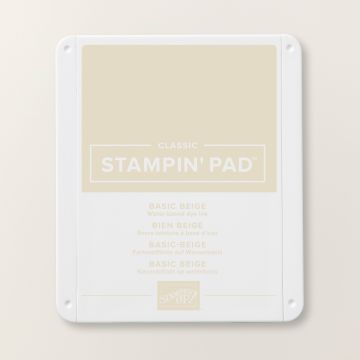
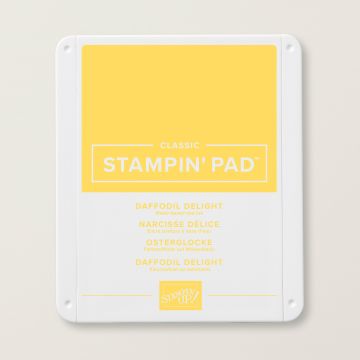
I chose to use a colour combination of Basic Beige, Calypso Coral, Balmy Blue, Daffodil Delight, Early Espresso and Very Vanilla.

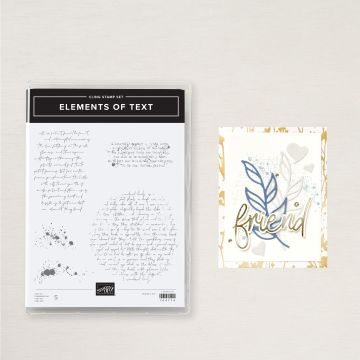
To being, ‘splats’ from the Elements of Text Stamp Set, also in the Online Exclusives range are stamped tone-on-tone on the background.

Each of the shapes are then stamped using the kissing technique, where you ink up both stamps and use one as an inkpad for the other. Rather than using different colours for this, I chose to use stamping off for each colour.

The only exception was the sentiment from the Simply Said Stamp Set which was stamped in Early Espresso to allow it to stand out.

The shapes were cut out using the Stylish Shapes Dies.

Lengths of Very Vanilla Baker’s Twine were then laid across the background and the shapes were stuck down. The circle was tucked behind the twine, while the other shapes were stuck together and raised up on Dimensionals.

Join me at one of my classes. Head to my Class Timetable for full details.

Happy crafting

Karen Young HIPPOFROG Designs

To order any of the supplies shown below, head to my Online Store. Items available while stocks last.

Online Shopping Club Code      Join my team      Current Products      Offers & Promotions      Book a Class
KISS OF TEXTURE CLING STAMP SETELEMENTS OF TEXT CLING STAMP SETSTYLISH SHAPES DIESSIMPLY SAID MIX & MATCH PHOTOPOLYMER STAMP SET (ENGLISH)BASIC BEIGE A4 CARDSTOCKBASIC BEIGE CLASSIC STAMPIN PADBALMY BLUE CLASSIC STAMPIN' PADCALYPSO CORAL CLASSIC STAMPIN' PADDAFFODIL DELIGHT CLASSIC STAMPIN' PADEARLY ESPRESSO CLASSIC STAMPIN' PADVERY VANILLA A4 CARDSTOCKBAKER'S TWINE ESSENTIALS PACKMULTIPURPOSE LIQUID GLUETEAR & TAPE ADHESIVESTAMPIN' DIMENSIONALS

Last Week’s Card & Cuppa – Spotlight on Nature

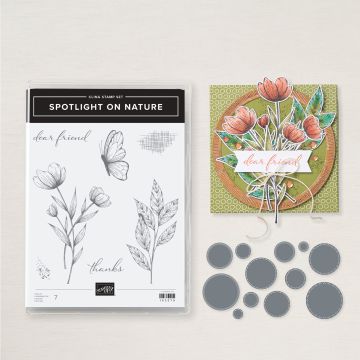
For last week’s Card & Cuppa project, I chose to CASE a design in the Annual Catalogue. As the attendees had previously commented they liked the picture, it seemed a good opportunity to let them create it themselves.

The main focus of this design is the Spotlight on Nature Bundle. This discounted Bundle is Spotlight on Nature Stamp Set and Spotlight on Nature Dies.

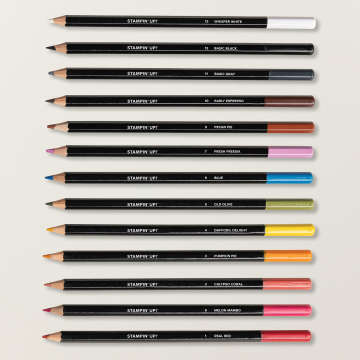
First, the two images were stamped in Early Espresso. They are then coloured using Watercolor Pencils. By using darker and lighter colours, I was able to achieve the look of shading.

Due to the detail on the images, I chose not to use a Blender Pen as I didn’t want to ‘muddy’ the colouring.


Next, it was a first outing for the new Basic Beige Cardstock with the sentiment stamped on it in Old Olive. This was cut out using the coordinating Dies from the Bundle.

A strip of Berry Burst, cut to a banner end was then added. The sentiment sits on top of this on Dimensionals.

Finally, some Berry Burst Sequins from the Sequins Trio pack are added for a touch of sparkle.

I can’t wait to use this Bundle to create even more projects.

Join me at one of my classes. Head to my Class Timetable for full details.

Happy crafting

Karen Young HIPPOFROG Designs

To order any of the supplies shown below, head to my Online Store. Items available while stocks last.

Online Shopping Club Code      Join my team      Current Products      Offers & Promotions      Book a Class
SPOTLIGHT ON NATURE BUNDLEOLD OLIVE A4 CARDSTOCKOLD OLIVE CLASSIC STAMPIN' PADEARLY ESPRESSO CLASSIC STAMPIN' PADBERRY BURST A4 CARDSTOCKBASIC BEIGE A4 CARDSTOCKBASIC WHITE A4 CARDSTOCKWATERCOLOR PENCILS ASSORTMENT 1WATERCOLOR PENCILS ASSORTMENT 2ADHESIVE-BACKED SEQUINS TRIOMULTIPURPOSE LIQUID GLUESTAMPIN' DIMENSIONALS