ICYMI – Lovely Arrangements Stamp Set

In case you missed last week’s Card & Cuppa project.

Head here for more details.

Join me at one of my classes. Head to my Class Timetable for full details.

Happy crafting

Karen Young HIPPOFROG Designs

To order any of the supplies shown below, head to my Online Store. Items available while stocks last.

NEW Stampin’ Rewards      Join my team      Current Products      Offers & Promotions      Book a Class

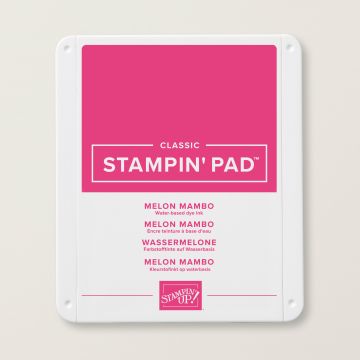
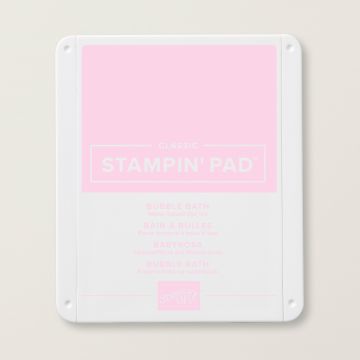
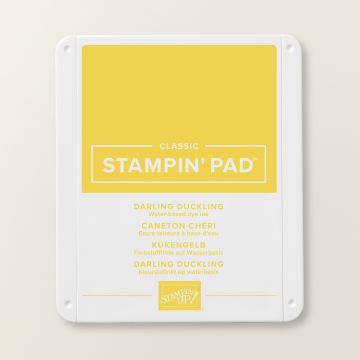
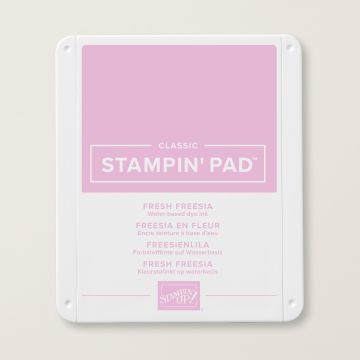
LOVELY ARRANGEMENTS BUNDLE (ENGLISH)1-7/8" (4.8 CM) CIRCLE PUNCH2" (5.1 CM) CIRCLE PUNCHMELON MAMBO CARDSTOCK A4MELON MAMBO CLASSIC STAMPIN' PADBUBBLE BATH CLASSIC STAMPIN' PADDARLING DUCKLING CLASSIC STAMPIN' PADFRESH FREESIA CLASSIC STAMPIN' PADGRANNY APPLE GREEN CLASSIC STAMPIN' PADBASIC WHITE A4 CARDSTOCKBLENDING BRUSHESSMALL BLENDING BRUSHESBAKER'S TWINE ESSENTIALS PACKWINK OF STELLA CLEAR GLITTER BRUSHMOODY PALETTE GLOSSY DOTSMULTIPURPOSE LIQUID GLUESTAMPIN' DIMENSIONALSTEAR & TAPE ADHESIVE

Last Week’s Card & Cuppa – Lovely Arrangements Stamp Set

Last week’s Card & Cuppa class once again used the Lovely Arrangements Stamp Set and Dies Bundle.

We used this bundle from the Online Exclusives range a few weeks ago, but this time the project was very different.

My colour combination for this project used Melon Mambo, Bubble Bath, Fresh Freesia, Granny Apple Green, Darling Duckling and Basic White.

Firstly, the background was given a two tone ombre effect with Blending Brushes, Fresh Freesia at the top and Bubble Bath at the bottom.

Next, a flower image was stamped across the background and a Sponge Dauber and Darling Duckling was used to colour the centre of the flowers.

On a separate piece, a circle was punched and the leaves were stamped.

The leaves were given some extra colour around the edge before they were cut out using the dies. This was to avoid leaving a white edge all around.

A flower was then stamped onto the circle and this was also coloured in using Blending Brushes. This was achieved by creating a stencil – stamping the flower and fussy cutting out the centre just along the lines.

The stencil was then lined up over the top of the stamped image on the circle and coloured. Once again, Darling Duckling and a Sponge Dauber provided the centre colour. Plus a light touch of Wink of Stella in the centre too.

Using another Circle Punch from the Online Exclusives range, a layer was punched.

Lengths of Basic White Baker’s Twine from the Baker’s Twine Essentials Pack we placed across the centre.

The sentiment and leaf were then raised up on Dimensionals.

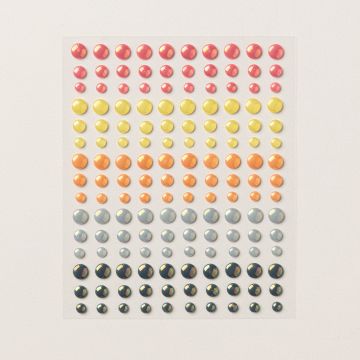
Finally, some coordinating Moody Palette Glossy Dots were added.

Join me at one of my classes. Head to my Class Timetable for full details.

Happy crafting

Karen Young HIPPOFROG Designs

To order any of the supplies shown below, head to my Online Store. Items available while stocks last.

NEW Stampin’ Rewards      Join my team      Current Products      Offers & Promotions      Book a Class

LOVELY ARRANGEMENTS BUNDLE (ENGLISH)1-7/8" (4.8 CM) CIRCLE PUNCH2" (5.1 CM) CIRCLE PUNCHMELON MAMBO CARDSTOCK A4MELON MAMBO CLASSIC STAMPIN' PADBUBBLE BATH CLASSIC STAMPIN' PADDARLING DUCKLING CLASSIC STAMPIN' PADFRESH FREESIA CLASSIC STAMPIN' PADGRANNY APPLE GREEN CLASSIC STAMPIN' PADBASIC WHITE A4 CARDSTOCKBLENDING BRUSHESSMALL BLENDING BRUSHESBAKER'S TWINE ESSENTIALS PACKWINK OF STELLA CLEAR GLITTER BRUSHMOODY PALETTE GLOSSY DOTSMULTIPURPOSE LIQUID GLUESTAMPIN' DIMENSIONALSTEAR & TAPE ADHESIVE

ICYMI – Flowers Fair Stamp Set

In case you missed last week’s Card & Cuppa project.

Head here for more details.

Join me at one of my classes. Head to my Class Timetable for full details.

Happy crafting

Karen Young HIPPOFROG Designs

To order any of the supplies shown below, head to my Online Store. Items available while stocks last.

NEW Stampin’ Rewards      Join my team      Current Products      Offers & Promotions      Book a Class

FLOWERS FAIR PHOTOPOLYMER STAMP SETBANNER SAYINGS BUNDLE (ENGLISH)2" (5.1 CM) CIRCLE PUNCH2-3/8" (6 CM) CIRCLE PUNCHSECRET SEA A4 CARDSTOCKSECRET SEA CLASSIC STAMPIN' PADBASIC WHITE A4 CARDSTOCKBASIC WHITE A4 THICK CARDSTOCKSTAMPIN' BLENDS DAFFODIL DELIGHT COMBO PACKSTAMPIN' BLENDS GRANNY APPLE GREEN COMBO PACKSTAMPIN' BLENDS LEMON LIME TWIST COMBO PACKSTAMPIN' BLENDS LEMON LOLLY COMBO PACKSTAMPIN' BLENDS PEACH PIE COMBO PACKWINK OF STELLA CLEAR GLITTER BRUSHRHINESTONE BASIC JEWELSMULTIPURPOSE LIQUID GLUESTAMPIN' DIMENSIONALSMINI STAMPIN' DIMENSIONALS

Last Week’s Card & Cuppa – Flowers Fair Stamp Set

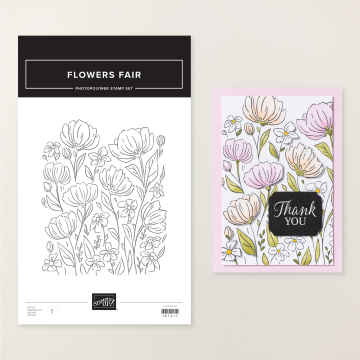
Last week’s Card & Cuppa project used the gorgeous Flowers Fair Stamp Set with the spotlight technique.

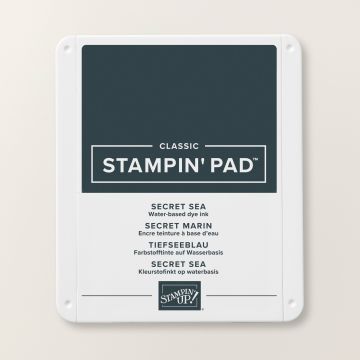
As the attendees could use any colours for their project, I chose to use the In Color Secret Sea as the accent colour.

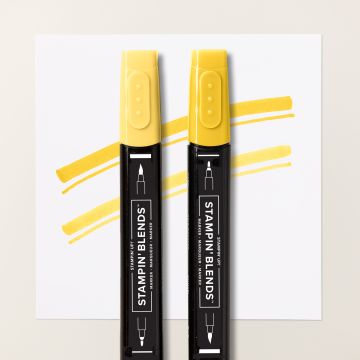
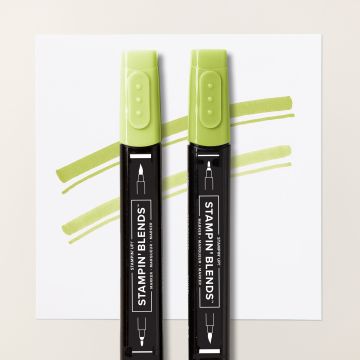
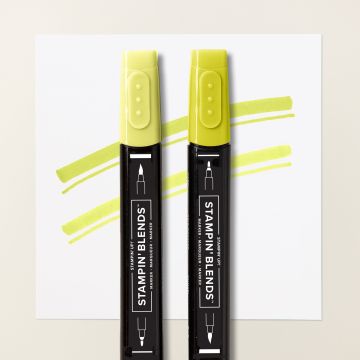
The Flowers Fair Stamp Set, from the Online Exclusives range, was stamped and then coloured using Stampin’ Blends. I chose greens, yellows and oranges for my design.

Using Wink of Stella, the centre of the flowers were given a touch of shimmer.

When the colouring was completed, a circle was cut out of the piece using a Circle Punch. A layer was also cut using a larger Circle Punch. The punches are also from the Online Exclusives range.

These two pieces were then stuck together.

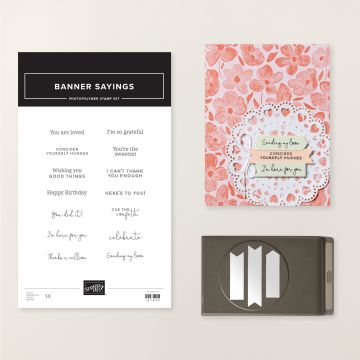
A sentiment made using the Banner Sayings Bundle (Banner Sayings Stamp Set and Triple Banner Punch), also from the Online Exclusives range.

The cut out piece was then aligned and stuck to the background piece using Dimensionals.

Mini Dimensionals and a dot of glue were used to attach the sentiment.

Finally, some Rhinestones were added for a touch of bling.

Join me at one of my classes. Head to my Class Timetable for full details.

Happy crafting

Karen Young HIPPOFROG Designs

To order any of the supplies shown below, head to my Online Store. Items available while stocks last.

NEW Stampin’ Rewards      Join my team      Current Products      Offers & Promotions      Book a Class

FLOWERS FAIR PHOTOPOLYMER STAMP SETBANNER SAYINGS BUNDLE (ENGLISH)2" (5.1 CM) CIRCLE PUNCH2-3/8" (6 CM) CIRCLE PUNCHSECRET SEA A4 CARDSTOCKSECRET SEA CLASSIC STAMPIN' PADBASIC WHITE A4 CARDSTOCKBASIC WHITE A4 THICK CARDSTOCKSTAMPIN' BLENDS DAFFODIL DELIGHT COMBO PACKSTAMPIN' BLENDS GRANNY APPLE GREEN COMBO PACKSTAMPIN' BLENDS LEMON LIME TWIST COMBO PACKSTAMPIN' BLENDS LEMON LOLLY COMBO PACKSTAMPIN' BLENDS PEACH PIE COMBO PACKWINK OF STELLA CLEAR GLITTER BRUSHRHINESTONE BASIC JEWELSMULTIPURPOSE LIQUID GLUESTAMPIN' DIMENSIONALSMINI STAMPIN' DIMENSIONALS

Last Week’s Card & Cuppa – Lovely Arrangements Bundle

Last week’s Card & Cuppa Class project was once again a floral design.

I had been asked for something suitable for a wedding. My version is for a Birthday, as I don’t have any weddings in my calendar.

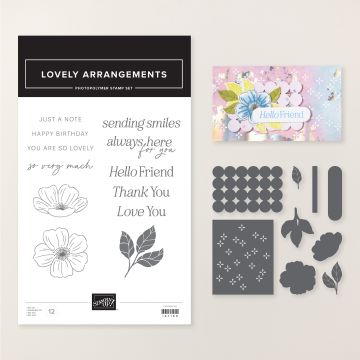
The design uses the Lovely Arrangements Bundle (Lovely Arrangements Stamp Set & Lovely Arrangements Dies) from the Online Exclusives range.

Don’t forget to also check out the Last Chance Products on the website too.

As the attendees could choose to colour their flowers how they wanted, I used Cloud Cover as the accent colour. This way, it could work with pretty much every colour.

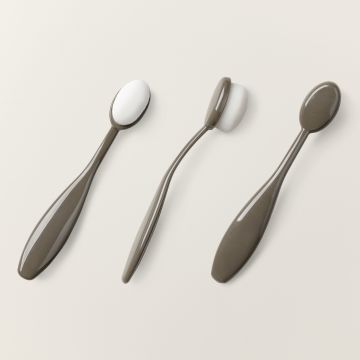
To begin, the background was given a subtle hint of colour using a Blending Brush and a Soft Sea Foam Stampin’ Pad.

Next the flowers from the Stamp Set were stamped in Basic Gray. These, along with the leaves and the circles piece were cut out using the coordinating Dies.

A circle cut using a Circle Punch was also created. You can’t see it on the finished project, but this is used in a little while.

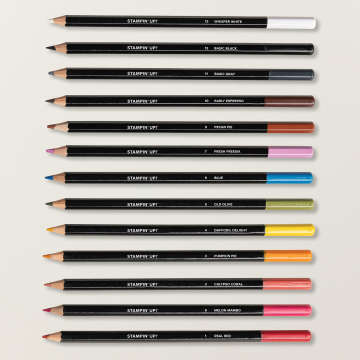
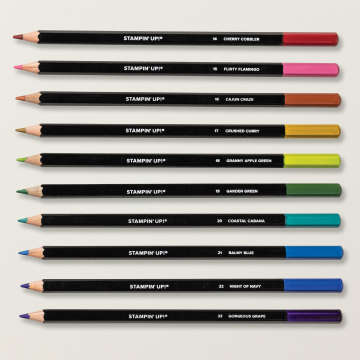
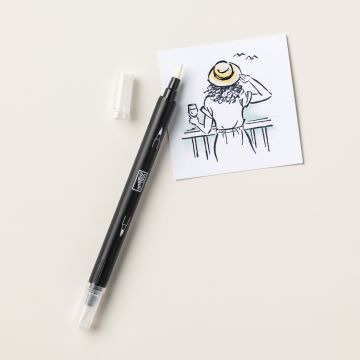
Using Watercolour Pencils and a Blender Pen, each flower was coloured and given touch of Wink of Stella in the centre.

The leaves were then given some colour, again using the Blending Brush.

To assemble, first the circles piece was added to the background.

Then, the punched circle is used as the flowers are stuck onto it, along with the leaves. This isn’t seen, but I refer to it as a ‘helper piece’ as it helps everything to stick together more easily.

A sentiment, also from the set is punched and this is added to the back of the flower piece.

This whole section is then raised up on Dimensionals.

Finally, some coordinating In Color Flat Pearls are added for a touch of bling.

Join me at one of my classes. Head to my Class Timetable for full details.

Happy crafting

Karen Young HIPPOFROG Designs

To order any of the supplies shown below, head to my Online Store. Items available while stocks last.

NEW Stampin’ Rewards      Join my team      Current Products      Offers & Promotions      Book a Class
LOVELY ARRANGEMENTS BUNDLE (ENGLISH)1-3/4" (4.4 CM) CIRCLE PUNCHBASIC GRAY CLASSIC STAMPIN' PADSOFT SEA FOAM CLASSIC STAMPIN' PADCLOUD COVER A4 CARDSTOCKBASIC WHITE A4 CARDSTOCKBASIC WHITE A4 THICK CARDSTOCKSMALL BLENDING BRUSHESWATERCOLOR PENCILS ASSORTMENT 1WATERCOLOR PENCILS ASSORTMENT 2BLENDER PENS2025–2027 IN COLOR™ FLAT PEARLSWINK OF STELLA CLEAR GLITTER BRUSHMULTIPURPOSE LIQUID GLUESTAMPIN' DIMENSIONALSMINI STAMPIN' DIMENSIONALS

March Card Making Class – Project 1

At the weekend I held my Monthly Card Making Class. The theme was Backgrounds and More and this is the first of the 4 projects from the session.

This uses the beautiful Flowers Fair Stamp Set from the Online Exclusives range. As it is a background stamp, the image does all the hard work.

It is stamped in Basic Gray to give a more gentle outline and then coloured using Watercolor Pencils and Blender Pens.

I also used a very light touch of Wink of Stella in the centre of the smaller flowers.

The sentiment is from the Banner Sayings Stamp Set, cut out with the coordinating Triple Banner Punch. These items are also from the Online Exclusives range.

Using Mini Dimensionals, the sentiment is raised up above the flowers.

Finally, some Rhinestones are added for a little touch of bling.

I also created a version in the same colours using Stampin’ Blends instead.

This Stamp Set is going to quickly become a favourite of mine and my mind is full of ideas for projects using it.


Join me at one of my classes. Head to my Class Timetable for full details.

Happy crafting

Karen Young HIPPOFROG Designs

To order any of the supplies shown below, head to my Online Store. Items available while stocks last.

NEW Stampin’ Rewards      Join my team      Current Products      Offers & Promotions      Book a Class
FLOWERS FAIR PHOTOPOLYMER STAMP SETBANNER SAYINGS BUNDLE (ENGLISH)BASIC GRAY CLASSIC STAMPIN' PADMELON MAMBO CARDSTOCK A4OLD OLIVE A4 CARDSTOCKBASIC WHITE A4 CARDSTOCKWATERCOLOR PENCILS ASSORTMENT 1WATERCOLOR PENCILS ASSORTMENT 2BLENDER PENSWINK OF STELLA CLEAR GLITTER BRUSHRHINESTONE BASIC JEWELSMULTIPURPOSE LIQUID GLUEMINI STAMPIN' DIMENSIONALS

Countdown to Christmas 2025 – Week 12

The final project for my Countdown to Christmas 2025 series is this cute Rudolph card. It is the final project from my Christmas Card Making Day too.

Some of you will know that I like to make a fun Christmas project and it is usually punch art or various die cut pieces.

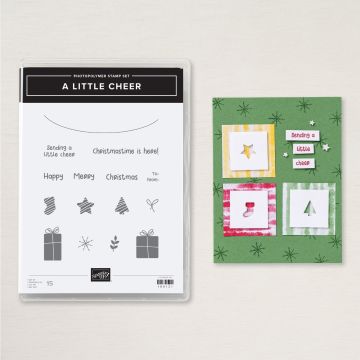
First, the background was given a colour flare using a Blending Brush and Balmy Blue ink. It was then stamped using the snowflake from the A Little Cheer Stamp Set, again in Balmy Blue.

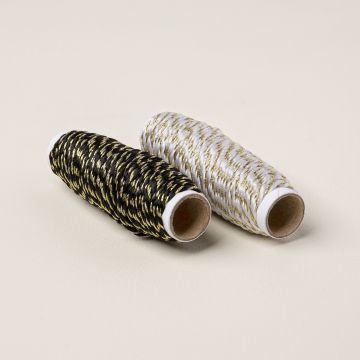
Next, a strip of Poppy Parade was stuck across the project and three lengths of the Black & White & Gold Baker’s Twine were added.

It was then time to create Rudolph. His face is a Crumb Cake circle cut using the 2 3/8″ Circle Punch. Antlers in Pecan Pie cut from the Loveliest Tree Dies are then stuck to the back of the circle.

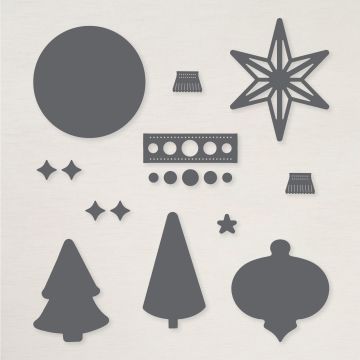
For the eyes and mouth, the circles from the Ornamental Christmas Dies were cut in Black and White and layered for the eyes, with just one circle for the mouth.

I have used a variety of items on this project with some from the Online Exclusives range.

A few of the producs I have used on this project are also now on the Last Chance Products list, so make sure you grab them while you can.

His shiny nose is cut in Poppy Parade from the Turtle-y Awesome Dies and coated in Wink of Stella.

Rudolph is added to the project using Dimensionals, with his nose stuck with a Dimensional as the final touch.

A fun project for all the family to finish this year’s countdown!

Join me at one of my classes. Head to my Class Timetable for full details.

Happy crafting

Karen Young HIPPOFROG Designs

To order any of the supplies shown below, head to my Online Store. Items available while stocks last.

NEW Stampin’ Rewards      Join my team      Current Products      Offers & Promotions      Book a Class

A LITTLE CHEER PHOTOPOLYMER STAMP SET (ENGLISH)2-3/8" (6 CM) CIRCLE PUNCHLOVELIEST TREE DIESTURTLE-Y AWESOME DIESORNAMENTAL CHRISTMAS DIESCRUMB CAKE A4 CARDSTOCKPECAN PIE A4 CARDSTOCKPOPPY PARADE A4 CARDSTOCKBASIC BLACK A4 CARDSTOCKBALMY BLUE CLASSIC STAMPIN' PADBASIC WHITE A4 CARDSTOCKBASIC WHITE A4 THICK CARDSTOCKBLENDING BRUSHESBLACK & WHITE & GOLD BAKER'S TWINEWINK OF STELLA CLEAR GLITTER BRUSHMULTIPURPOSE LIQUID GLUESTAMPIN' DIMENSIONALSTEAR & TAPE ADHESIVE

Countdown to Christmas 2025 – Week 11

We have now reached the penultimate week of this year’s Countdown to Christmas series.

Week 11 brings you a project that could be used as both a Christmas Card and a piece of Christmas Decor.

I really like the various layers on this project and think it would look great in a box frame.

This is the second project from my Special Christmas Cards session as part of my Christmas Card Making Day.

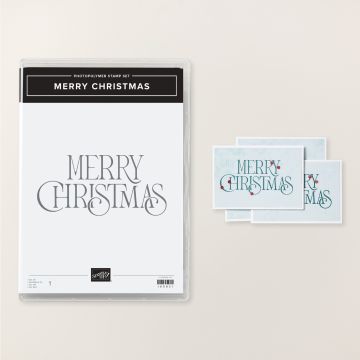
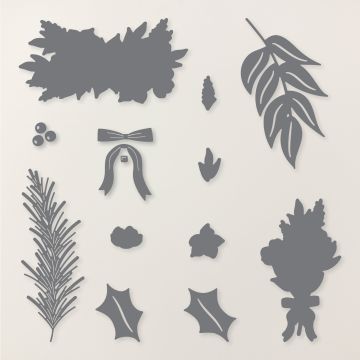
The main products used are the fabulous Christmas Greenery Dies and the large Merry Christmas Stamp Set from the Mini Catalogue. These items are now on the Last Chance list, so make sure you grab them while you can.

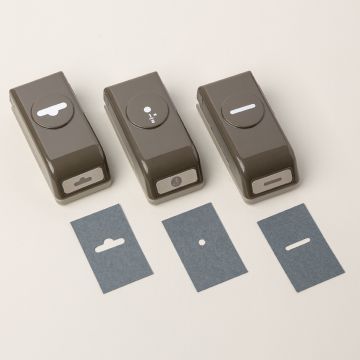
To begin, 4 holes were punched using a punch from the Hole Punch Assortment pack.

Next the Merry Christmas was stamped in Secret Sea. Lengths of the Black & White & Gold Baker’s Twine were threaded through the holes.

Leaves were cut in three different shades of green, Granny Apple Green, Old Olive and Mossy Meadow. Cutting everything out three times takes a while, but it is defintely worth it.

All of the pieces were then given a touch of extra colour and shading using a Blending Brush and Old Olive Ink.

Berries are cut out in Real Red and given a coat of Wink of Stella.

Everything was then layered together, first some leaves were stuck directly onto the background. The rest were stuck to the back of the sentiment piece and then the whole piece was raised up on Dimensionals.

Finally, the berries were added in clusters across the project.

Using the paler Soft Sea Foam for the main card and sentiment layer helps to bring everything together.

Join me at one of my classes. Head to my Class Timetable for full details.

Happy crafting

Karen Young HIPPOFROG Designs

To order any of the supplies shown below, head to my Online Store. Items available while stocks last.

NEW Stampin’ Rewards      Join my team      Current Products      Offers & Promotions      Book a Class
MERRY CHRISTMAS PHOTOPOLYMER STAMP SET (ENGLISH)CHRISTMAS GREENERY DIESHOLE PUNCH ASSORTMENTOLD OLIVE A4 CARDSTOCKOLD OLIVE CLASSIC STAMPIN' PADSECRET SEA CLASSIC STAMPIN' PADGRANNY APPLE GREEN A4 CARDSTOCKMOSSY MEADOW A4 CARDSTOCKREAL RED A4 CARDSTOCKSOFT SEA FOAM A4 CARDSTOCKBASIC WHITE A4 CARDSTOCKBLENDING BRUSHESBLACK & WHITE & GOLD BAKER'S TWINEWINK OF STELLA CLEAR GLITTER BRUSHMULTIPURPOSE LIQUID GLUETEAR & TAPE ADHESIVESTAMPIN' DIMENSIONALS

Countdown to Christmas 2025 – Week 10

This poinsettia card is the design for Week 10 of my Countdown to Christmas 2025 series. It was also one of the projects from the ‘Special Christmas Cards’ session at my Christmas Card Making Day.

These ‘special’ cards are those you would hand-deliver to the special people in your life. There are extra steps in the designs including additional layers. They are also handed over in an envelope handmade from DSP.

If you’ve been around for a while, you’ll know that my special Christmas cards projects always include a poinsettia. This year is no different!

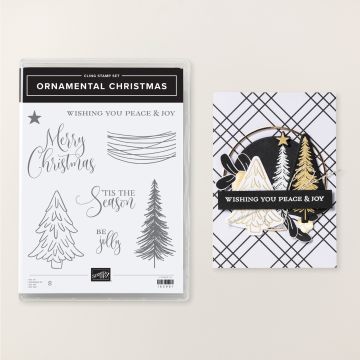
For this project, stars from the Ornamental Stamp Set are stamped onto the background using Lemon Lolly.

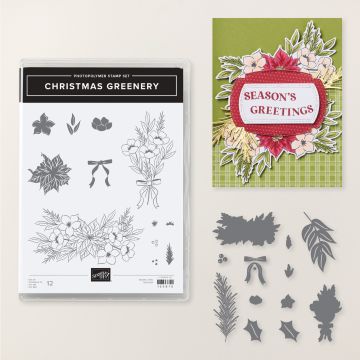
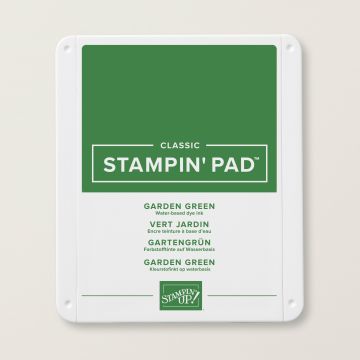
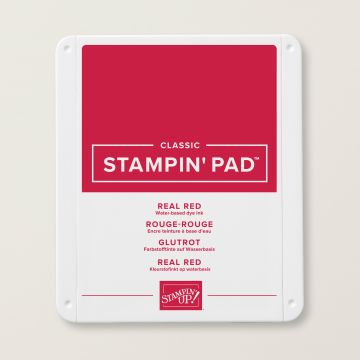
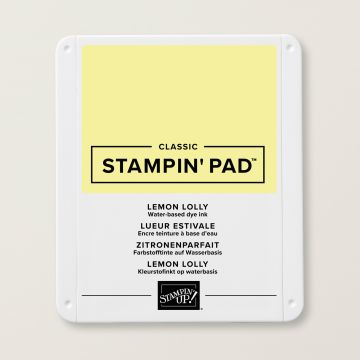
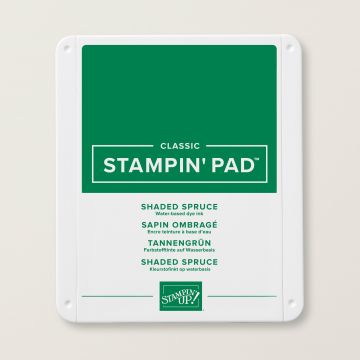
Next, the poinsettia and flower image is stamped twice and cut out using the Christmas Greenery Stamp Set and Dies Bundle. A combination of Real Red, Shaded Spruce, Garden Green, Lemon Lolly are used to colour in the images. The outline is stamped in Basic Gray.

These two images are then stuck to the background using Dimensionals.

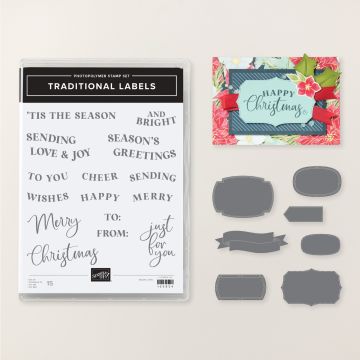
Using the Traditional Labels Stamp Set and Dies Bundle, a sentiment is stamped, cut out and layered together.

A length of the fabulous Black & White & Gold Baker’s Twine is looped before the sentiment is attached, again using Dimensionals.

Using Wink of Stella, a touch of sparkle is given to the centres of the flowers.

Some of the items used on this project are now Last Chance Products, and some are discounted too. Don’t miss out on getting your hands on these fabulous items.

Join me at one of my classes. Head to my Class Timetable for full details.

Happy crafting

Karen Young HIPPOFROG Designs

To order any of the supplies shown below, head to my Online Store. Items available while stocks last.

NEW Stampin’ Rewards      Join my team      Current Products      Offers & Promotions      Book a Class
CHRISTMAS GREENERY BUNDLETRADITIONAL LABELS BUNDLE (ENGLISH)ORNAMENTAL CHRISTMAS CLING STAMP SET (ENGLISH)GARDEN GREEN A4 CARDSTOCKGARDEN GREEN CLASSIC STAMPIN' PADREAL RED A4 CARDSTOCKREAL RED CLASSIC STAMPIN' PADLEMON LOLLY CLASSIC STAMPIN' PADSHADED SPRUCE CLASSIC STAMPIN' PADBASIC GRAY CLASSIC STAMPIN' PADBASIC WHITE A4 CARDSTOCKBLACK & WHITE & GOLD BAKER'S TWINEWINK OF STELLA CLEAR GLITTER BRUSHMULTIPURPOSE LIQUID GLUETEAR & TAPE ADHESIVESTAMPIN' DIMENSIONALS

Countdown to Christmas 2025 – Week 5

This design for Week 5 of my Countdown to Christmas 2025 series is great for batch making.

It uses two main colours of Garden Green and Daffodil Delight.

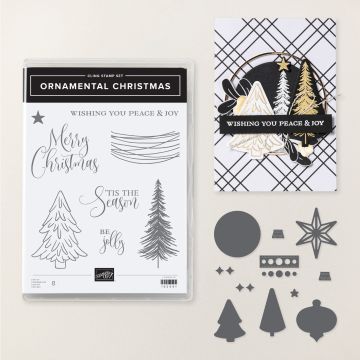
First, the tree from the Ornamental Christmas Stamp Set and Dies Bundle is stamped multiple times. One of the trees is stamped in the position where the focal tree will go. The trees are then coloured using Blender Pens. This Bundle is part of the Online Exclusives product range.

Next, the stars are stamped randomly across the piece.

Another tree is stamped onto coloured card and cut out using the Dies from the Bundle, along with a star. The star is coated in Wink of Stella.

A swoosh using the Black & Gold & White Baker’s Twine, also from the Online Exclusives range is added.

Finally, the tree and star are raised up on Dimensionals over the originally stamped tree.

If you wanted to speed up the process for batch making, you could randomly stamp a full page of trees and stars and cut it into 4 pieces.

New Online Exclusives will be arriving in the next few days. Make sure you watch this space for details.

Join me at one of my classes. Head to my Class Timetable for full details.

Happy crafting

Karen Young HIPPOFROG Designs

To order any of the supplies shown below, head to my Online Store. Items available while stocks last.

NEW Stampin’ Rewards      Join my team      Current Products      Offers & Promotions      Book a Class
ORNAMENTAL CHRISTMAS BUNDLE (ENGLISH)GARDEN GREEN A4 CARDSTOCKGARDEN GREEN CLASSIC STAMPIN' PADDAFFODIL DELIGHT A4 CARDSTOCKDAFFODIL DELIGHT CLASSIC STAMPIN' PADBASIC WHITE A4 CARDSTOCKBASIC WHITE A4 THICK CARDSTOCKBLENDER PENSBLACK & WHITE & GOLD BAKER'S TWINEWINK OF STELLA CLEAR GLITTER BRUSHTEAR & TAPE ADHESIVEMULTIPURPOSE LIQUID GLUESTAMPIN' DIMENSIONALS