Last Week’s Card & Cuppa – Rudolph Punch Art

For the final Card & Cuppa sessions of the year, I designed this Rudolph punch art project. We just had to do something silly and fun!

Rudolph Punch Art. Project designed by Karen at HIPPOFROG Designs

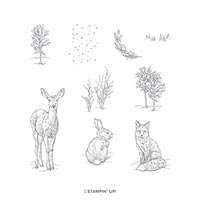
The Natures’s Beauty Stamp Set provided the snow that was stamped in Seaside Spray.

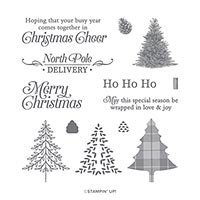
‘Ho Ho Ho’ is from the Perfectly Plaid Stamp Set and cut out with the Classic Label Punch.

Rudolph Punch Art. Project designed by Karen at HIPPOFROG Designs

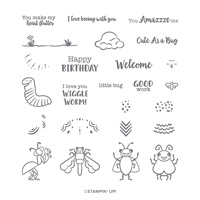
Next, it’s time to create the reindeers using the Budding Borders Stamp Set and Basic Gray for the eyes and mouth.

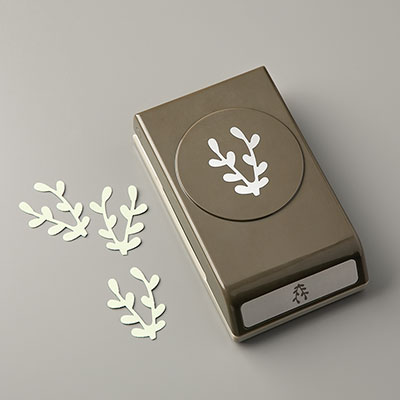
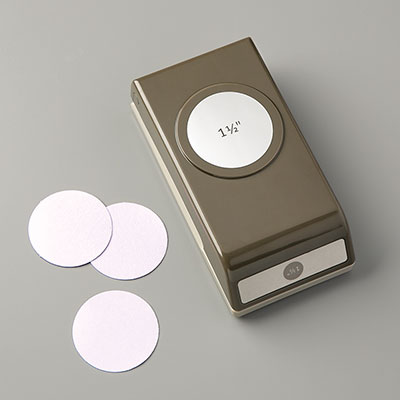
Sprig Punch antlers in Early Espresso are added behind Soft Suede Circle Punch bodies using Glue Dots. Then the eyes and brown noses are added.

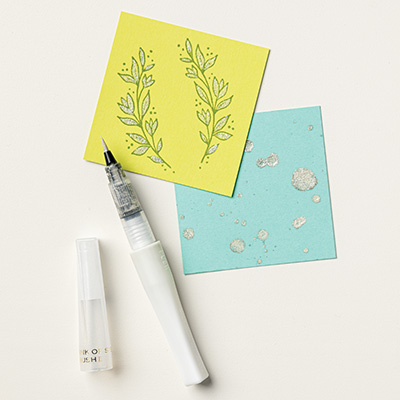
Rudolph’s nose is made very shiny using Wink of Stella and is attached with a Dimensional.

Rudolph Punch Art. Project designed by Karen at HIPPOFROG Designs

Finally, the reindeers are stuck onto the card using SNAIL, with Rudolph added at the end using Dimensionals to show him leading the pack.

Why not join us for Card & Cuppa sessions in 2020. Classes return w/c 6th Jan. Visit my Class Timetable for more details and to book your place.

Happy crafting

Karen Young HIPPOFROG Designs


To order any of the supplies used, click on the product images below to go to my online store.

This Month’s Hostess Code      Join my team      Current Products      Special Offers      Book a Class
Nature's Beauty Cling Stamp SetPerfectly Plaid Photopolymer Stamp Set (En)Budding Borders Photopolymer Stamp SetReal Red A4 CardstockReal Red Classic Stampin' PadSoft Suede Classic Stampin' PadBasic Gray Classic Stampin' PadSeaside Spray Classic Stampin’ PadWhisper White A4 Thick CardstockWhisper White A4 CardstockClear Wink Of Stella Glitter BrushSprig Punch1/2" (1.3 cm) Circle Punch1-1/2" (3.8 cm) Circle PunchClassic Label PunchSnail AdhesiveStampin' DimensionalsMini Glue Dots

Card & Cuppa for Children – Punch Art Lion

As the Summer Holidays have rolled around again, it’s time for my annual Card & Cuppa for Children Classes.

The venue I hold them at runs a themed set of activities each week. This week it was ‘Movie Mayhem’ and my punch art lion fitted this perfectly due to the newly released Lion King film.

Punch Art Lion. Project designed by Karen at HIPPOFROG Designs

Isn’t it cute? He uses a lot of punches to create it and there are some key steps, so keep reading for details on how to make your own version.

Punch Art Lion. Project designed by Karen at HIPPOFROG Designs

You’ll need:
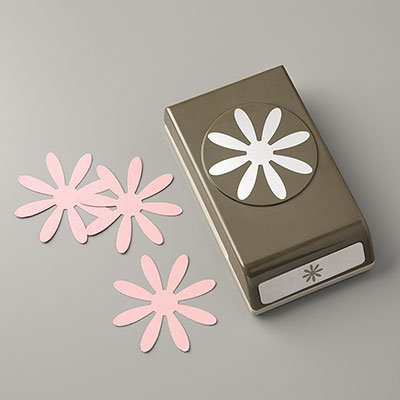
2 x Daisy Punch – Early Espresso
1 x Pretty Label Punch – Crushed Curry
1 x Pretty Label Punch (extra bit punched from the piece left behind) – Crushed Curry
1 x Circle Tab Punch – Crushed Curry
1 x 1 1/2″ Circle Punch – Crushed Curry
1 x Leaf Punch – Crushed Curry
3 x Elephant Builder Punch (Large Ears) – Early Espresso
2 x Elephant Builder Punch (Small Ears) – Whisper White. You can’t see these very well in the picture above.

Cut the Pretty Label pieces, Circle Tab and Leaf Punch pieces as shown above. Discard the unwanted pieces.

Punch Art Lion. Project designed by Karen at HIPPOFROG Designs

Now it’s time to assemble:

– Use the tiny circle stamp from Budding Borders Stamp Set to add some eyes to the white pieces
– Use glue dots to attach these to two of the large elephant ear pieces
– Glue the Daisy shapes together to create a mane
– Add the circle to the top
– Attach the two pieces from the Circle Tab Punch to the straight edge of your Pretty Label (body) piece. Make sure the longer edges of the Circle Tab Punch pieces are aligned with the straight edge to create feet
– Add the Leaf piece to the cut end of the Pretty Label extra piece to create a tail
– Attach the tail to the back of the body
– Add the eyes and remaining large Elephant Builder Punch ear to the face
– Draw a mouth using Early Espresso Stampin’ Write Marker.

Create the background using Pear Pizzazz and Old Olive Stampin’ Pads. I’ve used Artisan Textures Stamp Set and High Tide Stamp Set. The sentiment is from Wiggle Worm Stamp Set.

Attach the body of the lion first using Dimensionals, I used a Mini Dimensional for the tip of the tail. Next, add a Dimensional to the top of the head and some adhesive to the bottom of the head. By adding the head last, you can decide if you’d like it angled or straight.

Affix the head and the project is finished 🙂

Punch Art Lion. Project designed by Karen at HIPPOFROG Designs

I hope you like this punch art lion. The young attendees certainly enjoyed making it.

I only have two more Card & Cuppa for Children sessions left this summer. Places are limited so make sure you book your place now.

Happy crafting

Karen Young HIPPOFROG Designs


To order any of the supplies used, click on the product images below to go to my online store.

This Month’s Hostess Code      Join my team      Current Products      Special Offers      Book a Class
Daisy PunchPretty Label Punch1-1/2" (3.8 cm) Circle PunchCircle Tab PunchLeaf PunchElephant Builder PunchCrushed Curry A4 CardstockEarly Espresso A4 CardstockPear Pizzazz A4 CardstockPear Pizzazz Classic Stampin' PadOld Olive Classic Stampin' PadBasic Gray Classic Stampin' PadWhisper White A4 CardstockBudding Borders Photopolymer Stamp SetArtisan Textures Cling-Mount Stamp SetHigh Tide Photopolymer Stamp SetWiggle Worm Photopolymer Stamp SetSnail AdhesiveStampin' DimensionalsMini Stampin' DimensionalsMini Glue Dots