March Card Making Class – Project 3

This is the third project from my recent Card Making Class.

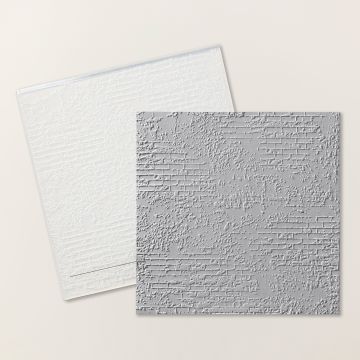
The theme for the class was ‘Backgrounds and more’, so I chose to use the Exposed Brick 3D Embossing Folder from the Annual Catalogue.

Once the piece of Basic White cardstock had been embossed, we used a Brayer to very quickly colour the brickwork.

This colouring technique is something I haven’t used at class before, so it was a great learning experience for the attendees.

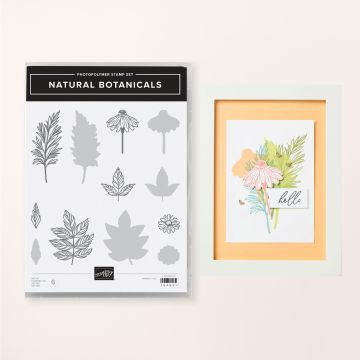
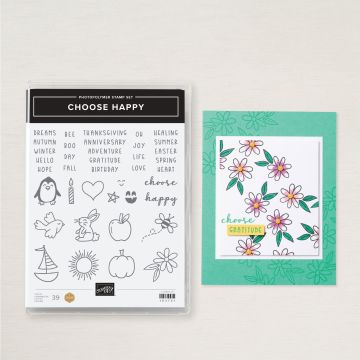
Three flowers from the Natural Botanicals Stamp Set were stamped onto Petunia Pop cardstock and three sets of leaves from the Choose Happy Stamp Set were stamped onto Granny Apple Green cardstock. Secret Sea was used for all of the stamping on this project.

These were all cut out by hand with the centre of the flowers coloured with a black journalling pen.

They were then stuck to two layered circles from the Online Exclusives range, one in Real Red to coordinate with the brick brayering and the card layer.

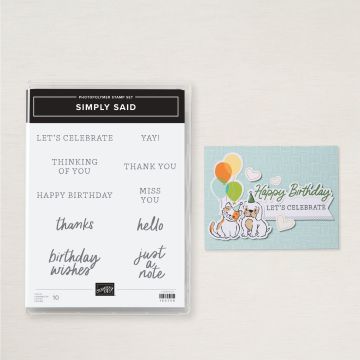
A sentiment from the Simply Said Stamp Set is then also attached to the back circles.

This whole piece was then attached to the background wall using Dimensionals.

Join me at one of my classes. Head to my Class Timetable for full details.

Happy crafting

Karen Young HIPPOFROG Designs

To order any of the supplies shown below, head to my Online Store. Items available while stocks last.

NEW Stampin’ Rewards      Join my team      Current Products      Offers & Promotions      Book a Class
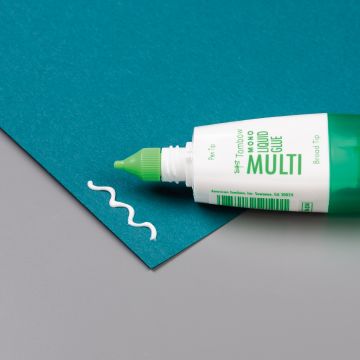
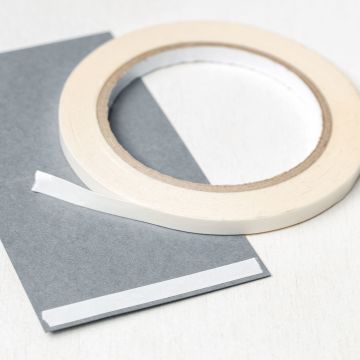
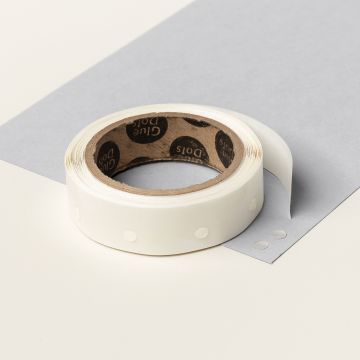
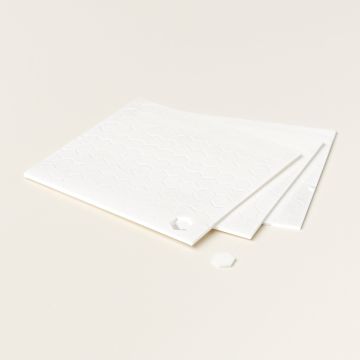
EXPOSED BRICK 3D EMBOSSING FOLDERNATURAL BOTANICALS PHOTOPOLYMER STAMP SETCHOOSE HAPPY PHOTOPOLYMER STAMP SET (ENGLISH)SIMPLY SAID MIX& MATCH PHOTOPOLYMER STAMP SET (ENGLISH)1-3/4" (4.4 CM) CIRCLE PUNCH2" (5.1 CM) CIRCLE PUNCHSTAMPIN' BRAYERREAL RED A4 CARDSTOCKREAL RED CLASSIC STAMPIN' PADSECRET SEA CLASSIC STAMPIN' PADGRANNY APPLE GREEN A4 CARDSTOCKPETUNIA POP A4 CARDSTOCKBASIC WHITE A4 CARDSTOCKBASIC WHITE A4 THICK CARDSTOCKBLACK 0.4 MM STAMPIN' JOURNALING PENSMULTIPURPOSE LIQUID GLUETEAR & TAPE ADHESIVEGLUE DOTSSTAMPIN' DIMENSIONALSMINI STAMPIN' DIMENSIONALS

March Card Making Class – Project 2

The second project from the weekend’s Card Making Class was this sunny Birthday card.

With the theme of the class being Backgrounds and More, this ombre beach scene is just perfect.

A combination of Balmy Blue, Crushed Curry, Azure Afternoon and some Blending Brushes create the sky, sand and sea.

The sun and boat are from the Choose Happy Stamp Set. Both are coloured using Stamping Blends, with the boat cut out by hand. Care is needed to avoid cutting the sail from the boat!

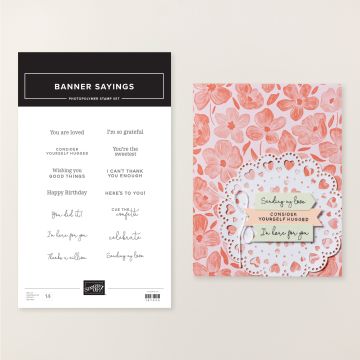
In the bottom corner, a sentiment from the Banner Saying Stamp Set is stamped. This Stamp Set is in the Online Exclusives range.

Although I used Crushed Curry for the sun and sand, I chose to combine Daffodil Delight with Azure Afternoon for my card layers. This gave the project a much brighter look and feel.

Finally, the boat is raised up on Dimensionals to look like it is sailing by!

Join me at one of my classes. Head to my Class Timetable for full details.

Happy crafting

Karen Young HIPPOFROG Designs

To order any of the supplies shown below, head to my Online Store. Items available while stocks last.

NEW Stampin’ Rewards      Join my team      Current Products      Offers & Promotions      Book a Class
CHOOSE HAPPY PHOTOPOLYMER STAMP SET (ENGLISH)BANNER SAYINGS PHOTOPOLYMER STAMP SET (ENGLISH)AZURE AFTERNOON CLASSIC STAMPIN' PADAZURE AFTERNOON A4 CARDSTOCKBALMY BLUE CLASSIC STAMPIN' PADCRUSHED CURRY CLASSIC STAMPIN' PADDAFFODIL DELIGHT A4 CARDSTOCKBASIC WHITE A4 CARDSTOCKBLENDING BRUSHESSTAMPIN' BLENDS AZURE AFTERNOON COMBO PACKSTAMPIN' BLENDS DAFFODIL DELIGHT COMBO PACKSTAMPIN' BLENDS POPPY PARADE COMBO PACKMULTIPURPOSE LIQUID GLUEMINI STAMPIN' DIMENSIONALS

Last Week’s Card & Cuppa – Heartfelt Hexagons for a Happy Birthday

For last week’s Card & Cuppa project I took inspiration from a project I saw on the Stampin’ Up! website.

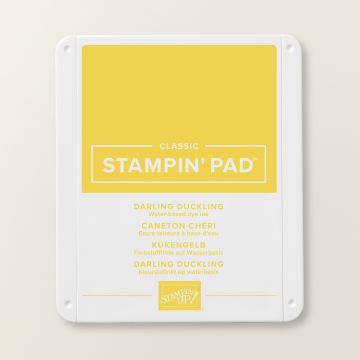
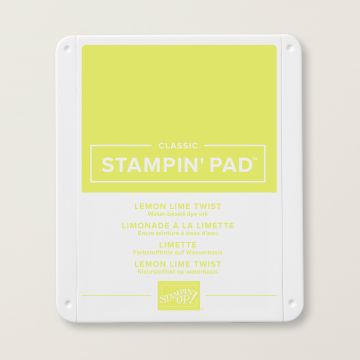
This is my inspiration project. My version uses a combination of Darling Duckling, Timid Tiger and Secret Sea from the In Colors, along with Lemon Lime Twist and Basic White.

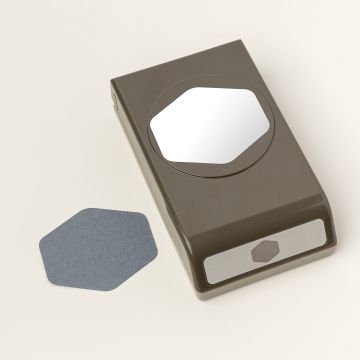
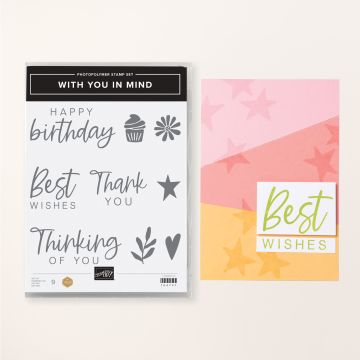
Each shape was cut out twice in the three colours using the Heartfelt Hexagon Punch. One of each colour was then stamped tone-on-tone using images from the Choose Happy and With You in Mind Stamp Sets.

Using a Blender Pen, the candles were given a bit more definition.

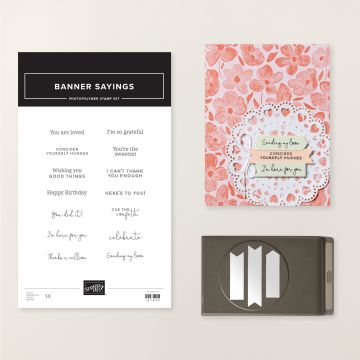
The sentiment was created using the Banner Sayings Stamp Set and Three Banner Punch from the Online Exclusives range.

Each of the hexagons, except the cakes was then stuck to the card and any overhang cut away.

Dimensionals were then used to raise up the cake hexagon, with Mini Dimensionals then raising the left-hand side of the sentiment piece.

Finally, some coordinating In Color Flat Pearls were added to the project.

This bright and zingy Birthday Card is a great project for teens. Plus, it can easily be replicated using different stamp sets and colours for any occasion.

Join me at one of my classes. Head to my Class Timetable for full details.

Happy crafting

Karen Young HIPPOFROG Designs

To order any of the supplies shown below, head to my Online Store. Items available while stocks last.

NEW Stampin’ Rewards      Join my team      Current Products      Offers & Promotions      Book a Class
HEARTFELT HEXAGON PUNCHBANNER SAYINGS BUNDLE (ENGLISH)WITH YOU IN MIND PHOTOPOLYMER STAMP SET (ENGLISH)CHOOSE HAPPY PHOTOPOLYMER STAMP SET (ENGLISH)DARLING DUCKLING A4 CARDSTOCKDARLING DUCKLING CLASSIC STAMPIN' PADLEMON LIME TWIST A4 CARDSTOCKLEMON LIME TWIST CLASSIC STAMPIN' PADTIMID TIGER A4 CARDSTOCKTIMID TIGER CLASSIC STAMPIN' PADSECRET SEA CLASSIC STAMPIN' PADBASIC WHITE A4 CARDSTOCKBASIC WHITE A4 THICK CARDSTOCKBLENDER PENS2025–2027 IN COLOR™ FLAT PEARLSMULTIPURPOSE LIQUID GLUESTAMPIN' DIMENSIONALSMINI STAMPIN' DIMENSIONALS

October Card Making Class – Project 4

The final project from my recent Card Making Class for this month was this autumnal Birthday Card.

It is a version of this project I taught at a Card & Cuppa Class in September.

This time, I’ve used Pecan Pie for my stamping, plus Crushed Curry and Very Vanilla as accent colours.

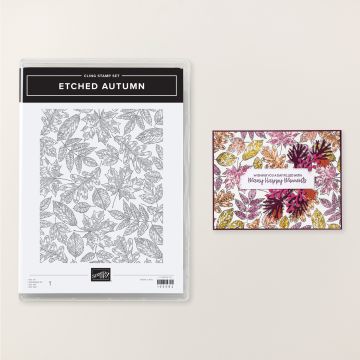
Using the Etched Autumn Stamp Set from the Online Exclusives range, the image is stamped onto two pieces of cardstock.

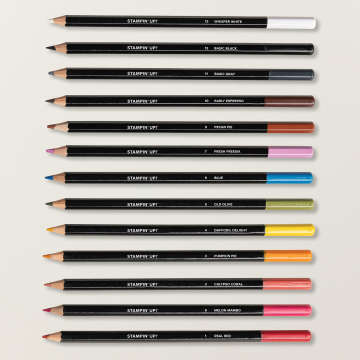
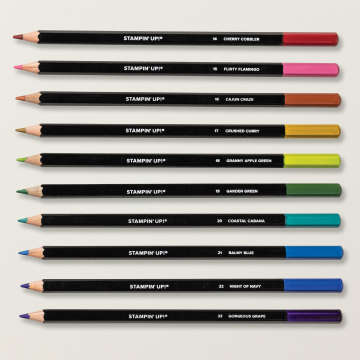
The first piece is then coloured with Watercolor Pencils and a Blender Pen.

I have found the key to achieving a more natural look with the colouring is to just scribble randomly in patches across the leaves. Don’t overthink where the colours will be, just go for it. Your Blender Pen then performs the magic and pulls the colours together for you.

Next, a few leaves are coloured on the second piece and fussy cutting is needed to cut them out.

A sentiment from the Choose Happy Stamp Set is stamped onto a punched circle and layered onto another punched circle.

The cut out leaves are then stuck to the back of the sentiment. Finally, the whole piece is raised up on Dimensionals.

Join me at one of my classes. Head to my Class Timetable for full details.

Happy crafting

Karen Young HIPPOFROG Designs

To order any of the supplies shown below, head to my Online Store. Items available while stocks last.

NEW Stampin’ Rewards      Join my team      Current Products      Offers & Promotions      Book a Class
ETCHED AUTUMN CLING STAMP SETCHOOSE HAPPY PHOTOPOLYMER STAMP SET (ENGLISH)1-7/8" (4.8 CM) CIRCLE PUNCH2" (5.1 CM) CIRCLE PUNCHPECAN PIE A4 CARDSTOCKPECAN PIE CLASSIC STAMPIN' PADCRUSHED CURRY A4 CARDSTOCKVERY VANILLA A4 CARDSTOCKWATERCOLOR PENCILS ASSORTMENT 1WATERCOLOR PENCILS ASSORTMENT 2BLENDER PENSMULTIPURPOSE LIQUID GLUESTAMPIN' DIMENSIONALS

Last Week’s Card & Cuppa – Etched Autumn

My Card & Cuppa attendees asked me for a card that would work for a Wedding Anniversary and sympathy for a bereavement. I knew right away which Stamp Set I was going to use.

When the September Online Exclusives released, the Etched Autumn Stamp Set jumped straight into my basket. I could see how versatile it would be.

For this project, I chose autumnal Cherry Cobbler and Early Espresso, along with Basic Beige.

The image was stamped and then coloured using Watercolour Pencils. I wasn’t too precise with how I coloured, just putting patches of various green, red, yellow, orange and brown across the leaves. They were then all pulled together with a Blender Pen. The result is a lovely autumnal feel.

For the sentiment, I used the Choose Happy Stamp Set to make a Birthday Card, rather than an Anniversary or Sympathy card. This was stamped onto a shape cut out using a Circle Punch from the Online Exclusives range. It was then layered onto another punched circle, this time the new punch from the Annual Catalogue.

A length of Linen Thread creates a swoosh before the sentiment is added using Dimensionals.

I can definitely see me making many more projects with this Stamp Set.

Join me at one of my classes. Head to my Class Timetable for full details.

Happy crafting

Karen Young HIPPOFROG Designs

To order any of the supplies shown below, head to my Online Store. Items available while stocks last.

NEW Stampin’ Rewards      Join my team      Current Products      Offers & Promotions      Book a Class
ETCHED AUTUMN CLING STAMP SETCHOOSE HAPPY PHOTOPOLYMER STAMP SET (ENGLISH)1-3/4" (4.4 CM) CIRCLE PUNCH1-7/8" (4.8 CM) CIRCLE PUNCHCHERRY COBBLER A4 CARDSTOCKCHERRY COBBLER CLASSIC STAMPIN' PADEARLY ESPRESSO CLASSIC STAMPIN' PADBASIC BEIGE A4 CARDSTOCKWATERCOLOR PENCILS ASSORTMENT 1WATERCOLOR PENCILS ASSORTMENT 2BLENDER PENSLINEN THREADMULTIPURPOSE LIQUID GLUESTAMPIN' DIMENSIONALSTEAR & TAPE ADHESIVE

Last Week’s Card & Cuppa – Introducing Cloud Cover

Last week’s Card & Cuppa project continued with the introducing the new In Colors theme. This time is was Introducing Cloud Cover, the 4th of the five new colours.

My colour combination is Cloud Cover, Pumpkin Pie, Old Olive and Basic White for this starry themed project.

It’s a quick and easy design that is a great neutral project too.

The stars are from the With You In Mind Stamp Set and the Choose Happy Stamp Set. They are stamped randomly onto the background. The smaller Old Olive stars are coloured using a Blender Pen.

Next, a strip of Pumpkin Pie cardstock is stuck across the middle, with a thinner strip of Cloud Cover on top.

A sentiment from the Simply Said Stamp Set is stamped in Basic Gray and cut out using the Sweetest Star Punch.

This is then raised up above the centre strips using Dimensionals.

Finally, some Cloud Cover Flat Pearls are added for a touch of subtle bling.


For information, the picture below shows how Cloud Cover compares to other colours in the current Stampin’ Up! range.

Join me at one of my classes. Head to my Class Timetable for full details.

Happy crafting

Karen Young HIPPOFROG Designs

To order any of the supplies shown below, head to my Online Store. Items available while stocks last.

NEW Stampin’ Rewards      Join my team      Current Products      Offers & Promotions      Book a Class
WITH YOU IN MIND PHOTOPOLYMER STAMP SET (ENGLISH)CHOOSE HAPPY PHOTOPOLYMER STAMP SET (ENGLISH)SIMPLY SAID MIX& MATCH PHOTOPOLYMER STAMP SET (ENGLISH)SWEETEST STAR PUNCHCLOUD COVER A4 CARDSTOCKPUMPKIN PIE A4 CARDSTOCKPUMPKIN PIE CLASSIC STAMPIN' PADOLD OLIVE CLASSIC STAMPIN' PADBASIC GRAY CLASSIC STAMPIN' PADBASIC WHITE A4 CARDSTOCKBASIC WHITE A4 THICK CARDSTOCKBLENDER PENS2025–2027 IN COLOR™ FLAT PEARLSMULTIPURPOSE LIQUID GLUESTAMPIN' DIMENSIONALS

Last Week’s Card & Cuppa – Setting Sail

Last week’s Card & Cuppa project was this great sailing project.

It used Daffodil Delight, Azure Afternoon and Misty Moonlight as the main colours.

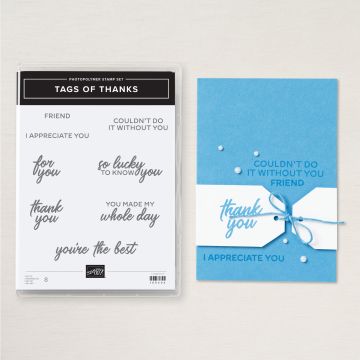
First, the sentiment from the Tags of Thanks Stamp Set from the Online Exclusives range was stamped in the bottom corner.

Using ‘for you’ makes this a really good any occasion card, suitable for anyone.

Then, from the Choose Happy Stamp Set the sun was stamped with the boat onto a separate piece of cardstock.

These were both coloured with Stampin’ Blends. The sun with Daffodil Delight and the boat with Pecan Pie, Poppy Parade and Balmy Blue.

Fussy cutting was then needed to cut out the boat.

Next, a wave shape was cut out from a separate piece, and with a Blending Brush the sea was created.

To give the illusion of different depths, it was made in layers. The top wave first, then the bottom, then the middle wave. To finish the sea, the Blending Brush was then used to colour in any missed sections.

Finally, the boat was attached using Mini Dimensionals.

This is a really deceptive project, as it’s quick and easy to create. You could also change the design by using different colours for the boat and another sentiment.

Join me at one of my classes. Head to my Class Timetable for full details.

Happy crafting

Karen Young HIPPOFROG Designs

To order any of the supplies shown below, head to my Online Store. Items available while stocks last.

NEW Stampin’ Rewards      Join my team      Current Products      Offers & Promotions      Book a Class
CHOOSE HAPPY PHOTOPOLYMER STAMP SET (ENGLISH)TAGS OF THANKS PHOTOPOLYMER STAMP SET (ENGLISH)AZURE AFTERNOON A4 CARDSTOCKAZURE AFTERNOON CLASSIC STAMPIN' PADDAFFODIL DELIGHT CLASSIC STAMPIN' PADNIGHT OF NAVY CLASSIC STAMPIN' PADBASIC WHITE A4 CARDSTOCKBASIC WHITE A4 THICK CARDSTOCKBLENDING BRUSHESSTAMPIN' BLENDS DAFFODIL DELIGHT COMBO PACKSTAMPIN' BLENDS POPPY PARADE COMBO PACKSTAMPIN' BLENDS BALMY BLUE COMBO PACKSTAMPIN' BLENDS PECAN PIE COMBO PACKMULTIPURPOSE LIQUID GLUEMINI STAMPIN' DIMENSIONALS

April Card Making Class – Project 4

This project is the last design from my recent monthly Card Making Class.

All four of the class projects were based on the theme ‘All creatures great and small’.

My colour combination for the stamping and cardstock is Early Espresso and Crushed Curry, along with Basic White.

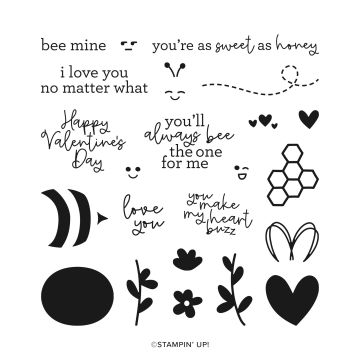
First, the honeycomb pieces from the Bee My Valentine Stamp Set and bees from the Choose Happy Stamp Set were stamped onto the background.

Next, 3 additional bees, plus one bee with a trail, were stamped onto a separate piece.

Using Stampin’ Blends, the honeycomb and bee bodies were coloured in Daffodil Delight, with the wings in Ivory.

The extra bees were then fussy cut.

A strip of Crushed Curry cardstock sits across the project, with a sentiment, stamped in the two colours layered on top.

The additional bees are given little touch of Wink of Stella on their wings before being stuck to the project using Mini Dimensionals.

For the bee with the trail, this is stuck down using a Glue Dot on the body and a touch of glue on the trail to secure it.

Which project from the class is your favourite?

Join me at one of my classes. Head to my Class Timetable for full details.

Happy crafting

Karen Young HIPPOFROG Designs

To order any of the supplies shown below, head to my Online Store. Items available while stocks last.

NEW Stampin’ Rewards      Join my team      Current Products      Offers & Promotions      Book a Class
CHOOSE HAPPY PHOTOPOLYMER STAMP SET (ENGLISH)BEE MY VALENTINE PHOTOPOLYMER STAMP SET (ENGLISH)CRUSHED CURRY A4 CARDSTOCKCRUSHED CURRY CLASSIC STAMPIN' PADEARLY ESPRESSO A4 CARDSTOCKEARLY ESPRESSO CLASSIC STAMPIN' PADBASIC WHITE A4 CARDSTOCKSTAMPIN' BLENDS DAFFODIL DELIGHT COMBO PACKBRONZE & IVORY STAMPIN' BLENDS COMBO PACKWINK OF STELLA CLEAR GLITTER BRUSHMULTIPURPOSE LIQUID GLUEGLUE DOTSMINI STAMPIN' DIMENSIONALS

Last Week’s Card & Cuppa – Easter Fun

At last week’s Card & Cuppa class we made this fun Easter card.

The cute critters are the stars of the show in spring colours.

Both the bunny and sentiment are from the Choose Happy Stamp Set. With the tiny chick from the Cutest Cows Stamp Set and the grass from the Darling Dinos Stamp Set.

Two out of three of these sets are on the Last Chance Products list. Make sure you grab them while you still can.

To create this project, the rabbit was stamped in Pecan Pie, the chick in Crushed Curry and the grass in Old Olive.

These made the background piece and the animals were coloured using Watercolor Pencils and a Blender Pen.

Once everything had been coloured and ‘set’ with a Blender Pen, the project was given a grassy hue using a Blending Brush and Lemon Lime Twist ink.

Lemon Lime Twist was again used for the sentiment that was layered onto punched Circles. These punches can be found in the Online Exclusives range.

A few chicks were stamped onto the sentiment piece too.

Lengths of Basic White Baker’s Twine from the Essentials Pack were stuck across the centre with the sentiment raised above this on Dimensionals.

Join me at one of my classes. Head to my Class Timetable for full details.

Happy crafting

Karen Young HIPPOFROG Designs

To order any of the supplies shown below, head to my Online Store. Items available while stocks last.

NEW Stampin’ Rewards      Join my team      Current Products      Offers & Promotions      Book a Class
CHOOSE HAPPY PHOTOPOLYMER STAMP SET (ENGLISH)CUTEST COWS PHOTOPOLYMER STAMP SET (ENGLISH)DARLING DINOS PHOTOPOLYMER STAMP SET (ENGLISH)1-3/4" (4.4 CM) CIRCLE PUNCH2" (5.1 CM) CIRCLE PUNCHLEMON LIME TWIST A4 CARDSTOCKLEMON LIME TWIST CLASSIC STAMPIN' PADPECAN PIE CLASSIC STAMPIN' PADCRUSHED CURRY CLASSIC STAMPIN' PADOLD OLIVE CLASSIC STAMPIN' PADBASIC WHITE A4 CARDSTOCKBASIC WHITE A4 THICK CARDSTOCKWATERCOLOR PENCILS ASSORTMENT 1BLENDER PENSBLENDING BRUSHESBAKER'S TWINE ESSENTIALS PACKMULTIPURPOSE LIQUID GLUESTAMPIN' DIMENSIONALSTEAR & TAPE ADHESIVE

Countdown to Christmas 2024 – Week 1

Yes, it’s that time of year already. It’s time for my Annual Countdown to Christmas series.

Every Saturday, from now until Christmas, I’ll be sharing a Christmas project. They will be projects you can either copy or use as inspiration for your own festive crafting.

To start the ball rolling, Countdown to Christmas 2024 – Week 1 is this Christmas Card.

The first thing you will notice is that it’s not in traditional reds and greens. It’s black and white to coordinate with the penguins.

It’s also a great project for batch making and one that children can join in with too.

With Basic Black and Basic White cardstock, a Tuxedo Black inkpad, the Choose Happy Stamp Set, something to colour in the stars, beaks and feet (I used Stampin’ Blends), a sentiment, a shape for the sentiment, ribbon and adhesive, you’ll be able to make a lot of these in no time at all.

All of the items I used to create this design are listed at the bottom of the page.

To begin, the penguin and star images from the Choose Happy Stamp Set are stamped across the background. You can also stamp a whole sheet of cardstock and then cut them up to create 4 cards for a quicker process.

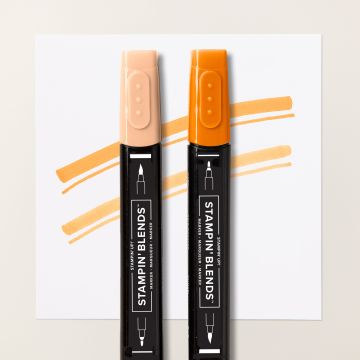
Then, I’ve coloured the stars with a Daffodil Delight Stampin’ Blend and the beaks and feet with a Pumpkin Pie Stampin’ Blend.

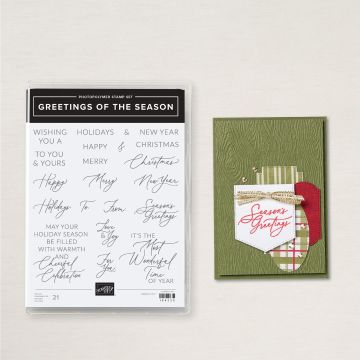
For the sentiment, I used the ‘happy’ from the Stamp Set and ‘Christmas’ from the new Online Exclusives Greetings of the Season Stamp Set. You can, however, use any sentiment you like.

These are cut out and layered using the Circle Punches, also from the Online Exclusives range.

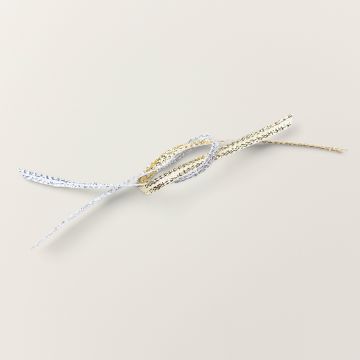
Another item from the Online Exclusives range, the Gold Trim creates a swoosh for the sentiment to sit on.

I’ve added a little touch of extra sparkle to the stars using Wink of Stella.

The beauty of this design is that you can choose to add as many or as few accents and embelishments as you like.

Join me at one of my classes. Head to my Class Timetable for full details.

Happy crafting

Karen Young HIPPOFROG Designs

To order any of the supplies shown below, head to my Online Store. Items available while stocks last.

Online Shopping Club Code      Join my team      Current Products      Offers & Promotions      Book a Class
CHOOSE HAPPY PHOTOPOLYMER STAMP SET (ENGLISH)GREETINGS OF THE SEASON PHOTOPOLYMER STAMP SET (ENGLISH)1-3/4" (4.4 CM) CIRCLE PUNCH2" (5.1 CM) CIRCLE PUNCHBASIC BLACK A4 CARDSTOCKTUXEDO BLACK MEMENTO INK PADBASIC WHITE A4 CARDSTOCKBASIC WHITE A4 THICK CARDSTOCKSTAMPIN' BLENDS DAFFODIL DELIGHT COMBO PACKSTAMPIN' BLENDS PUMPKIN PIE COMBO PACKGOLD & SILVER 1/8" (3.2 MM) TRIM COMBO PACKWINK OF STELLA CLEAR GLITTER BRUSHMULTIPURPOSE LIQUID GLUESTAMPIN' DIMENSIONALS