March Card Making Class – Project 4

Today I’m sharing the 4th and final project from my recent Card Making Class.

The theme for March’s class was Backgrounds and more, so I chose a project where the attendees could grunge as much as they liked.

For this design, I used various shades of brown to create the grunge effect and used Basic Beige instead of Basic White or Very Vanilla to achieve a more muted look.

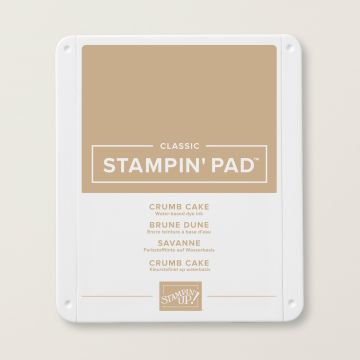
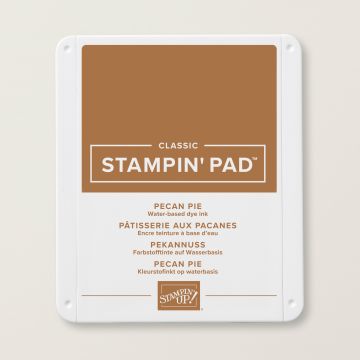
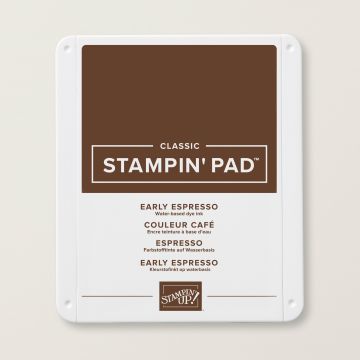
All of the background stamping used the Swirled Designs Stamp Set from the Online Exclusives range. Basic Beige, Crumb Cake, Pecan Pie and Early Espresso are all used and stamped onto Basic Beige cardstock.

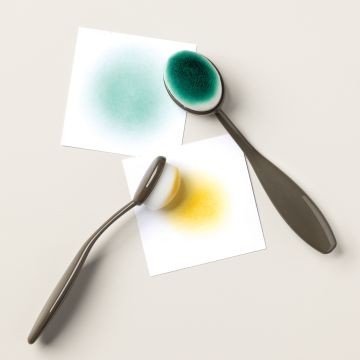
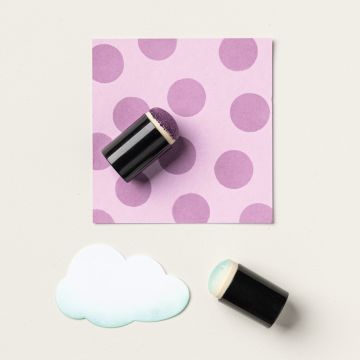
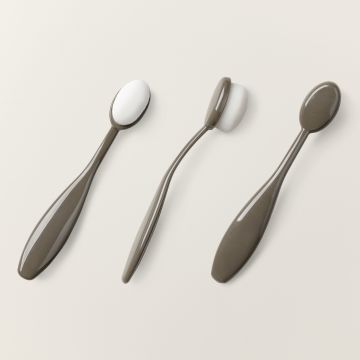
Then, Blending Brushes, Sponge Daubers, Crumb Cake and Pecan Pie ink are used to add some extra colour across the piece.

Lengths of coordinating Crumb Cake Baker’s Twine from the Essentials Pack were then added.

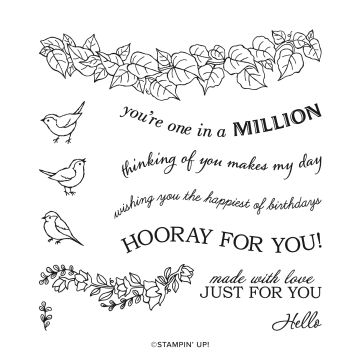
The Fabulous Sayings Stamp Set, a Product of the Month (POTM) offering provides the sentiment. This is raised up on Dimensionals.

Do you have a favourite project from the class?

Join me at one of my classes. Head to my Class Timetable for full details.

Happy crafting

Karen Young HIPPOFROG Designs

To order any of the supplies shown below, head to my Online Store. Items available while stocks last.

NEW Stampin’ Rewards      Join my team      Current Products      Offers & Promotions      Book a Class
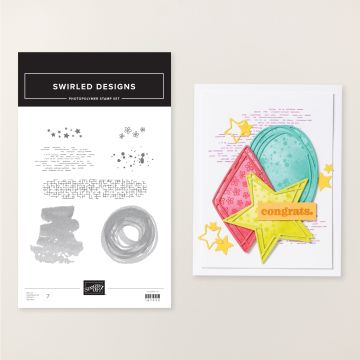
SWIRLED DESIGNS PHOTOPOLYMER STAMP SETFABULOUS SAYINGS PHOTOPOLYMER STAMP SET (ENGLISH)BASIC BEIGE A4 CARDSTOCKBASIC BEIGE CLASSIC STAMPIN PADCRUMB CAKE A4 CARDSTOCKCRUMB CAKE CLASSIC STAMPIN' PADPECAN PIE CLASSIC STAMPIN' PADEARLY ESPRESSO CLASSIC STAMPIN' PADBLENDING BRUSHESSPONGE DAUBERSBAKER'S TWINE ESSENTIALS PACKMULTIPURPOSE LIQUID GLUETEAR & TAPE ADHESIVESTAMPIN' DIMENSIONALS

Last Week’s Card & Cuppa – (Re)Introducing Pretty in Pink

Last week’s Card & Cuppa class continued working through the new In Colors. This time it was the turn of Pretty in Pink, a previous retired Stampin’ Up! colour that has returned as an In Color for 2024-2026.

For this grunge/vintage-style project, I combined the new colour with Moody Mauve, Crumb Cake and Very Vanilla.

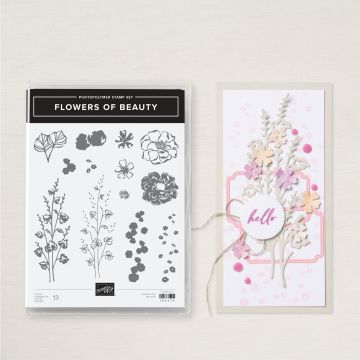
The background is stamped with images from the new Flowers of Beauty Stamp Set. This stamping is all second generation.

Next, the background is given a vintage look using Blending Brushes, Crumb Cake and Pretty in Pink ink.

For my project, I ripped the background piece and also curled a corner for a grungey look.

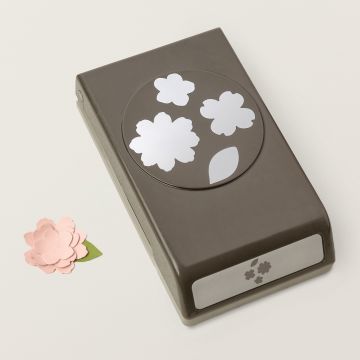
Using the Petal Park Builder Punch, the flower shapes were punched and then coloured on both sides using Blending Brushes. They were then scrunched to soften the fibres and the cardstock was split into two layers. Both layers were then offset and stuck back together before one layer of the centre was added.

The flowers were stuck to a punched circle that had the edge coloured. A piece of coordinating In Color Ribbon was stuck to the back of the circle before the whole piece was added to the project.

Each flower had a sequin from the Adhesive-Backed Sequins Trio Pack popped in the centre.

Finally, Pretty in Pink Shimmer Gems were dotted around the project.

As this design is quite busy, I chose to leave it sentiment free – perfect for any occasion.

If you are a fan of Pretty in Pink, here is comparison of it to other current Stampin’ Up! colours.

Join me at one of my classes. Head to my Class Timetable for full details.

Happy crafting

Karen Young HIPPOFROG Designs

To order any of the supplies shown below, head to my Online Store. Items available while stocks last.

Online Shopping Club Code      Join my team      Current Products      Offers & Promotions      Book a Class
FLOWERS OF BEAUTY PHOTOPOLYMER STAMP SETPETAL PARK BUILDER PUNCH1-3/4" (4.4 CM) CIRCLE PUNCHPRETTY IN PINK A4 CARDSTOCKPRETTY IN PINK CLASSIC STAMPIN PADMOODY MAUVE A4 CARDSTOCKMOODY MAUVE CLASSIC STAMPIN' PADCRUMB CAKE CLASSIC STAMPIN' PADVERY VANILLA A4 CARDSTOCKBLENDING BRUSHESSMALL BLENDING BRUSHESPRETTY IN PINK 3/8" (1 CM) BORDERED RIBBON2024–2026 IN COLOR™ SHIMMER GEMSADHESIVE-BACKED SEQUINS TRIOMULTIPURPOSE LIQUID GLUETEAR & TAPE ADHESIVE

Last Week’s Card & Cuppa – Gorgeously Made

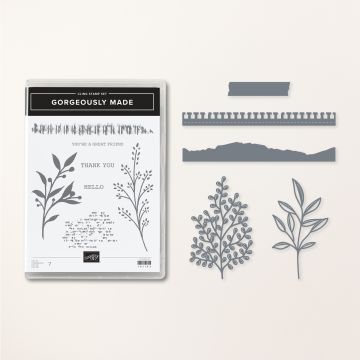
For last week’s Card & Cuppa project I used the Gorgeously Made Bundle from the Annual Catalogue.

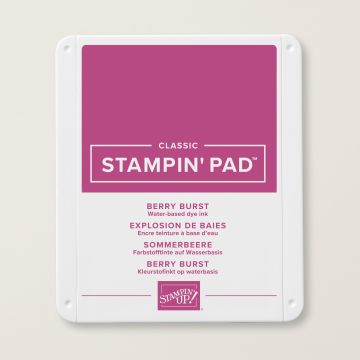
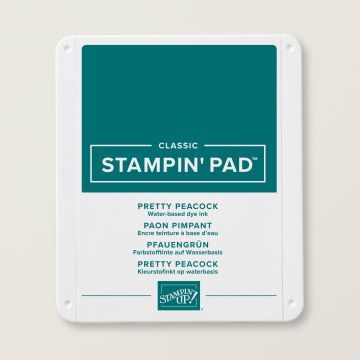
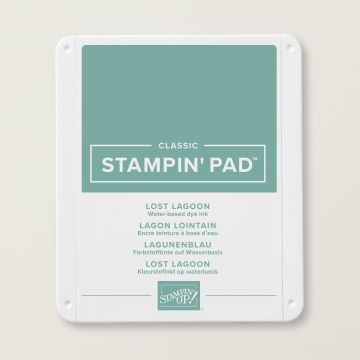
My colour combination is Berry Burst, Pretty Peacock, Lost Lagoon, Crumb Cake and Very Vanilla. These colours create a lovely jewel-toned thank you project.

I decided to design a grunge-style card and the dies from the Gorgeously Made Bundle allowed this to happen really easily. It’s a great set of dies for those who don’t like to rip and tear!

The Very Vanilla piece is cut using the dies down each edge and then stamped with the stamps from the Stamp Set.

Blending Brushes and Crumb Cake are then used to add to the grunge effect. It also makes it look a bit vintage.

A separate leaf shape is cut out. The sentiment from the stamp set is also cut out using the dies and again given an aged look with a Blending Brush.

Using a length of Crumb Cake Baker’s Twine, a swoosh is added, with the sentiment attached over the top with Mini Dimensionals.

Finally, some coordinating Pretty Peacock sequins from the Adhesive-Backed Sequins Trio add a little touch of understated bling.

Join me at one of my classes. Head to my Class Timetable for full details.

Happy crafting

Karen Young HIPPOFROG Designs

To order any of the supplies shown below, head to my Online Store. Items available while stocks last.

Online Shopping Club Code      Join my team      Current Products      Offers & Promotions      Book a Class
GORGEOUSLY MADE BUNDLE (ENGLISH)BERRY BURST A4 CARDSTOCKBERRY BURST CLASSIC STAMPIN' PADPRETTY PEACOCK A4 CARDSTOCKPRETTY PEACOCK CLASSIC STAMPIN' PADLOST LAGOON CLASSIC STAMPIN' PADCRUMB CAKE CLASSIC STAMPIN' PADVERY VANILLA A4 CARDSTOCKBLENDING BRUSHESBAKER'S TWINE ESSENTIALS PACKADHESIVE-BACKED SEQUINS TRIOGLUE DOTSMINI STAMPIN' DIMENSIONALSMULTIPURPOSE LIQUID GLUE

Last Week’s Card & (Your) Cuppa – Stripes & Splatters Embossing Folders

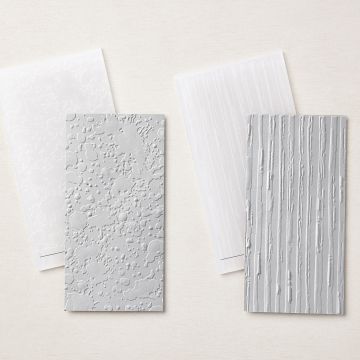
For last week’s Card & (Your) Cuppa online class, I chose to use the new Stripes & Splatters 3D Embossing Folders from the Mini Catalogue.

Stripes & Splatters Embossing Folders. Project designed by Karen at HIPPOFROG Designs

I’m a fan of splatter backgrounds and love stripe projects, so these embossing folders jumped into my shopping basket!

As I wanted to make the project a little grungey, I chose a colour combination of Crumb Cake and Very Vanilla with Pale Papaya as a contrast.

It is a version of one of my angles projects, but I don’t remember teaching one at Card & (Your) Cuppa before.

The layer is given a touch of grunge using a Sponge Dauber and Crumb Cake ink. Both it and the Very Vanilla piece are stuck down at an angle.

Stripes & Splatters Embossing Folders. Project designed by Karen at HIPPOFROG Designs

Next, each rectangle is cut to the required length and given a grunge effect. The Crumb Cake piece is scrunched and the creases are picked out using a  Sponge Dauber. After the Pale Papaya piece is embossed, the stripes are again highlighted using a Sponge Dauber.

For the Very Vanilla piece, it is again embossed, using the the splatters folder. This time it is highlighted using both Crumb Cake and Pale Papaya.

They are all then stuck down at different angles.

A sentiment from the Blossoms in Bloom Stamp Set, with a short piece of ribbon is added on top of a coiled length of coordinating Baker’s Twine.

For more of a grunge look, the ends of the twine are frayed.

Stripes & Splatters Embossing Folders. Project designed by Karen at HIPPOFROG Designs

Finally, some Genial Gems in Pale Papaya are dotted around the project.

If you’re a fan of these folders, don’t forget that for every £45 spend, you can earn FREE products during Sale-A-Bration. Head to this SAB page for full details.

There are also free products for joining my team too.

Join me at one of my online classes. Head to my Class Timetable for full details.

Happy crafting

Karen Young HIPPOFROG Designs

To order any of the supplies shown below, head to my Online Store. Items available while stocks last.

Online Shopping Club Code      Join my team      Current Products      Offers & Promotions      Book a Class
STRIPES & SPLATTERS 3D EMBOSSING FOLDERSBLOSSOMS IN BLOOM PHOTOPOLYMER STAMP SETCRUMB CAKE A4 CARDSTOCKCRUMB CAKE CLASSIC STAMPIN' PADPALE PAPAYA A4 CARDSTOCKPALE PAPAYA CLASSIC STAMPIN' PADVERY VANILLA A4 CARDSTOCKBAKER'S TWINE ESSENTIALS PACKPALE PAPAYA & WHITE 1/2" (1.3 CM) WOVEN RIBBONSPONGE DAUBERSGENIAL GEMSSTAMPIN' SEALTEAR & TAPE ADHESIVESTAMPIN' DIMENSIONALS

Last Week’s Card & (Your) Cuppa – Grunge and Daisies

I was asked for a grunge project, so last week’s Card & (Your) Cuppa project complied.

Last Week's Card & (Your) Cuppa - Grunge and Daisies. Project designed by Karen at HIPPOFROG Designs

The colour combination is Crumb Cake, Soft Suede and VeryVanilla, with Real Red for a of colour.

To start, the edges of the Soft Suede layer are distressed using an emery board, then inked in Crumb Cake with a Sponge Dauber.

Next, the Very Vanilla layer is scrunched several times. This is also then inked, distressed with an emery board, and inked again.

The layers are stuck to the project at an angle, only sticking in the middle to allow the edges to curl.

Last Week's Card & (Your) Cuppa - Grunge and Daisies. Project designed by Karen at HIPPOFROG Designs

For the daisies, cut from the Daisy Punch and Medium Daisy Punch, these are inked on both sides using a Sponge Dauber. By pressing in the middle, it gives a darker effect in the centre, then lightly adding a touch of Crumb Cake along the petals.

The daisies are then scrunched several times to allow the fibres to soften. Then the cardstock is very carefully split into two. These are inked with Real Red to give a touch of colour, before sticking the two pieces of each daisy together. They are now have a really delicate feel.

Leaves from the Tulip Builder Punch are also scrunched and inked around the edges. A small dragonfly is cut from the Dragonflies Punch.

Everything is then assembled on the project.

My sentiment is from the Strong of Heart Stamp Set, on the current Last Chance List. It sits on a piece of Scalloped Lace Trim and looped piece of Baker’s Twine.

Last Week's Card & (Your) Cuppa - Grunge and Daisies. Project designed by Karen at HIPPOFROG Designs

Finally, a few Champagne Rhinestones are dotted around for a little bit of sparkle.

Join me at one of my online classes. Head to my Class Timetable for full details. I have nearly finished all my classes for 2021, watch this space for details of 2022.

Happy crafting

Karen Young HIPPOFROG Designs

To order any of the supplies shown below, head to my Online Store. Items available while stocks last.

Online Shopping Club Code      Join my team      Current Products      Offers & Promotions      Book a Class
STRONG OF HEART CLING STAMP SET (ENGLISH)DAISY PUNCHMEDIUM DAISY PUNCHDRAGONFLIES PUNCHTULIP BUILDER PUNCHCRUMB CAKE A4 CARDSTOCKCRUMB CAKE CLASSIC STAMPIN' PADSOFT SUEDE CARDSTOCK A4REAL RED CLASSIC STAMPIN' PADVERY VANILLA A4 CARDSTOCKBAKER'S TWINE ESSENTIALS PACKSPONGE DAUBERSVERY VANILLA 3/8" (1 CM) SCALLOPED LACE TRIMCHAMPAGNE RHINESTONE BASIC JEWELSMULTIPURPOSE LIQUID GLUETEAR & TAPE ADHESIVEGLUE DOTSMINI STAMPIN' DIMENSIONALS

Last Week’s Card & (Your) Cuppa – Going Grunge with Art Gallery Dies

For Last Week’s Card & (Your) Cuppa Class project, there was the opportunity for the attendees to get their grunge on.

Going Grunge with Art Gallery Dies. Project designed by Karen at HIPPOFROG Designs

I recently made this project and thought that it would be a good design to recreate for class.

My colour combination is Pool Party, Misty Moonlight and Basic White.

The layer is set at an angle to add to the grunge feel.

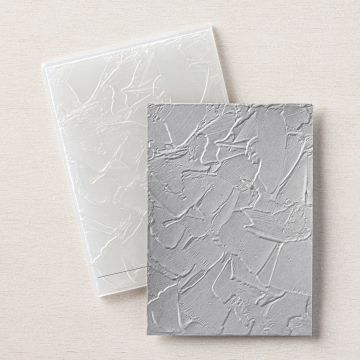
For the Basic White piece, this is first embossed using the Painted Texture 3D Embossing Folder. I’ve then used a Sponge Dauber to ink over patches of it.

Using an emery board, I’ve taken this to the edges to distress them, and also over the top of some of the texture. It’s then set at an angle.

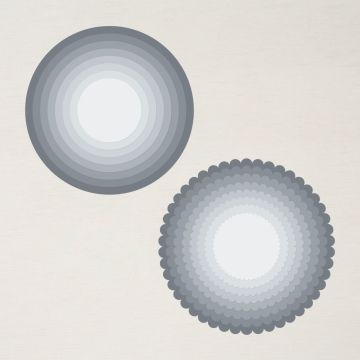
Going Grunge with Art Gallery Dies. Project designed by Karen at HIPPOFROG DesignsThe circles, cut using the the Layering Circles Dies have a touch of ink added to the edges before they are layered together.

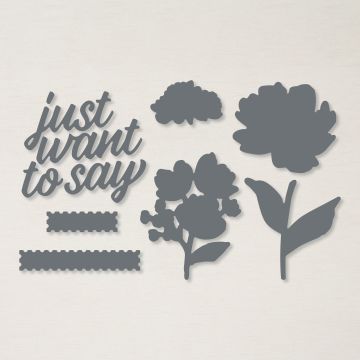
Floral Gallery Dies provide the sentiment that is stuck onto the circles.

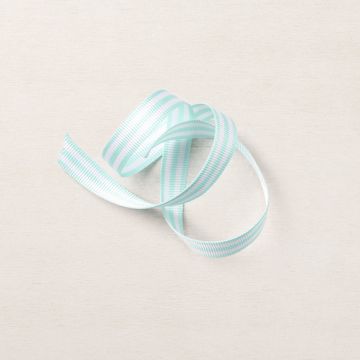
This central piece is stuck on top of a swoosh of Pool Party Striped Grosgrain Ribbon.

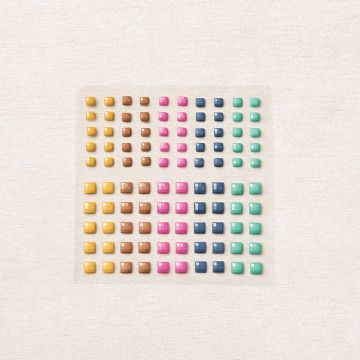
Finally, some coordinating In Color Square Gems are added.

Going Grunge with Art Gallery Dies. Project designed by Karen at HIPPOFROG Designs

Attendees could grunge as much or little as they liked. When I design a grunge project, there is always the opportunity for those who don’t like the style to keep theirs clean and simple.

Join me at one of my online classes. Head to my Class Timetable for full details.

Happy crafting

Karen Young HIPPOFROG Designs

To order any of the supplies shown below, head to my Online Store. Items available while stocks last.

Online Shopping Club Code      Join my team      Current Products      Offers & Promotions      Book a Class
FLORAL GALLERY DIESLAYERING CIRCLES DIESPAINTED TEXTURE 3D EMBOSSING FOLDERMISTY MOONLIGHT A4 CARDSTOCKMISTY MOONLIGHT CLASSIC STAMPIN' PADPOOL PARTY A4 CARDSTOCKBASIC WHITE A4 CARDSTOCKSPONGE DAUBERSPOOL PARTY 3/8" (1 CM) STRIPED GROSGRAIN RIBBON2020–2022 IN COLOR SQUARE GEMSMULTIPURPOSE LIQUID GLUETEAR & TAPE ADHESIVE

Postage Stamp and Textures In Good Taste

This masculine style project combines an Embossing Folder, some DSP and a Punch.

Postage Stamp and Textures In Good Taste. Project designed by Karen at HIPPOFROG Designs

Using Crumb Cake and Early Espresso, I chose to use Very Vanilla as I wanted a more grungey-type design. See my video on how I choose between Basic White and Very Vanilla.

The background is given texture using the Painted Textures 3D Embossing Folder. I’ve then added some extra colour using Crumb Cake and a Sponge Dauber.

Postage Stamp and Textures In Good Taste. Project designed by Karen at HIPPOFROG Designs

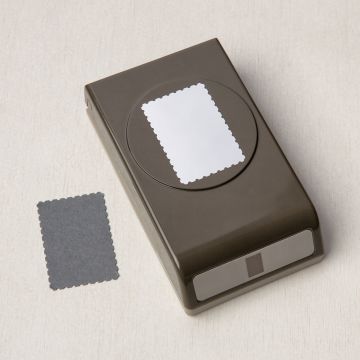
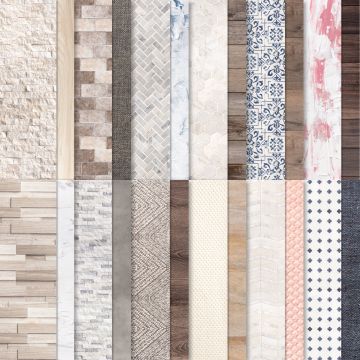
In Good Taste DSP, currently on Special Offer, provides the shapes cut out using the Rectangular Postage Stamp Punch.

These are layered down the centre of the embossed piece with a length of Faux Suede Trim across the project.

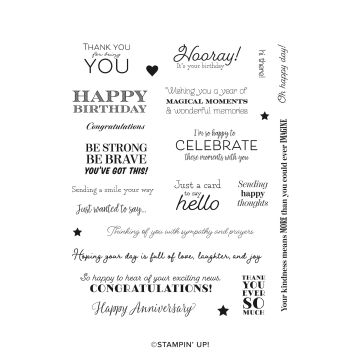
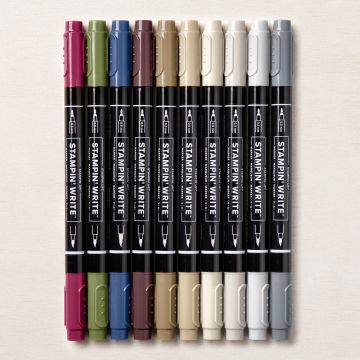
A sentiment from the Many Messages Stamp Set is stamped and again cut out with the punch. I chose to ink up the stamp with an Early Espresso Stampin’ Write Marker.

Postage Stamp and Textures In Good Taste. Project designed by Karen at HIPPOFROG Designs

Finally, the sentiment is raised up on Dimensionals.

This project has only used a small piece of DSP, so you could make a LOT of cards from a pack of DSP using this design. Grab a pack of DSP while it is discounted, for even more value for money.

Why not join me at one of my online classes. Head to my Class Timetable for full details.

Happy crafting

Karen Young HIPPOFROG Designs

To order any of the supplies shown below, head to my Online Store

Online Shopping Club Code      Join my team      Current Products      Offers & Promotions      Book a Class
RECTANGULAR POSTAGE STAMP PUNCHPAINTED TEXTURE 3D EMBOSSING FOLDERIN GOOD TASTE DESIGNER SERIES PAPERMANY MESSAGES CLING STAMP SETCRUMB CAKE A4 CARDSTOCKCRUMB CAKE CLASSIC STAMPIN' PADEARLY ESPRESSO A4 CARDSTOCKVERY VANILLA A4 CARDSTOCKNEUTRALS STAMPIN' WRITE MARKERSSPONGE DAUBERSEARLY ESPRESSO 1/4" (6.4 MM) FAUX SUEDE TRIMSTAMPIN' DIMENSIONALSSTAMPIN' SEALSTAMPIN' SEAL+

Last Week’s Card & (Your) Cuppa – Layering Circles Dies

Last week’s Card & (Your) Cuppa project was my version of a project I’d seen on page 38 of the January-June Mini Catalogue.Layering Circles Dies. Project designed by Karen at HIPPOFROG Designs I chose Misty Moonlight, Petal Pink and Balmy Blue, along with White for my colour combination.

I’ve used Whisper White in my project, which has now been replaced with Basic White. See this post for full details while I work through my supply.

For my project I’ve create a two colour background, with the joins covered by the different size circles. All of the circles are cut using the Layering Circles Dies.

The Balmy Blue circle has been scrunched and carefully separated to create two circles.

On the focal circle, I recreated the image from the Catalogue using the Sprig Punch. The sprigs are coated with Wink of Stella to make them sparkle.
Layering Circles Dies. Project designed by Karen at HIPPOFROG DesignsThe length of the twine from the Flowers for Every Season Ribbon Combo is separated into the three different parts. Using the Misty Moonlight and White pieces first, the silver length is then wrapped around. As this bit has a mind of its own, I found it easier to not fight it!

Using a sentiment from the Quite Curvy Stamp Set this sits across the bottom.

Finally, Metallic Pearls are added.Layering Circles Dies. Project designed by Karen at HIPPOFROG Designs

For this project, the attendees had lots of choices of how to create theirs. From clean lines to grunge, scrunching, arrangement of the circles, use of the twine and more.

Why not join me at one of my classes and create your own projects. Head to my Class Timetable for more details.

Happy crafting

Karen Young HIPPOFROG Designs

To order any of the supplies shown below, head to my Online Store

Online Shopping Club Code      Join my team      Current Products      Offers & Promotions      Book a Class
LAYERING CIRCLES DIESQUITE CURVY PHOTOPOLYMER STAMP SETMISTY MOONLIGHT A4 CARDSTOCKMISTY MOONLIGHT CLASSIC STAMPIN' PADBALMY BLUE A4 CARDSTOCKPETAL PINK A4 CARDSTOCKBASIC WHITE A4 CARDSTOCKFLOWERS FOR EVERY SEASON RIBBON COMBO PACKMETALLIC PEARLSWINK OF STELLA CLEAR GLITTER BRUSHMULTIPURPOSE LIQUID GLUEGLUE DOTSSTAMPIN' DIMENSIONALS

Last Week’s Card & (Your) Cuppa – Shabby Smoky Slate

Last week’s Card & (Your) Cuppa project was this shabby smoky slate card.

It’s inspired by Page 137 of the new Annual Catalogue.

Shabby Smoky Slate. Project designed by Karen at HIPPOFROG Designs

In the Catalogue, there is stamping on the project. As I can’t send stamped images out to class attendees due to Stampin’ Up! policies, I’ve used punched shapes to create a similar look.

The Smoky Slate background is given a shabby look with an emery board, or scissors to scuff the edges. Any rips or tears add to the look, so don’t be afraid of those. You could even scrunch the background or use Sponge Daubers around the edge for a more intense look.

Daisies and leaves cut from the Medium Daisy and Sprig Punches in Daffodil Delight, Pool Party, Calypso Coral and Pear Pizzazz are put together. Daisies in Basic Gray are cut down to form the daisy centres.

Shabby Smoky Slate. Project designed by Karen at HIPPOFROG Designs

Once everything assembled onto the Whisper White square, the Linen Thread is stuck to the back using Tear & Tape.

Then, the Whisper White piece is added to the project using Dimensionals in each corner.

Finally, a Gilded Gem is  sat in the centre at the top.

Shabby Smoky Slate. Project designed by Karen at HIPPOFROG Designs

The attendees could then add their own sentiment or addtional sparkle if they chose to.

Join us at a future Card & (Your) Cuppa session by heading to my Class Timetable, where you’ll find class information and booking details.

Happy crafting

Karen Young HIPPOFROG Designs

To order any of the supplies shown below, head to my Online Store

This Month’s Hostess Code      Join my team      Current Products      Special Offers      Book a Class

MEDIUM DAISY PUNCHSPRIG PUNCHSMOKY SLATE A4 CARDSTOCKCALYPSO CORAL A4 CARDSTOCKDAFFODIL DELIGHT A4 CARDSTOCKPEAR PIZZAZZ A4 CARDSTOCKPOOL PARTY A4 CARDSTOCKBASIC GRAY A4 CARDSTOCKWHISPER WHITE A4 CARDSTOCKLINEN THREADGILDED GEMSTEAR & TAPE ADHESIVEMINI STAMPIN' DIMENSIONALSGLUE DOTS

Last Week’s Card & Cuppa – To Grunge or Not To Grunge

At last week’s Card & Cuppa Class, the one big decision the attendees had to make was whether to grunge or not to grunge.

To Grunge or Not To Grunge. Card & Cuppa project designed by Karen at HIPPOFROG Designs

The project (not grunge version shown above) uses the fabulous new Very Versailles Stamp Set.

Petal Pink, Crumb Cake and Mint Macaron, along with Very Vanilla, make this vintage style card.

The grunge version (shown below) uses exactly the same products, with the addition of sponge daubers to add extra ink to the edges and scrunched pieces.

To Grunge or Not To Grunge. Card & Cuppa project designed by Karen at HIPPOFROG Designs

Some of the attendees were adamant they weren’t going to grunge, with others really keen. There were also some hybrid versions, where a touch of grunge was created using Sponge Daubers or scrunching some areas.

All of the stamping on the background was a mix of first, second and third generation stamping starting with the pretty script image.

To Grunge or Not To Grunge. Card & Cuppa project designed by Karen at HIPPOFROG Designs

If a grunge effect was required, a stamped piece is screwed up into a ball several times. This softens the fibres and can create some fantastic torn edges. The creases and tears and then defined with Sponge Daubers as you can see above.

A couple of strips in the same colours were cut using the Triple Banner Punch. For the ‘not grunge’ version, these were stuck together over a length of Linen Thread tied with a bow.

To Grunge or Not To Grunge. Card & Cuppa project designed by Karen at HIPPOFROG Designs

The grunge version had the length of Linen Thread tied around the scrunched bannered pieces. The ends are then frayed to add to the vintage/distressed look. Finally, the sentiment completes the card.

If you are creating a textured project, make sure you use a stronger adhesive such as Tear & Tape to ensure that the pieces stick together well.

To Grunge or Not To Grunge. Card & Cuppa project designed by Karen at HIPPOFROG Designs

Which one do you prefer? Would you decision be to grunge or not to grunge?

To Grunge or Not To Grunge. Card & Cuppa project designed by Karen at HIPPOFROG Designs

Why not join us at a future Card & Cuppa session. Book your place by 18:00 the day before.

You can also book onto one of my evening Papercrafting Classes too.

Happy crafting

Karen Young HIPPOFROG Designs


To order any of the supplies used, click on the product images below to go to my online store.

This Month’s Hostess Code      Join my team      Current Products      Special Offers      Book a Class
Very Versailles Cling Stamp SetMint Macaron A4 CardstockMint Macaron Classic Stampin' PadCrumb Cake A4 CardstockCrumb Cake Classic Stampin' PadPetal Pink A4 CardstockPetal Pink Classic Stampin' PadVery Vanilla A4 CardstockBanner Triple PunchSponge DaubersLinen ThreadSnail AdhesiveTear & Tape Adhesive