Last Week’s Card & Cuppa – Painted Poppies Stamp Set & Dies

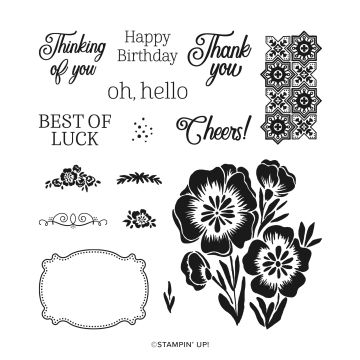
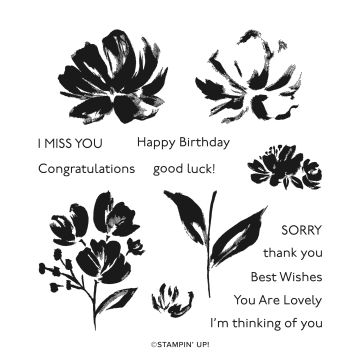
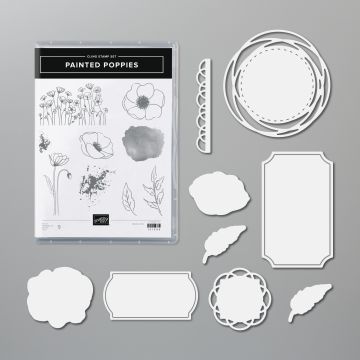
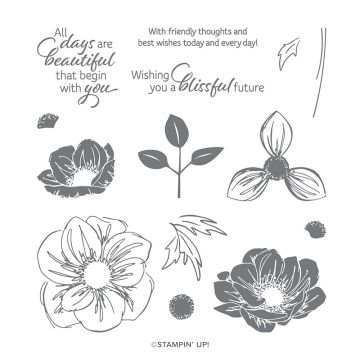
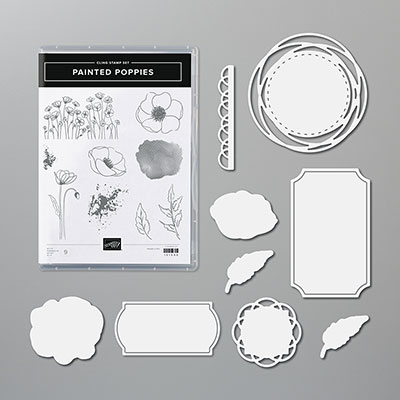
Last week’s Card & Cuppa project uses the Painted Poppies Stamp Set and coordinating Dies.

It’s a CASE of two projects I’ve made previously, here and here, and takes elements from both designs.

This one uses the colour combination of Highland Heather, Balmy Blue, Basic Gray and Basic White.

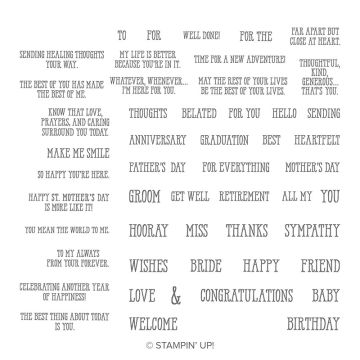
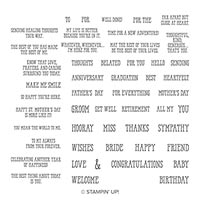
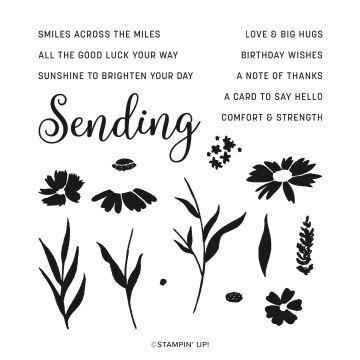
First, the sentiment from the Sending Smiles Stamp Set is stamped, followed by the ‘splats’ across the background.

If you are going to stamp your sentiment straight onto the project then it is a good idea to stamp it first, just incase you need to use the emergency side!

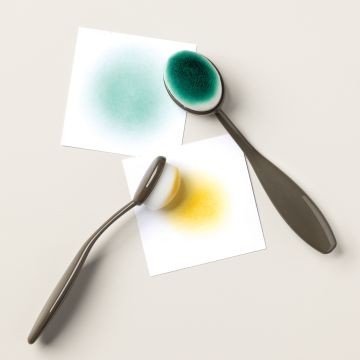
Next, using a Blending Brush, a flare of colour is added.

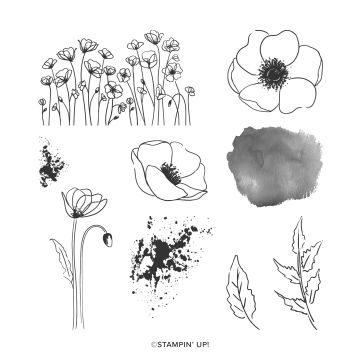
The main flower and leaves from the Painted Poppies Stamp Set are stamped onto a separate piece of cardstock and are again given some colour using the Blending Brushes.

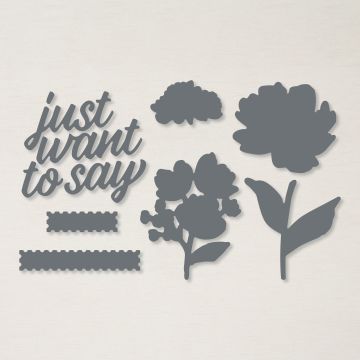
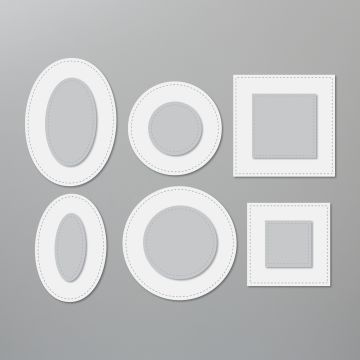
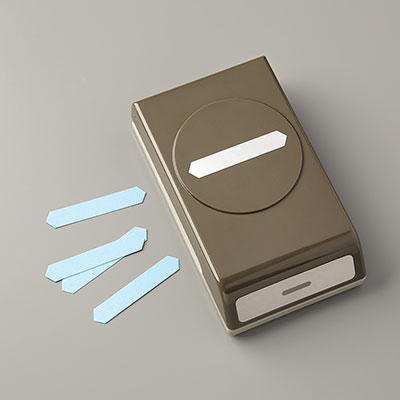
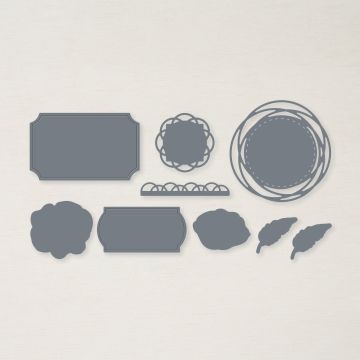
Each one is then cut out using the Painted Labels Dies.

The leaves are then arranged on the cardstock, with the flower then raised up on Dimensionals.

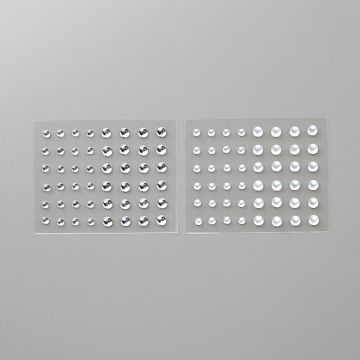
Finally, some small Opaque Adhesive-Backed Gems are used to give a touch of understated bling.

Although this is a poppy, I think by using this colour combo it looks more like an anemone.

Join me at one of my classes. Head to my Class Timetable for full details.

Happy crafting

Karen Young HIPPOFROG Designs

To order any of the supplies shown below, head to my Online Store. Items available while stocks last.

Online Shopping Club Code      Join my team      Current Products      Offers & Promotions      Book a Class
PAINTED POPPIES CLING STAMP SETPAINTED LABELS DIESSENDING SMILES PHOTOPOLYMER STAMP SET (ENGLISH)HIGHLAND HEATHER A4 CARDSTOCKHIGHLAND HEATHER CLASSIC STAMPIN' PADBALMY BLUE A4 CARDSTOCKBALMY BLUE CLASSIC STAMPIN' PADBASIC GRAY CLASSIC STAMPIN' PADBASIC WHITE A4 CARDSTOCKBLENDING BRUSHESOPAQUE ADHESIVE-BACKED GEMSSTAMPIN' SEALSTAMPIN' DIMENSIONALS

Finishing Up Friday – Remembrance Poppies

This week’s Finishing Up Friday is all about remembrance.

I had some pre-cut leaves from the Poppy Moments Dies in my stash, so I set about recreating this previous project. It seemed perfect for the time of year.

My colours are obviously Poppy Parade, along with Garden Green, Basic Black and Basic White.

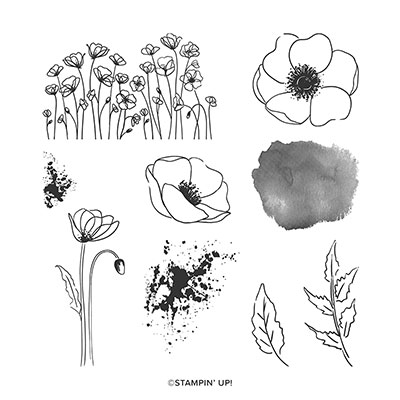
The background ‘splats’ are from the coordinating Painted Poppies Stamp Set.

Lengths of Basic Black Baker’s Twine are wrapped across the project.

Rather than cut the inners and outers of the flowers and leaves in different shades of red and green, I used just the one shade of each. I then darkened the top layer with the corresponding Ink Pad and a Sponge Dauber, before sticking the layers together.

The leaves and bud are then stuck down onto the background. Using Dimensionals, the two flowers are then attached.

As I wanted this project to be sentiment free, a bunny ears bow is added to the Baker’s Twine for a finishing touch.

Which pre-made items are you going to use from your desk?

Join me at one of my classes. Head to my Class Timetable for full details.

Happy crafting

Karen Young HIPPOFROG Designs

To order any of the supplies shown below, head to my Online Store. Items available while stocks last.

Online Shopping Club Code      Join my team      Current Products      Offers & Promotions      Book a Class
PAINTED POPPIES CLING STAMP SETPOPPY MOMENTS DIESPOPPY PARADE A4 CARDSTOCKPOPPY PARADE CLASSIC STAMPIN' PADGARDEN GREEN A4 CARDSTOCKGARDEN GREEN CLASSIC STAMPIN' PADBASIC BLACK A4 CARDSTOCKTUXEDO BLACK MEMENTO INK PADBASIC WHITE A4 CARDSTOCKBASIC WHITE A4 THICK CARDSTOCKSPONGE DAUBERSBAKER'S TWINE ESSENTIALS PACKMULTIPURPOSE LIQUID GLUESTAMPIN' DIMENSIONALSTEAR & TAPE ADHESIVE

A Pretty Poppy in Shades of Blue

This pretty poppy in shades of blue uses the Painted Poppies Stamp Set and the coordinating Painted Labels Dies.

My colour combination is the In Color Starry Sky, along with Balmy Blue and Basic White.

For the background, I’ve stamped some of the block flower shapes, along with the splat-type stamp down the edge of the card.

The flower and leaves are stamped in Starry Sky and cut out using the dies, with the poppy then given a coat of Wink of Stella.

A sentiment from the Lovely & Lasting Stamp Set is stamped to one side of the shape, also cut from the Painted Label Dies.

This allows the poppy and leaves to be set to the left.

The whole sentiment piece is then raised up on Dimensionals.

Finally, some coordinating Solid Faceted Gems in Balmy Blue are dotted across the project.

This would be a great design to recreate in other colours too.

Join me at one of my classes. Head to my Class Timetable for full details.

Happy crafting

Karen Young HIPPOFROG Designs

To order any of the supplies shown below, head to my Online Store. Items available while stocks last.

Online Shopping Club Code      Join my team      Current Products      Offers & Promotions      Book a Class
PAINTED POPPIES CLING STAMP SETPAINTED LABELS DIESLOVELY & LASTING PHOTOPOLYMER STAMP SET (ENGLISH)BALMY BLUE A4 CARDSTOCKBALMY BLUE CLASSIC STAMPIN' PADSTARRY SKY A4 CARDSTOCKSTARRY SKY CLASSIC STAMPIN' PADBASIC WHITE A4 CARDSTOCKWINK OF STELLA CLEAR GLITTER BRUSHSOLID FACETED GEMSMULTIPURPOSE LIQUID GLUESTAMPIN' DIMENSIONALS

Top Tips, Tricks & Techniques: Basic White or Very Vanilla

For this week’s Top Tips, Tricks & Techniques video, I’m sharing a tip on deciding how to use Basic White or Very Vanilla.

Top Tips, Tricks & Techniques: Basic White or Very Vanilla. Project designed by Karen at HIPPOFROG Designs

Click on the picture below to watch my video about how to decide.

Top Tips, Tricks & Techniques: Basic White or Very Vanilla. Project designed by Karen at HIPPOFROG Designs

Along with Basic White or Very Vanilla, the design uses Highland Heather, Mint Macaron and Old Olive.

Here is the Very Vanilla version.

Top Tips, Tricks & Techniques: Basic White or Very Vanilla. Project designed by Karen at HIPPOFROG Designs

This flower is from the Art Gallery Stamp Set, cut out with the Floral Gallery Dies.

Don’t forget that these are available as a discounted Bundle until the end of June as the Bundle is on the January-June Retiring List. From July, if you wanted both items, they will be full price in the Annual Catalogue.

Poppy Moments and the Painted Labels Dies provide my background stamping and the frame the flower sits on.

Top Tips, Tricks & Techniques: Basic White or Very Vanilla. Project designed by Karen at HIPPOFROG Designs  Top Tips, Tricks & Techniques: Basic White or Very Vanilla. Project designed by Karen at HIPPOFROG Designs

A swoosh of coordinating ribbon and the centre of the flowers coloured with Wink of Stella, add a touch of sparkle.

Top Tips, Tricks & Techniques: Basic White or Very Vanilla. Project designed by Karen at HIPPOFROG Designs  Top Tips, Tricks & Techniques: Basic White or Very Vanilla. Project designed by Karen at HIPPOFROG DesignsFinally, some Pastel Pearls, also in Highland Heather, finsih off the design.

Which version do you prefer?

Top Tips, Tricks & Techniques: Basic White or Very Vanilla. Project designed by Karen at HIPPOFROG Designs

I hope you’ve enjoyed this week’s Top Tips, Tricks & Techniques video. Pop back next week for the next one.

Why not join me at one of my online classes. Head to my Class Timetable for more details.

Happy crafting

Karen Young HIPPOFROG Designs

To order any of the supplies shown below, head to my Online Store

Online Shopping Club Code      Join my team      Current Products      Offers & Promotions      Book a Class

ART GALLERY PHOTOPOLYMER STAMP SETFLORAL GALLERY DIESPAINTED POPPIES CLING STAMP SETPAINTED LABELS DIESBASIC WHITE A4 THICK CARDSTOCKVERY VANILLA A4 CARDSTOCKHIGHLAND HEATHER CLASSIC STAMPIN' PADHIGHLAND HEATHER A4 CARDSTOCKMINT MACARON CLASSIC STAMPIN' PADOLD OLIVE CLASSIC STAMPIN' PADBASIC WHITE A4 CARDSTOCKVERY VANILLA A4 THICK CARDSTOCKHIGHLAND HEATHER 1/2" (1.3 CM) GROSGRAIN RIBBONPASTEL PEARLSWINK OF STELLA CLEAR GLITTER BRUSHMULTIPURPOSE LIQUID GLUESTAMPIN' DIMENSIONALSSTAMPIN' SEAL+ REFILL

Pantone Painted Poppies

Earlier this month, Pantone announced their Colour of the Year for 2021. There are two for 2021 – Ultimate Gray and Illuminating.

Today I’m sharing a project in the Stampin’ Up! equivalent colours of Basic Gray and Daffodil Delight.

Here’s my SU version of Pantone Painted Poppies…

Pantone Painted Poppies. Project designed by Karen at HIPPOFROG Designs

Using the Painted Poppies Stamp Set and co-ordinating Painted Labels Dies, this is a great any occasion project.

The background uses first and second generation stamping in Basic Gray, with Daffodil Delight highlights added using a Sponge Dauber,Pantone Painted Poppies. Project designed by Karen at HIPPOFROG Designs

Both the flowers and leaves are stamped in Basic Gray onto the Basic Gray and Daffodil Delight Cardstock. These are then cut out with the dies.

The centre of each flower is given a touch of sparkle with some Wink of Stella.

Pantone Painted Poppies. Project designed by Karen at HIPPOFROG Designs

These are then arranged on top of the background using Dimensionals.

I love how these colours work so well together. The brightness of the yellow seems to lighten the grey, whereas the grey appears to knock back the brightness of the yellow.

I have a feeling these colours might be making more appearances here in 2021!

Don’t forget to take a look at the current special offers, plus my classes for 2021.

Happy crafting

Karen Young HIPPOFROG Designs

To order any of the supplies shown below, head to my Online Store

Online Shopping Club Code      Join my team      Current Products      Special Offers      Book a Class

PAINTED POPPIES BUNDLEBASIC GRAY A4 CARDSTOCKBASIC GRAY CLASSIC STAMPIN' PADDAFFODIL DELIGHT A4 CARDSTOCKDAFFODIL DELIGHT CLASSIC STAMPIN' PADWHISPER WHITE A4 CARDSTOCKSPONGE DAUBERSSTAMPIN’ CUT& EMBOSS MACHINESTAMPIN' SEALSTAMPIN' DIMENSIONALS

Creating the Gap at BYO Stamps

At a recent BYO Stamps Class, all of the projects were about gaps. This one was creating the gap using the diagonal slash method.

Creating the Gap at BYO Stamps. Project designed by Karen at HIPPOFROG Designs

The main image from the Painted Poppies Stamp Set is stamped all over the piece of Whisper White cardstock. Using the fill-in stamps stamped-off to give a lighter look is a quick way to colour the flowers. I’ve only used a Blushing Bride Ink Pad on this project.

Some more poppies are stamped onto a separate sheet and cut out using the Painted Labels Dies, the other part of the Painted Poppies Bundle. Did you know that you could receive a FREE Bundle of your choice just by joining my Stampin’ Up! Team this month. Take a look at the details here.

You can see this and all of the available Bundles in the new Annual Catalogue.

The background piece is then cut it in half on a diagonal, and the two pieces stuck onto the Rich Razzleberry layer. When you are creating the gap, how you cut the pieces in half is entirely up to you.

You can then do lots of things after creating the gap, from stamping in the gap, to leaving it blank. The choice is yours!

Creating the Gap at BYO Stamps. Project designed by Karen at HIPPOFROG Designs

As I wanted to put something over the gap, the extra poppies are stuck onto two Stitched Shapes Dies. One with the stitching cut away to layer on top of the other. To create depth, Dimensionals are used to attach this piece.

Creating the Gap at BYO Stamps. Project designed by Karen at HIPPOFROG Designs

Instead of a sentiment, three Clear Epoxy Droplets fill the gap to the right.

Diagonal slash cards are great if you want to be a bit more frugal with your cardstock. As you can create the gap as wide as you like, you can get a few more backgrounds from your sheet of A4 or DSP.

Pop back tomorrow where I’ll show you the final card from this class – covering the gap.

Why not join us at a future class. Visit my Class Timetable for full details of all the classes I have running.

Happy crafting

Karen Young HIPPOFROG Designs

To order any of the supplies shown below, head to my Online Store

This Month’s Hostess Code      Join my team      Current Products      Special Offers      Book a Class
PAINTED POPPIES BUNDLEBLUSHING BRIDE A4 CARDSTOCKBLUSHING BRIDE CLASSIC STAMPIN' PADRICH RAZZLEBERRY CARDSTOCK A4WHISPER WHITE A4 CARDSTOCKSTITCHED SHAPES DIESFROSTED & CLEAR EPOXY DROPLETSMULTIPURPOSE LIQUID GLUESTAMPIN' DIMENSIONALS

Painted Poppies and Floral Essence for a Special Birthday

Today I’m sharing another special commission with you. I created this card using Painted Poppies and Floral Essence, plus a few punches.

Floral Essence for a Special Birthday. Project Designed by Karen at HIPPOFROG Designs

It a special Birthday card for one of my regular class attendees and is based on this card I made previously.

The marble effect background is from the only Ink Pad I used on the project, Melon Mambo. The image is from the Painted Poppies Stamp Set, part of a 10% discounted Bundle with the Painted Labels Dies. Take a look at the Annual Catalogue to see all the available Bundles.

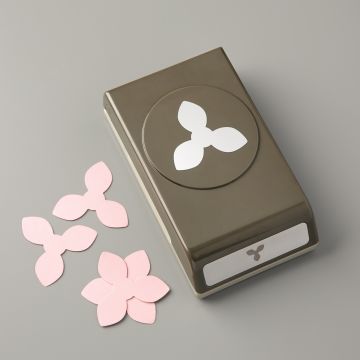
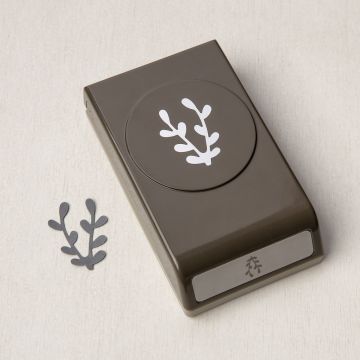
One of the dies from the Bundle, also cut in Melon Mambo is underneath the flowers. Highland Heather Sprig Punch shapes are also behind the flowers.

Floral Essence and the matching Perennial Flower Punch create the pretty flowers. A Blender Pen colours the flowers slightly by dragging the ink from the centre.

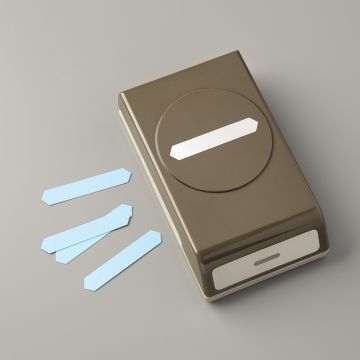
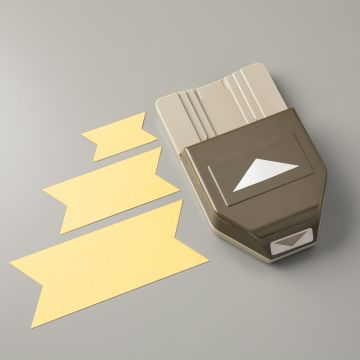
Floral Essence for a Special Birthday. Project Designed by Karen at HIPPOFROG Designs Well Said provides the sentiment and these are cut using the Classic Label Punch, then placing them in the ‘wrong’ way and creating a banner end. For the layers, these are cut using the Triple Banner Punch.

As the card was being hand-delivered, there were a lot more layers than I would create for regular post.

My favourite ribbon to colour, the Whisper White Crinkled Seam Binding has the colouring treatment with a Highland Heather Stampin’ Blend.

Finally, Wink of Stella is added to the centre of the flowers and a few Rhinestones for some sparkle.

Take a look at the various classes and kits I have available at my Class Timetable. Or, if it ‘isn’t your thing’ and you’d like me to create something for you instead, then take a look at my handmade cards page.

Happy crafting

Karen Young HIPPOFROG Designs

To order any of the supplies shown below, head to my Online Store

This Month’s Hostess Code      Join my team      Current Products      Special Offers      Book a Class
FLORAL ESSENCE PHOTOPOLYMER STAMP SET (EN)WELL SAID CLING STAMP SET (EN)PERENNIAL FLOWER PUNCHPAINTED POPPIES BUNDLECLASSIC LABEL PUNCHTRIPLE BANNER PUNCHSPRIG PUNCHWHISPER WHITE A4 CARDSTOCKHIGHLAND HEATHER A4 CARDSTOCKMELON MAMBO CARDSTOCK A4
MELON MAMBO CLASSIC STAMPIN' PADBLENDER PENSWHISPER WHITE 1/4" (6.4 MM) CRINKLED SEAM BINDING RIBBONSTAMPIN' BLENDS HIGHLAND HEATHER COMBO PACKWINK OF STELLA CLEAR GLITTER BRUSHRHINESTONE BASIC JEWELSTEAR & TAPE ADHESIVESTAMPIN' DIMENSIONALS

Pink and Sparkly Daisies

It’s that time of year when my friend who likes all things pink and sparkly celebrates her Birthday. This year, I made her some pink and sparkly daisies.

Pink and Sparkly Daisies. Project designed by Karen at HIPPOFROG Designs

It’s no coincidence that the design is very much like this project I shared the other day. In fact, I made the cards at the same time.

I know I keep saying it, but there really is no need to keep trying to think up new design ideas every single time. If you find a design you like, create it again. By using a different stamp set or colours, it can change the whole look and feel of a design. It also saves you lots of time and effort, leaving you time to create even more projects.

Pink and Sparkly Daisies. Project designed by Karen at HIPPOFROG Designs

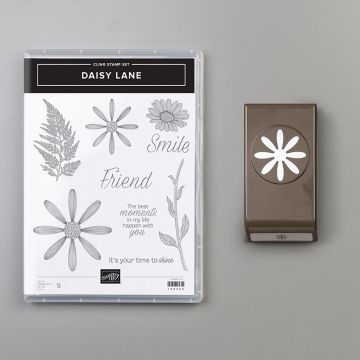
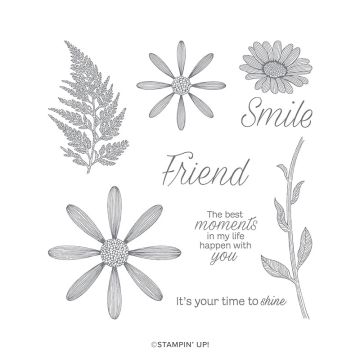
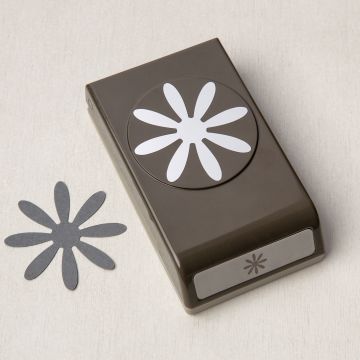
I’ve used Blushing Bride, Melon Mambo and Pear Pizzazz as the main colours, with Smoky Slate for the sentiment. The Stamp Set is Daisy Lane, with the bundled Medium Daisy Punch, along with the Daisy Punch for the larger flowers.

Tone-on-tone stamping has created the daisy background, with the corners rounded by the Detailed Trio Punch. A layered focal daisy in Melon Mambo is stamped onto Whisper White. I used Wink of Stella, instead of a Blender Pen to pull the colour along the petals. This also added some sparkle at the same time. Even though you can’t see it in the pictures, there was quite a lot of sparkle on the project!

The Painted Poppies Stamp Set and Painted Labels Dies create the leaves. Itty Bitty Birthdays is the final Stamp Set I’ve used for the sentiment, with the Timeless Label Punch.

Pink and Sparkly Daisies. Project designed by Karen at HIPPOFROG Designs


To complement the pink and sparkly daisies, I added a few rhinestones as a finishing touch.

Some of the items I’ve used are on the retiring list, so make sure you get your hands on them before they disappear. Visit my online store to see real-time stock availability.

If you would like to join one of my classes, then visit my Social Isolation Classes page for details of the classes I’m offering during this time.

Happy crafting

Karen Young HIPPOFROG Designs

To order any of the supplies shown below, head to my Online Store

This Month’s Hostess Code      Join my team      Current Products      Special Offers      Book a Class

DAISY LANE BUNDLE (EN)DAISY LANE CLING STAMP SET (EN)DAISY PUNCHMEDIUM DAISY PUNCHPAINTED POPPIES CLING STAMP SETPAINTED LABELS DIESITTY BITTY BIRTHDAYS CLING STAMP SETBLUSHING BRIDE A4 CARDSTOCKWHISPER WHITE A4 CARDSTOCKBLUSHING BRIDE CLASSIC STAMPIN' PADMELON MAMBO CLASSIC STAMPIN' PADPEAR PIZZAZZ CLASSIC STAMPIN' PADSMOKY SLATE CLASSIC STAMPIN' PADTIMELESS LABEL PUNCHDETAILED TRIO PUNCHRHINESTONE BASIC JEWELSWINK OF STELLA CLEAR GLITTER BRUSHSNAIL ADHESIVESTAMPIN' DIMENSIONALS

Last Week’s Card & Cuppa – Tulip-tastic

For last week’s Card & Cuppa session, I designed this tulip-tastic project.

Tulip-tastic. Project designed by Karen at HIPPOFROG Designs

It was deliberately sentiment-free to allow it to be sent as a pick-me-up to someone who is self-isolating or social distancing .

I’ve used Lovely Lipstick and Grapefruit Grove for some brighter Spring colours. I’m going to miss these In Colors when they retire in a few months time. These are combined with Old Olive and Whisper White.

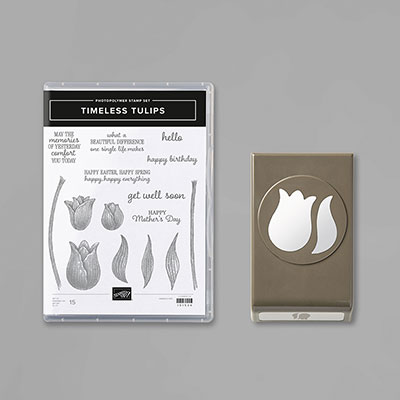
The background texture is created using the Painted Poppies Stamp Set, with the big tulip from the Timeless Tulips Bundle.

Tulip-tastic. Project designed by Karen at HIPPOFROG Designs

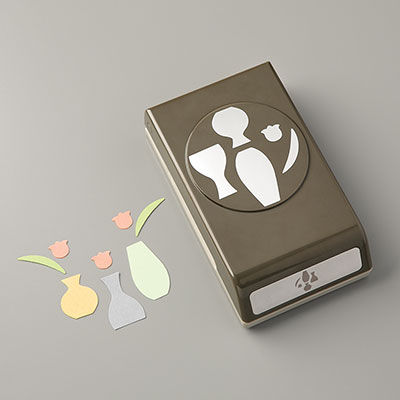
For the tiny tulip punched shapes, these are from the Vases Builder Punch. If you look closely, you’ll see that these small tulips have a coat of Wink of Stella on them to give them a shimmer.

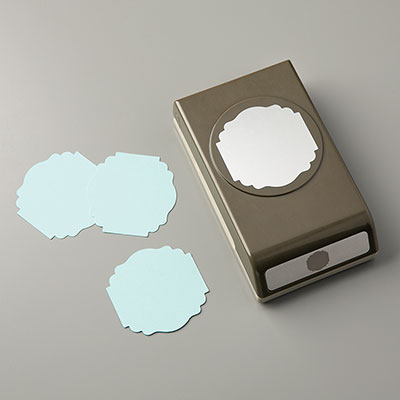
A strip of Metallic-Edge Ribbon, a shape from the Label Me Lovely Punch and a punched Circle make a base for the large tulip to sit on.

Tulip-tastic. Project designed by Karen at HIPPOFROG Designs

This week’s Card & Cuppa session was the final face-to-face class for the time being. However, I’ve put some new ‘Social Isolation Classes‘ together where kits will be posted out to you. We’ll then craft together using a video link.

Find out more information and book your place here.

Happy crafting

Karen Young HIPPOFROG Designs


To order any of the supplies used, click on the product images below to go to my online store.

This Month’s Hostess Code      Join my team      Current Products      Special Offers      Book a Class

Timeless Tulips Bundle (English)Painted Poppies Cling Stamp SetLabel Me Lovely PunchVases Builder Punch2" (5.1 cm) Circle PunchGrapefruit Grove A4 CardstockGrapefruit Grove Classic Stampin' PadLovely Lipstick Classic Stampin' PadLovely Lipstick A4 CardstockOld Olive Classic Stampin' PadWhisper White A4 Thick CardstockWhisper White A4 CardstockClear Wink Of Stella Glitter BrushSnail AdhesiveStampin' DimensionalsMini Glue Dots

Mixed Media with Painted Poppies for a Big Birthday

One of my Card & Cuppa attendees recently celebrated a big birthday, so naturally I had to make them a card.

A Big Birthday. Project designed by Karen at HIPPOFROG Designs

They are a fan of mixed media and love poppies too, so I decided to combine these loves, it was a big birthday after all!

My main colour palette was Blushing Bride, Sahara Sand and Very Vanilla, with Pear Pizzazz for the leaves.

First, I stamped the background with an image from Gallery Grunge using Versamark ink and heat embossed it with Clear Embossing Powder. This created resist areas for when I used a Sponge Dauber over the top to add colour.

A Big Birthday. Project designed by Karen at HIPPOFROG Designs

A combination of shapes and images and stamped and cut out using the Painted Poppies Stamp Set and the matching Painted Labels Dies. I can’t believe quite how much I’m using this fabulous Bundle from the Mini Catalogue.

For the sentiments, I used the Well Said Stamp Set and Well Written Dies. This is another one of those stamp and die combinations that I use quite regularly as they are really versatile.

The Classic Label Punch cut out the smaller part of the sentiment.

A Big Birthday. Project designed by Karen at HIPPOFROG Designs

The length of ribbon is the Woven Threads Trim, again in Sahara Sand. I cut the bottom edge off to create the fringe.

Before I stuck everything together, I covered the ‘happy’ and the centre of the poppies with Wink of Stella. I love how Sahara Sand goes an almost gold colour under it.

A Big Birthday. Project designed by Karen at HIPPOFROG Designs

If you’d like to join this and other attendees at Card & Cuppa classes, then head to my Class Timetable for more details and to book your place.

Happy crafting

Karen Young HIPPOFROG Designs


To order any of the supplies used, click on the product images below to go to my online store.

This Month’s Hostess Code      Join my team      Current Products      Special Offers      Book a Class

Painted Poppies BundleGallery Grunge Cling-Mount Stamp SetWell Said Cling Stamp SetWell Written DiesSahara Sand A4 CardstockSahara Sand Classic Stampin' PadBlushing Bride A4 CardstockBlushing Bride Classic Stampin' PadPear Pizzazz Classic Stampin' PadSponge DaubersSahara Sand 5/8" (1.6 cm) Woven Threads TrimVersamark PadClear Stampin' Emboss PowderHeat Tool (Uk)Very Vanilla A4 CardstockClear Wink Of Stella Glitter BrushClassic Label PunchSnail AdhesiveStampin' DimensionalsTear & Tape AdhesiveFine-Tip Glue Pen